Do you regret installing iOS 14 on your iPhone, iPad or iPod touch? If you do, you’re not alone. Many iPhone, iPad and iPod touch users who upgraded to iOS 14 beta, are no longer comfortable with it.
If you upgraded to iOS 14 to enjoy its features before the official release date, but you’re no longer comfortable with iOS 14, and you want to roll back (downgrade) to iOS 13. Then, follow this guide roll back to iOS 13 seamlessly without losing data.
What We Need to Do before Rolling Back to iOS 13
Upgrading to iOS 14 beta comes easy but downgrading to iOS 13 from iOS 14 beta comes with data loss. We mentioned this because of complaints we receive from iOS users who rolled back from iOS 14 beta to iOS 13. All these complaints stem from the fact that these users did not back up their iOS device data before upgrading to iOS 14.
If you didn’t back up your iPhone/iPad/iPod data before updating your iPhone’s operating system to iOS 14, and you now want to roll back to iOS 13, then you’ll be faced with the following risks:
- Downgrading to iOS 13 will erase all the data on your iPhone.
- If you made a backup of your iOS 14 beta data, you won’t be able to restore an iOS 14 backup to iOS 13 iPhone once you downgrade.
Therefore, it’s better you follow these steps to back up your iOS 13 iPhone before upgrading to iOS 14 beta:
Step 1. Connect your iPhone to iTunes on your PC.
Step 2. Click the “Summary” tab, and then click “Back Up Now”.
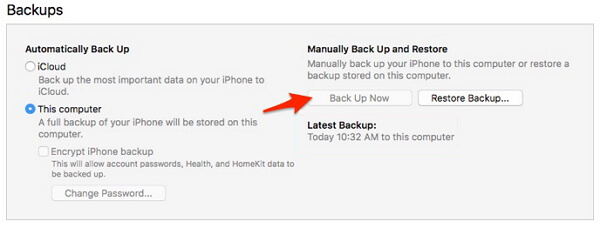
Step 3. Wait for your iPhone backup to complete. Then, click “iTunes > Preferences > Devices” and look for your most recent backup. Hold the Ctrl key and click on the backup.
Step 4. Select an option to Archive your backup.
How to Roll Back to iOS 13 via iTunes
How to remove iOS 14 beta and go back to iOS 13 is a simple task; it only requires having iTunes software on your PC. So, follow these steps to roll back to iOS 13 via iTunes:
Step 1. Switch your iPhone/iPad to Recover Mode (i.e. for iPad, iPhone 6s, and older versions) by holding down the Power and Home buttons simultaneously until your iPhone or iPad turns off, then release the Power button while still holding the Home button.
Step 2. When your iPhone/iPad says “Connect to iTunes”, just open iTunes and connect your iPhone or iPad to iTunes using a USB cable.
Step 3. iTunes will show a notification saying that it has detected an iPhone/iPad in Recover mode and that the device needs to be restored. Click “OK’.
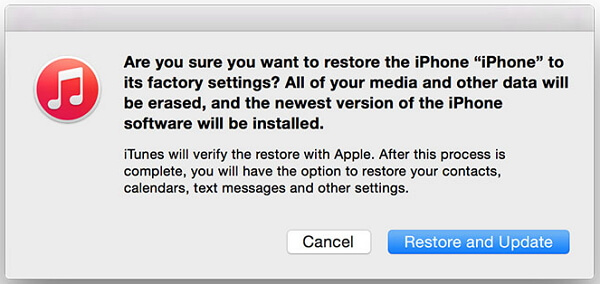
Step 4. Choose the option to Restore and Update your iPhone/iPad. At the end of the process, iTunes will download the latest version of iOS 13, and install it on your iOS device.
What If iTunes Can’t Help You Roll Back to iOS 13
Using an unstable and unreliable software like iTunes to carry out a task like this is very risky. Many iOS 14 beta testers who downgraded to iOS 13 encountered some of the following issues while using iTunes:
- iTunes crashed in the process of rolling back to iOS 13.
- The download of iOS 13 by iTunes took hours to complete.
- iTunes data restore process wasn’t working.
- iTunes wasn’t recognizing iPhone.
- iTunes stops responding in the process of rolling back to iOS 13.
The list above is far from being exhausted, but the funny fact is that iTunes needs to be repaired in order to work properly.
You can easily fix “iTunes can’t roll back to iOS 13” issue using iMyFone TunesFix. This software will repair any iTunes issue you’re experiencing while downgrading your iOS device.
How to Fix “iTunes Can’t Roll Back to iOS 13” Issues
Step 1. Launch iMyFone TunesFix on your PC, and connect your iOS device to iTunes using a USB cable.
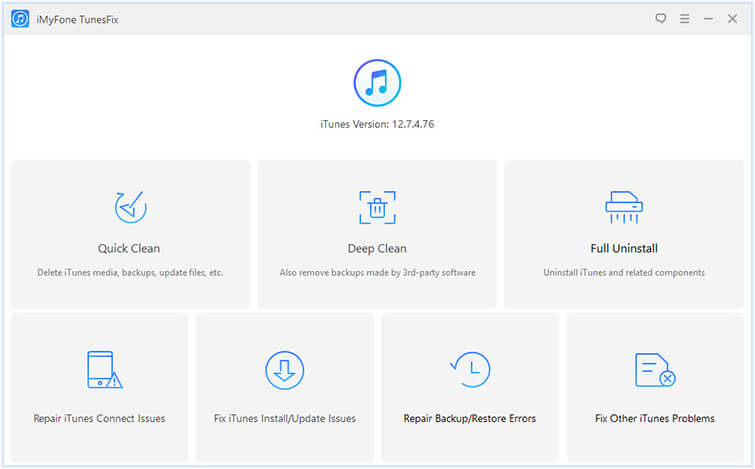
Step 2. TunesFix will scan to auto-detect the problem, if it couldn’t auto-detect the issue, you will be directed to Home interface. Choose “Fix Other iTunes Problems” and click the “Repair” tab to start the process.
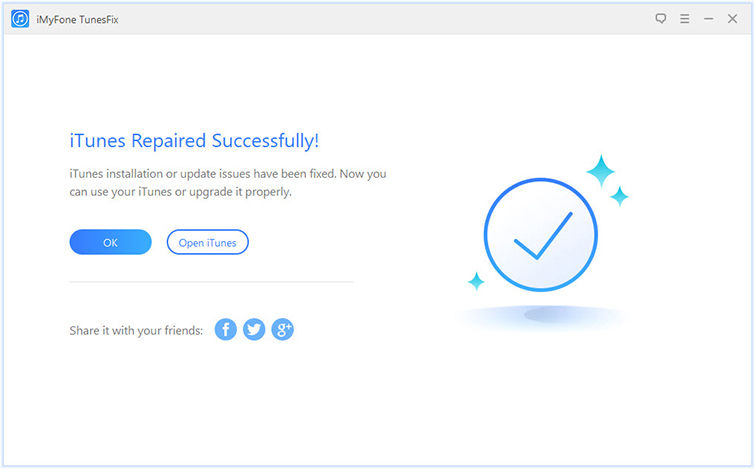
Step 3. When the repair process is complete, click “Open iTunes” to use iTunes in rolling back to iOS 13.


 September 17, 2021
