


 October 30, 2023
Lots of people with iPhones know (but some might not) that iPhones don't let you store your contacts on SIM cards. This means that if you want to transfer contacts between iPhone devices, you have to use Apple's tool, iCloud, to back up or transfer content between the devices.
And how to get contacts from iPhone to keep them safe without iCloud backup? How can I get back my contacts on my iPhone? Don’t worried. This article shows the best way to get back your iPhone contacts, even if they're from a while back.

Way 1. How to Get Contacts Back on iPhone without Backup
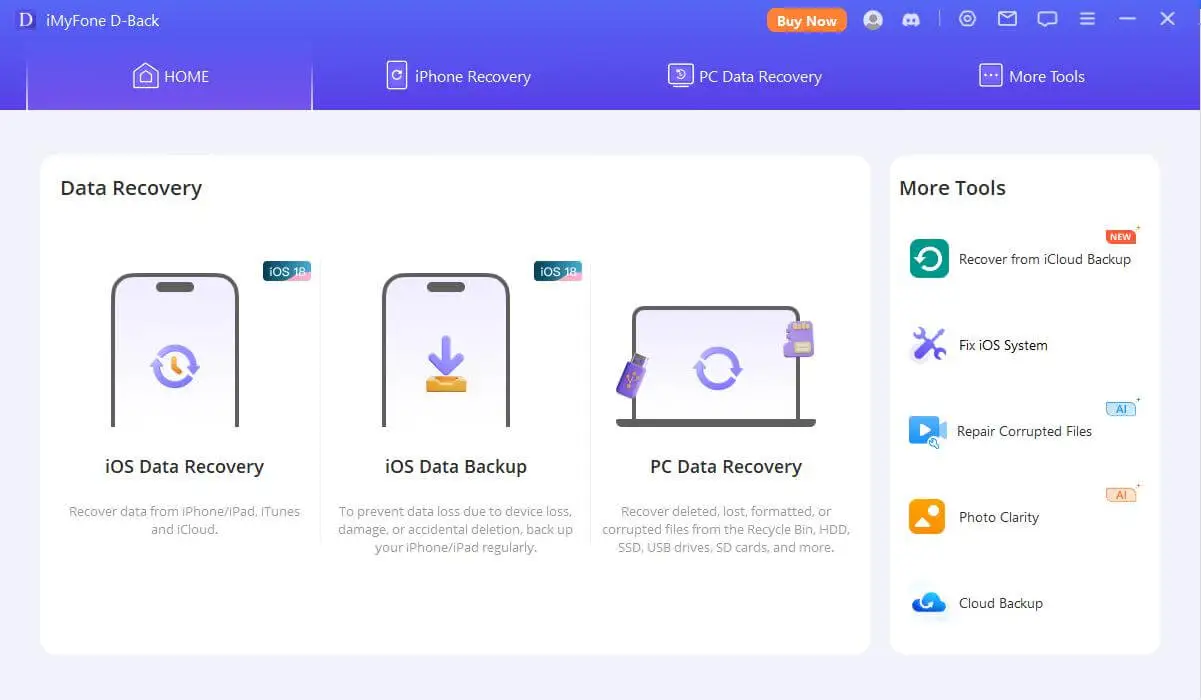
If you want to retrieve your contacts from your iPhone to your PC or new phone without using iCloud or iTunes, iMyFone D-Back is the solution for a high success rate. This program efficiently recovers all your iPhone contacts phone numbers, whether they have been deleted or lost.
iMyFone D-Back iPhone Data Recovery (compatible with iOS 13/12/11)
1,000,000+ Downloads
Key Features:
- Retrieve contacts from your iPhone's memory and save them to a computer file for later use. Save contacts with a single click, saving you a lot of time.
- Recover over 20 types of iPhone data, like contacts, messages, photos, and more.
- In addition to saving contacts, it can help you recover your lost iPhone files.
- It supports nearly all models in the Apple iPhone/iPad/iPod Touch series.
- Try the free trial version to see if it's useful for you.
- It has a user-friendly and simple interface, suitable even for those who aren't very familiar with computers.
How to get contacts back on iPhone using iMyFone D-Back?
Step 1: Choose Contacts and Connect your iPhone
Open iMyFone D-Back and select “Start” under “iPhone Recovery”. Tick “Contacts” and then click “Next” to link your iPhone.
Step 2: Scan, Search, and Preview Your Contacts
Click on “Scan” and iMyFone D-Back will retrieve your iPhone contacts, showing even the deleted ones for you to preview. You can view contact numbers and emails if available.

Step 3: Save and Select Location to Store Contacts
Once you've previewed all the contacts, choose to recover all or some contacts. Click “Recover” and select a folder on your computer to save the contacts from your iPhone.

That's how to move contacts from an iPhone to a computer using iMyFone D-Back. This method avoids the drawbacks of other ways and completes the transfer process without any hassle.
Way 2: How to import Your contacts from Sim Card to the iPhone
Step 1: Put the SIM card into the iPhone.
Take your SIM card with contacts and place it into the iPhone where you want to transfer the contacts. Ensure the SIM card fits properly. You can verify which SIM cards your iPhone supports by checking its compatibility.
Step 2: Start the Import
Next, go to Settings and import your contacts. Navigate to Settings > Contacts > Import SIM Contacts.
Step 3: Choose the Location
Follow the on-screen instructions that might prompt you to select the location for your SIM contacts. Choose it and proceed.
Step 4: Wait until the import is completed.
The import process might take a few minutes to transfer contacts from the SIM card to the iPhone. Just wait for it to complete.
Step 5: Access Contacts
Open the Contacts app on the iPhone and confirm if all the contacts have been imported. You can also swap the old SIM card back or replace it with a new one.

By following these steps, you can import SIM contacts to your iPhone.
If you want to keep these contacts for future use, the recommended method is to create a backup using reliable software. Below is another popular method to do so.
Way 3: How to Get Contacts from iCloud to iPhone
Step 1: Make sure that your iPhone is connected to Wi-Fi and that iCloud is enabled for Contacts.
Step 2: On your computer, open iCloud.com and sign in with your Apple ID.
Step 3: Click Contacts and select the contacts you want to transfer to your SIM card.

Step 4: Click the Settings gear icon in the bottom left corner and select Export vCard.
Step 5: Save the vCard file to your computer.
Step 6:: Connect your iPhone to your computer and open iTunes or Finder. Click the Device icon and then the Info tab. Under Contacts, click Import vCard and select the vCard file you saved in step 5. Click Open.
Conclusion
You can try out all three ways without paying anything. The last two are free, and the first one offers a free trial for both Mac and Windows users, but it is the best method to retrieve deleted contacts from an iPhone. If you have any suggestions for this article, feel free to drop a comment - your feedback is appreciated.