


 March 29, 2023
If you accidentally delete your Word document temp files because the system crashed, you will have a lot of trouble. Knowing how to recover microsoft word temp files windows 10/mac can help in this situation. Here we will discuss the five easiest ways to do this so that you can try and save all the important information saved in your Word documents.

Table of Content [Hide]
- Part 1. Can I Find Word Document Temp File Location on Windows?
- Part 2. How to Recover Unsaved Word Document on Windows
- Method 1. Manually Reocver from Temp Files
- Method 2. Recover Unsaved Word Documents
- Method 3. Enable AutoSave and AutoRecover
- Method 4. Recover Deleted Word Document from Recycle Bin
- Part 3. How to Recover Deleted Word Documents with Computer

Part 1. Where are Word Document Temp File Location on Windows?
If you have enabled the autosave feature on your device for Microsoft Word, it will automatically save the temporary files on your PC. Finding them is easy; you only need to go through a few folders. On your PC, open the C drive and then navigate through the following folders: Users > User(your PC username) > AppData > Local > Microsoft > Office > UnsavedFiles

Once you open that location on your PC, you will find all the unsaved and temp files of your Word documents. However, this way of finding the temp and unsaved files may not work for all cases. Similarly, in some cases, it can be inefficient to look for the files manually. However, if you find these files, you can recover them with the methods below. Even if you do not find these files on your PC, we still have a solution that you can try to find any lost files on your PC.
Part 2. How to Recover Word Doc from Temp Files on Windows
If you have lost any Word temp files on Windows that you cannot access now, then you can try these four different methods to try and recover it. Remember that the requirements for each one are different. So, you can only try a method if you meet all the requirements for it to work.
Method 1. Manually Reocver Word Doc from Temp Files
If you found the unsaved files at the location we discussed above, you can try this method. Once you find the unsaved files for the document you want to recover, the rest of the process will be very easy.
- Open the file location and select the file that you want to recover.
- Copy that file and paste it to any location on your PC where you want to save it.
- Once the copying process is complete, you can use those files and use your Word document.
Method 2. Recover Unsaved Word Documents
The Microsoft Office Word tool itself provides a feature that you can use to recover any of your unsaved documents from MS Word. However, this feature is only available in Office 365, Word versions: 2019, 2016, 2013, and 2010 along with MS Word for Mac.
- Open an MS Word file.
- Click on File tap and go to Manage Document.
- Now select the Recover Unsaved Documents option from the dropdown list.
- Look for the missing file and check its dialog box.
- Now you need to open the recovered file and save it.

Method 3. Enable AutoSave and AutoRecover
Another way to prevent losing any Word document is using the Autosave feature of MS Word. You can recover any unsaved files if you have already enabled them. Otherwise, you can enable it to prevent future losses.
- Open MS Word and go to the File tab.
- Select Options, and you will see the settings of MS Word.
- Select Autosave and specify it according to how you want it to be. You can manually input any amount of minutes from 5 to 10.
- Now check mark the last auto recovered version keeping option and click OK.

Now you will be done with the process, and any future unsaved work will be recovered to prevent you from any losses.
Method 4. Recover Deleted Word Temp Files from Recycle Bin
The last method that you can try is going through the Recycle Bin. However, this method will only work for you if you deleted a Word document and have not emptied your recycle bin afterward. The best part is that if you meet all these requirements, the experience will be pretty straightforward.
- Open Recycle Bin from the desktop, or if it is not available, you can search for it in the windows menu.
- Go through the recycle bin and look for that specific Word document.
- Right-click on it and click on Restore.
- The document will be restored to its original location.

With that done, you will be good to use that document in MS Word again.
Part 3. How to Recover Microsoft Word Temp Files on Windows/Mac
If you have some Word temp files on your PC for which you cannot find the temp files and those documents are not available in the recycle bin, then iMyFone D-Back can save the day for you. It is a data recovery software that works on your PC to recover any unsaved or deleted word temp files from your PC.
Other Features of D-Back for PC:
- It helps you recover your lost files, and you can preview them before recovering to save some time.
- It works for recovering more than 1000 file types present on your storage, including archives, documents, videos, media, etc.
- D-Back for PC supports data recovery from hard drives, SD cards, SSDs, and USB flash sticks.
- D-Back for PC works on different windows partitions, including raw, formatted, and corrupted partitions.
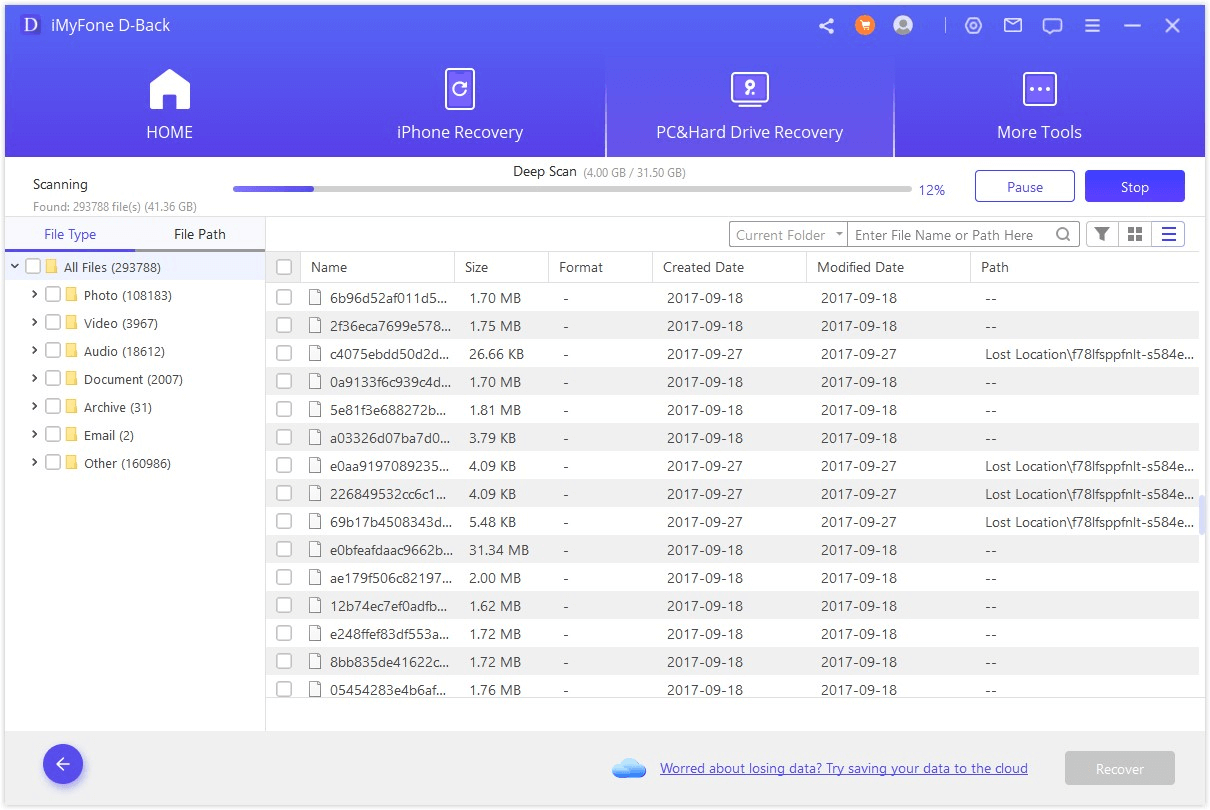
Step 1.Download and install iMyFone D-Back on your computer. Select the storage location of your lost Word temp files that you want to scan.

Step 2.Then the program will go through a deep scanning process. You can Pause or Stop it for your needs.
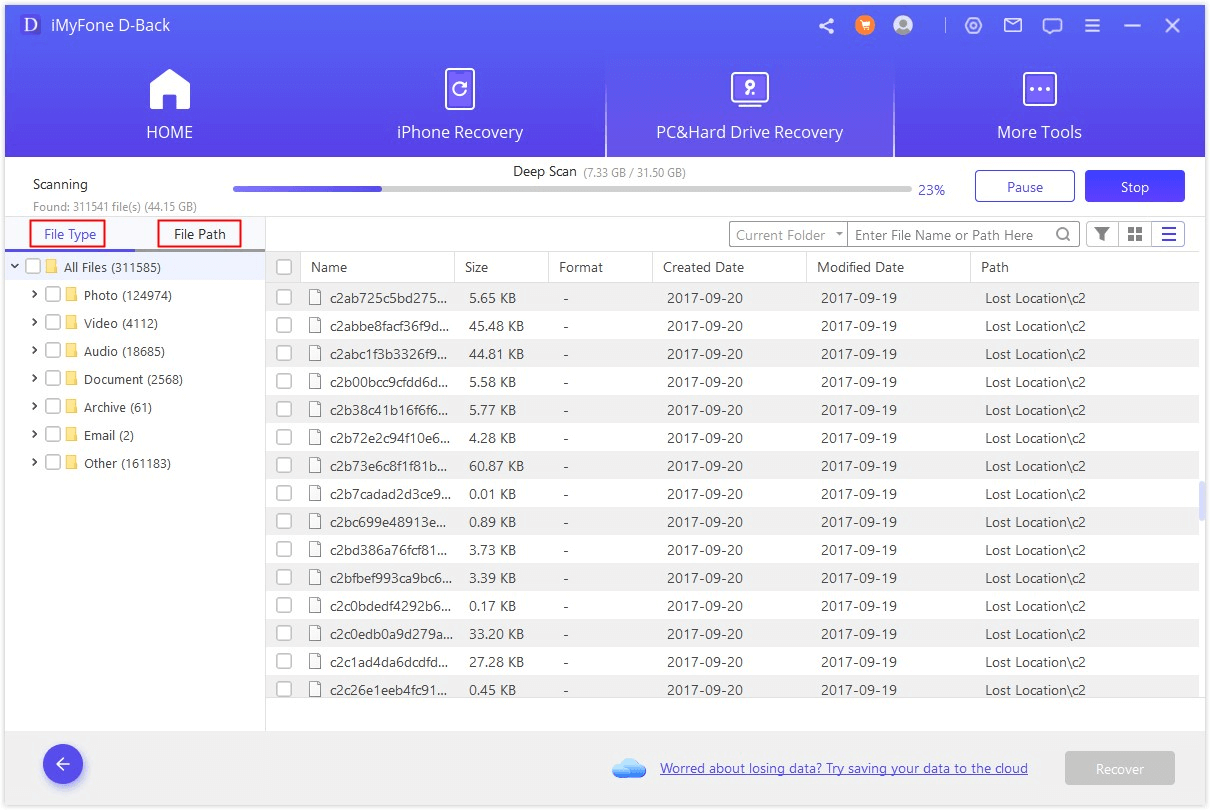
Step 3.Choose File Type from the left pannel. In your case, tick Document and go through the files displayed.
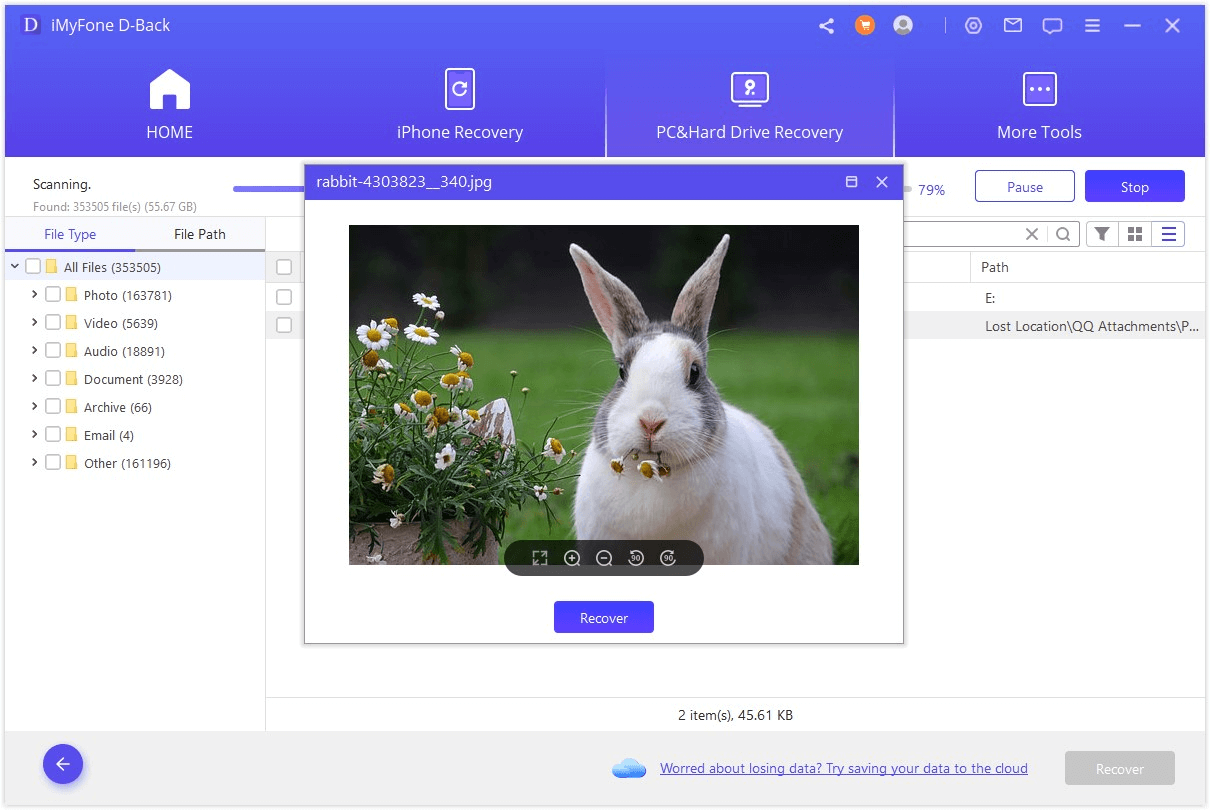
Step 4.You can also preview the detail to avoid any misoperation. Once you have confirmed, click on Recover.
Step 5.The last step is to choose the storage path for your Word document. Click OK and wait for the process to finish.
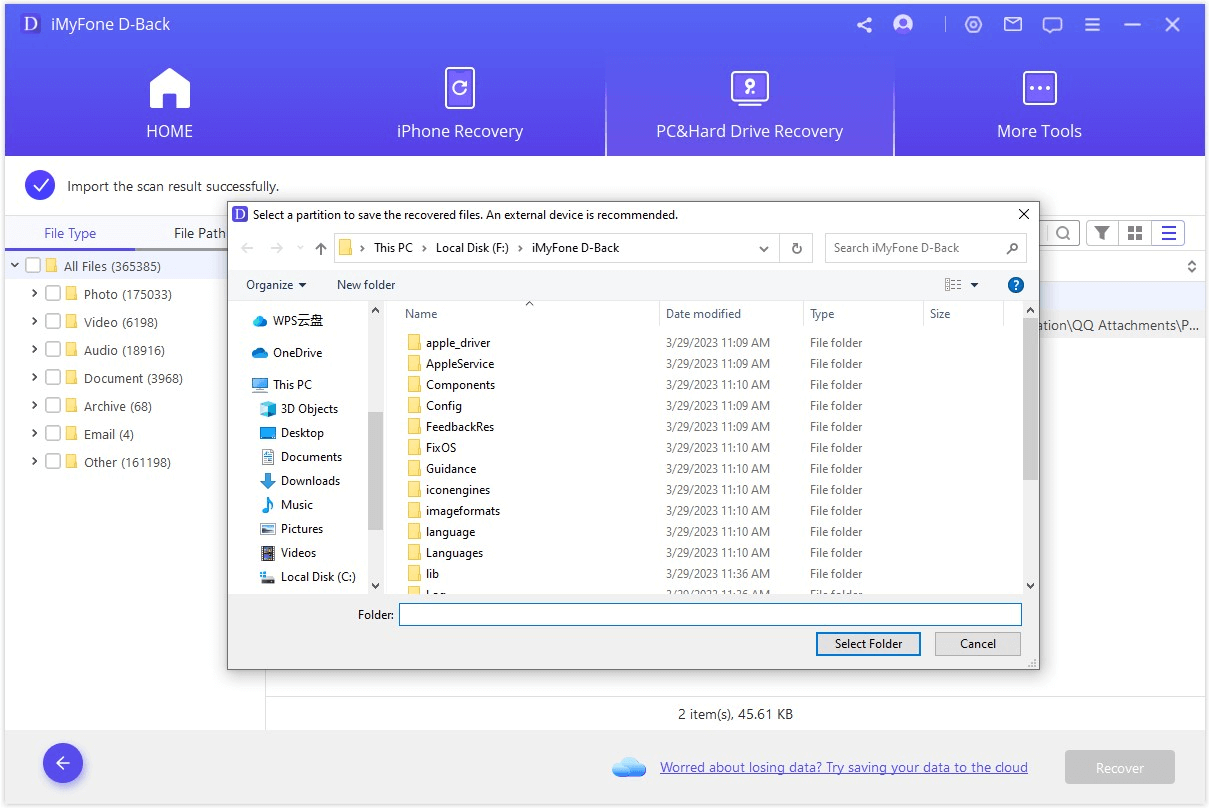
As you go through these steps, you will have your unsaved or lost Word documents on your PC storage.
Final Words
So, with these five ways to recover Word temp files, you can easily save any of the information that you accidentally lost. With the right way working for you, you will never need to worry about losing important information in the future. Just select the one that offers the most convenient and practical experience.