User Guide of iMyFone TunesFix
iTunes reports an unknown error? Bearing with iTunes loading slow? iMyFone TunesFix has you covered. With it, you can easily get rid of all the iTunes errors and issues without data loss. All you need is one click to let it start.
Part 1: Auto-Detect and Fix iTunes Components Issues
Step 1. Launch iMyFone TunesFix
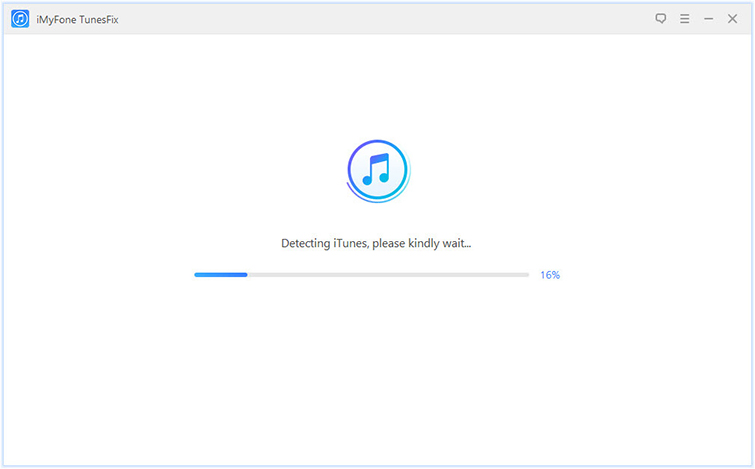
Open TunesFix and it will automatically detect your iTunes and its related components.
If there is no issue, you will be brought to its home interface. But if your iTunes or components are lost or corrupted, it will show you the details, like which one is lost, or which one is corrupted, etc.
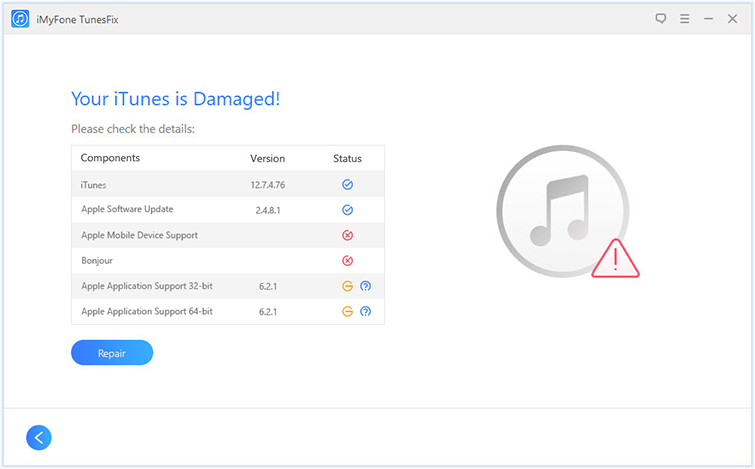
Step 2: Repair iTunes Components Issues
Click on “Repair” and it will start to repair your iTunes and components. Please ensure your iTunes is connected to stable network while repairing.
Note: If you don’t want to fix iTunes components issues, you can click the “Back” icon and you will get back to the home interface.
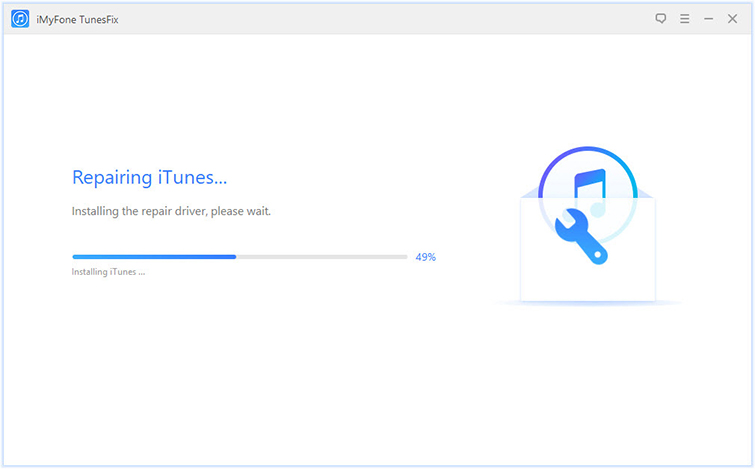
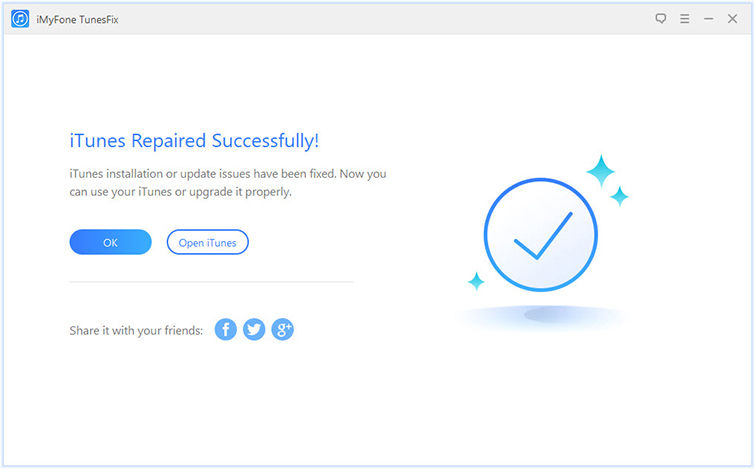
Please wait for it to finish. It won’t take long. Once done, you can try your iTunes to see if the issues have been repaired.
Part 2: Repair iTunes Unknown Errors
Follow these steps if you want to fix iTunes could not connect errors, iTunes can’t install/update issues, restore/backup errors, and 100+ more iTunes unknown errors.
Step 1: Choose the Repair Mode
Launch TunesFix and it will auto-detect your iTunes. If there is no issue of iTunes and its components, you will be in the home interface. Choose one of the repair modes.
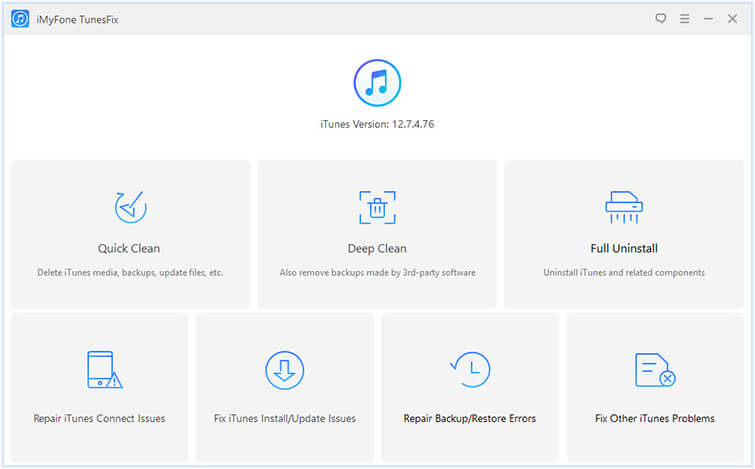
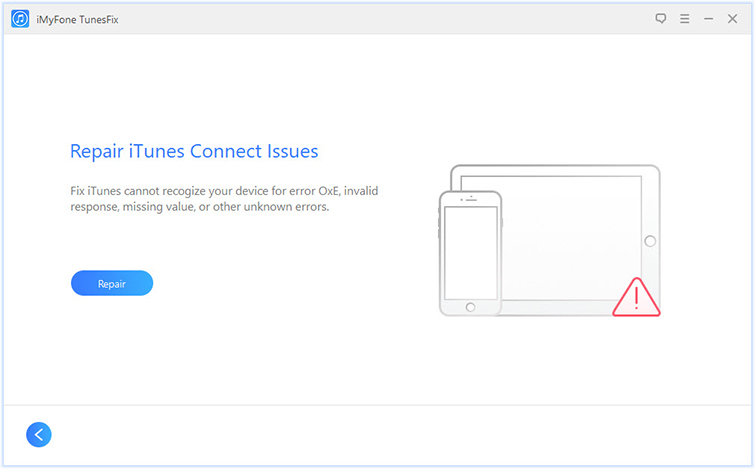
If you want to repair iTunes connect/detect issues, click “Repair iTunes Connect Issues”.
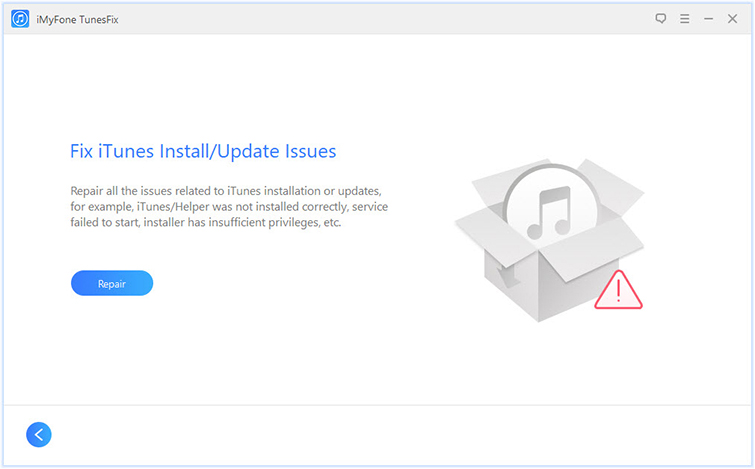
If you want to solve any issues related to iTunes installation or updates, choose “Fix iTunes Install/Update Issues”.
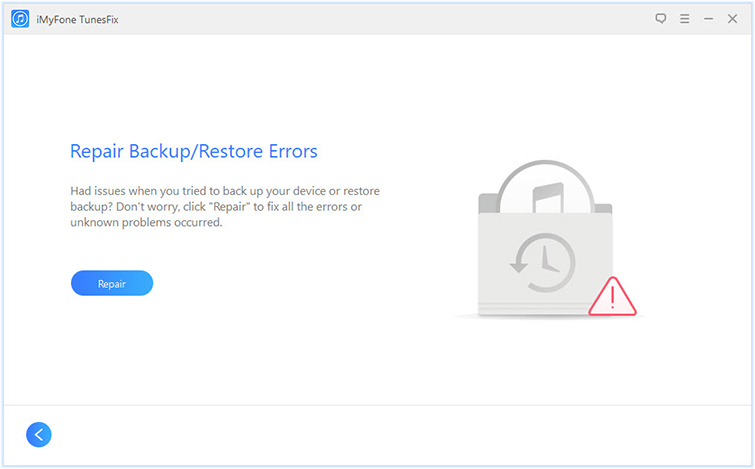
If you want to fix any errors occurred when you try to back up or restore iPhone, click “Repair Backup/Restore Errors”.
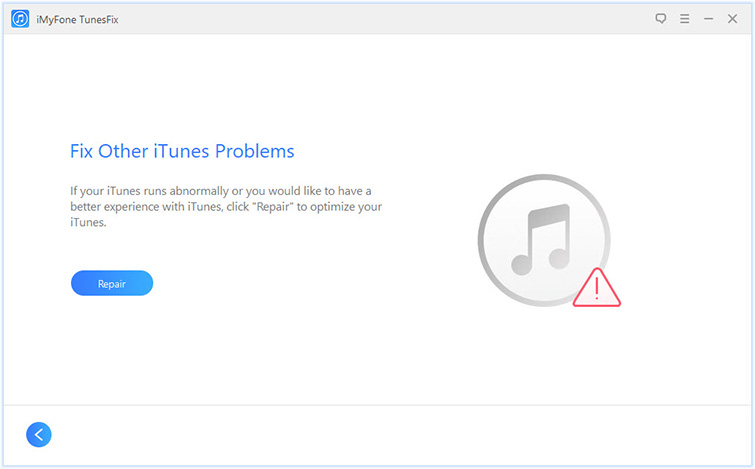
If you have no idea that the errors you want to get rid of belong to which kind of issues, just choose “Fix Other iTunes Problems”.
Step 2: Let It Repair Your iTunes
Click “Repair” and it will start to repair your iTunes. During the repairing process, please keep your internet stable.
When it’s done, you can click “Open iTunes” to launch your iTunes and try it.
Part 3: Clean iTunes in One Place
iMyFone TunesFix has two cleaning functions: Quick Clean and Deep Clean. You can choose one depending on your needs.
Step 1: Choose the Clean Mode
When you are in the home interface, please choose the clean mode.
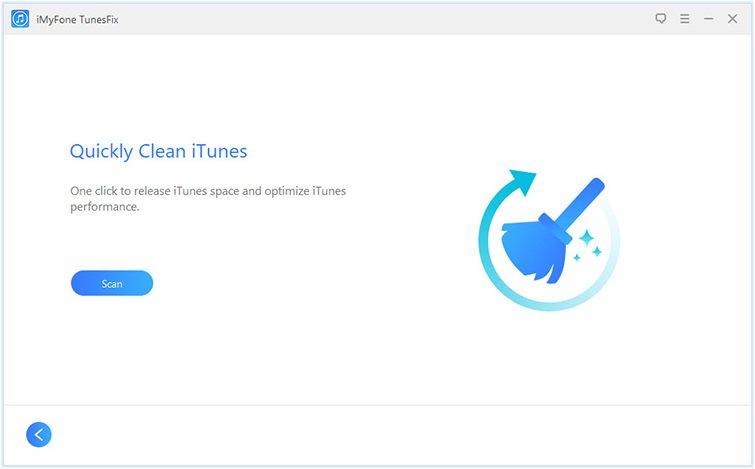
Choose “Quick Clean” if you just want to clean iTunes media, software updates files, iOS backups, cache, cookies, logs and other junk files.
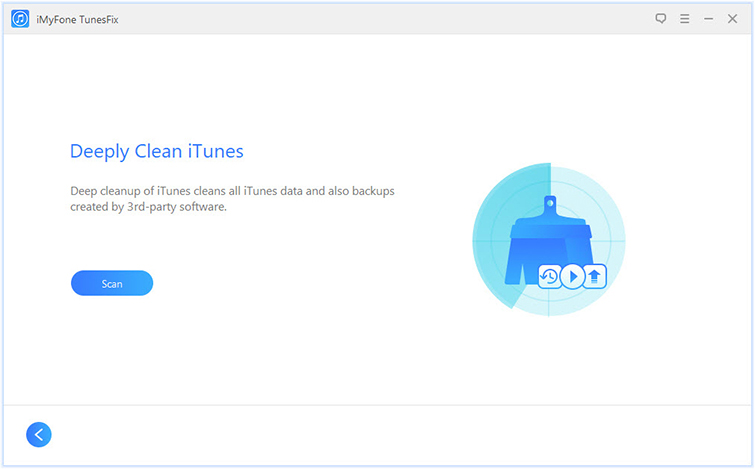
Choose “Deep Clean” if you also want to remove iOS backups created by third-party software.
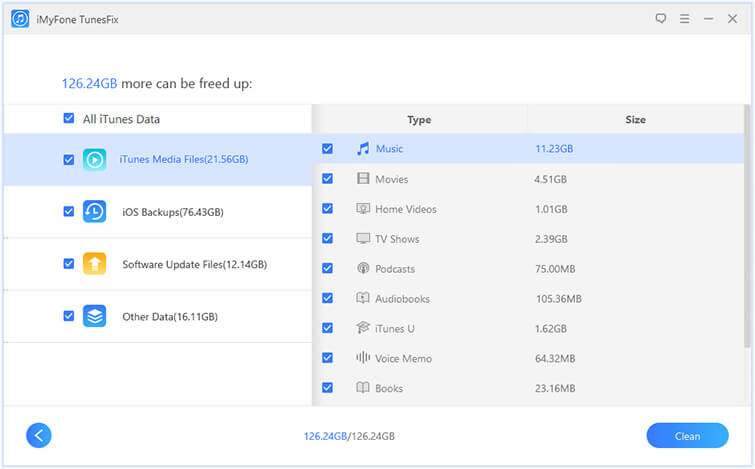
Step 2: Scan iTunes & Select Data
Click “Scan” and it will start to scan your iTunes. When it’s done, you can preview and select the unwanted files to delete.
Note: All the iTunes data will be checked by default. You can uncheck those files you want to keep.
Step 3: Remove iTunes Files
Once you select the files, click “Clean” and it will start to delete the checked files from your iTunes.
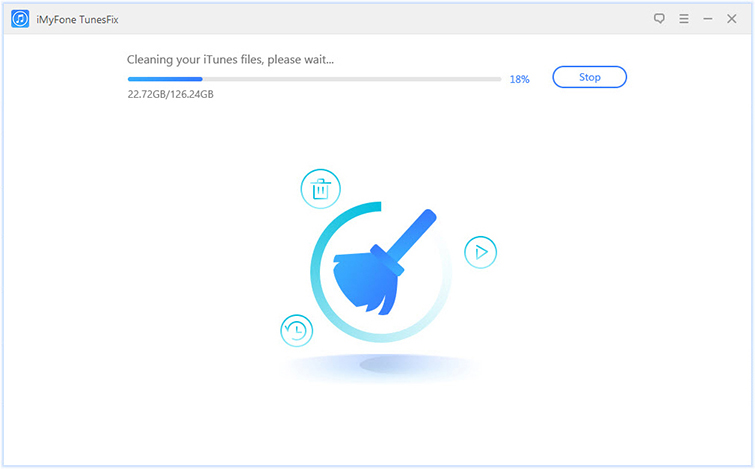
When it’s done, you will know how much storage space has been saved.

Part 4: Completely Uninstall iTunes
The full uninstallation of iTunes will thoroughly remove iTunes and its related software components. Meanwhile, you can delete the iTunes user data if you want.
Step 1: Choose the Uninstall Mode
When you are in the home interface of iMyFone TunesFix, click on “Full Uninstall”. It will guide you to the uninstallation page.
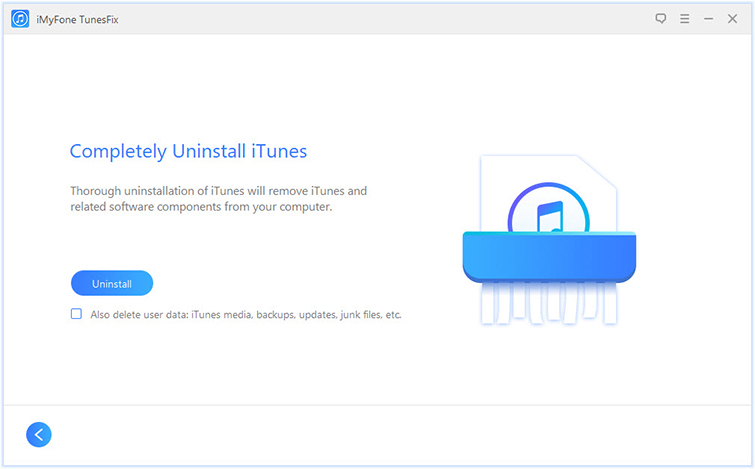
Step 2: Let It Uninstall iTunes
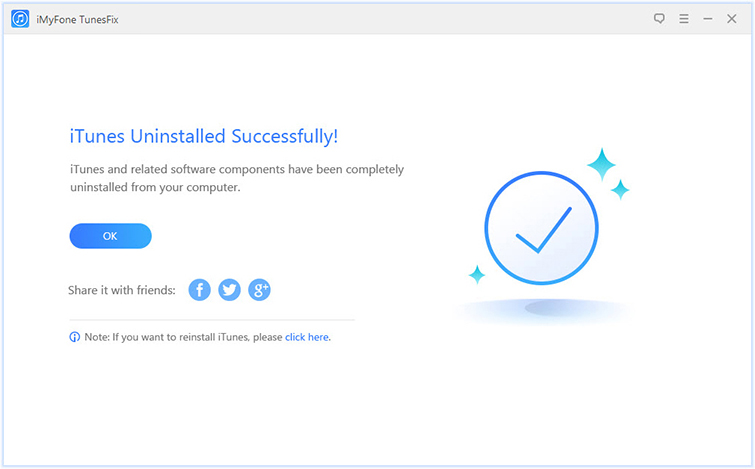
Click “Uninstall” and it will start to remove iTunes and its software components from your computer.
Note: If you want to delete iTunes user data, check “Also delete user data...” under “Uninstall” button, before you click on “Uninstall”. This will delete iTunes media, iOS backups, iTunes/iOS update files and other iTunes useless files.

When it’s done, you can tap “click here” to reinstall iTunes if you need.