How to Use Umate Mac Cleaner
If your Mac has become frustratingly slow, don't worry! Umate Mac Cleaner offers some efficient ways to optimize your Mac and make it run faster like a new one. Here is the step-by-step guide on how to use the app.
Part 1: Clean Up Junk
Umate Mac Cleaner allows you to clean unneeded junk files safely and free up more space efficiently with two modes - Quick Clean and Deep Clean.
Step 1: Launch Umate Mac Cleaner
Launch Umate Mac Cleaner after installation, then click "Scan" on the "Clean Up Junk" part for scanning your Mac system to know how much junks can be deleted.
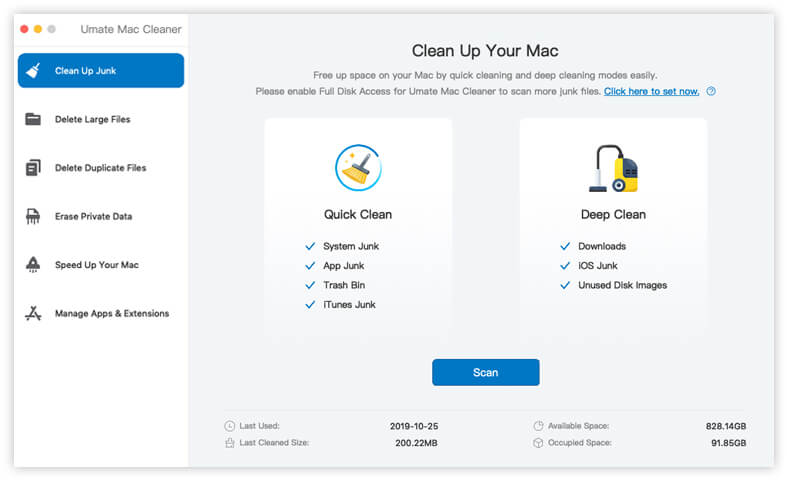
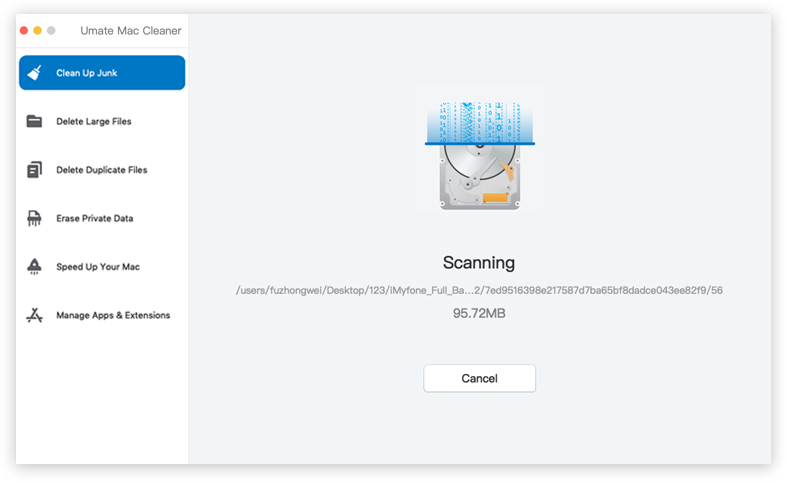
Step 2: Start Scanning
Start to scan your Mac, and the software will show you what are safe to be cleared in quick clean feature. You can click the “Clean” button to clean up all the selected junk files.
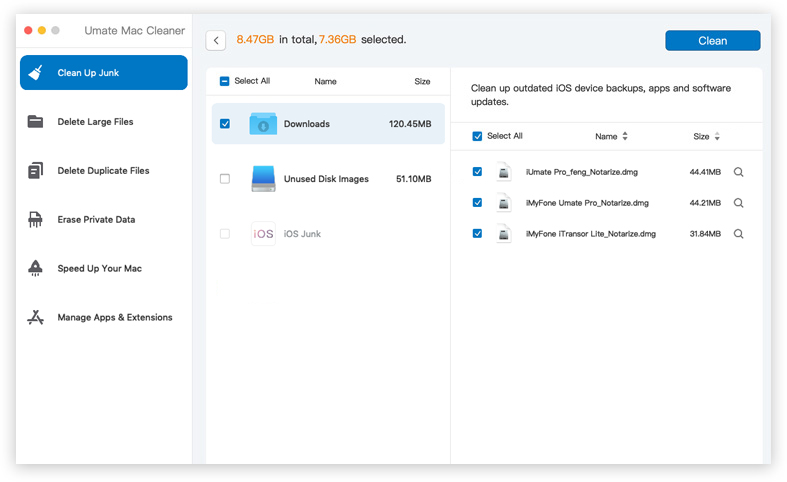
Step 3: Deep Clean
After quick cleaning, you will see how much space can be deep cleaned. If you want to free up more space with deeper cleaning, click “View Details” in the "Deep Clean" part to continue. Then select the items you want to delete and click "Clean" button to remove them in a flash.
Note:
The Full Disk Access permission only required for macOS 10.14 and later versions.
Part 2: Delete Large Files
It is very difficult to free up extra space on a Mac when it contains a number of large files. And this powerful Mac cleaning tool lets you to remove those annoying big files and reclaim the space they are occupying.
Step 1: Choose “Delete Large Files” Tab and Scan
Choose “Delete Large Files” tab and click “Scan” button to locate those files that are over 50MB. Then all the files that are matched will be listed in the next window by Last Used, Size, Type and File Path, so that you can remove them accordingly.

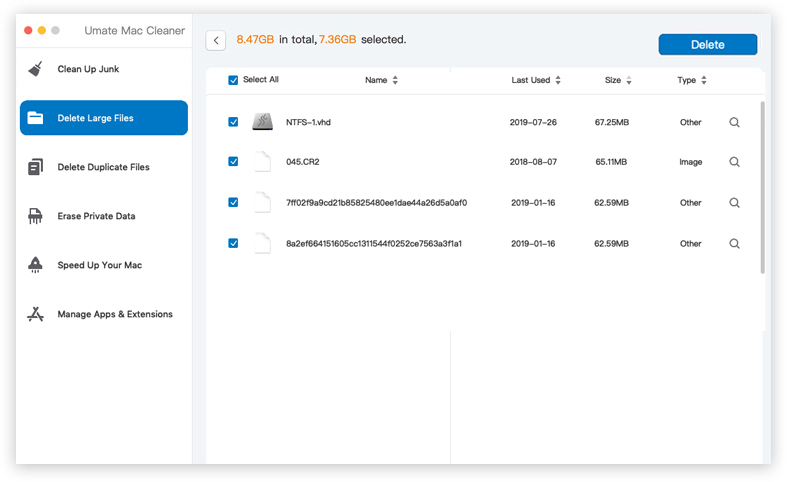
Step 2: Select Unneeded Large Files and Delete Them
Select those large files that you don't need anymore, like images, documents, audios, videos, archives and other, and hit the "Delete" button to get rid of them.
Note:
The Full Disk Access permission only required for macOS 10.14 and later versions.
Part 3: Delete Duplicate Files
Unnecessary duplicate files on your Mac are wasting your space on Mac. You can easily remove them without consideration and regain the disk space that they are occupying before.
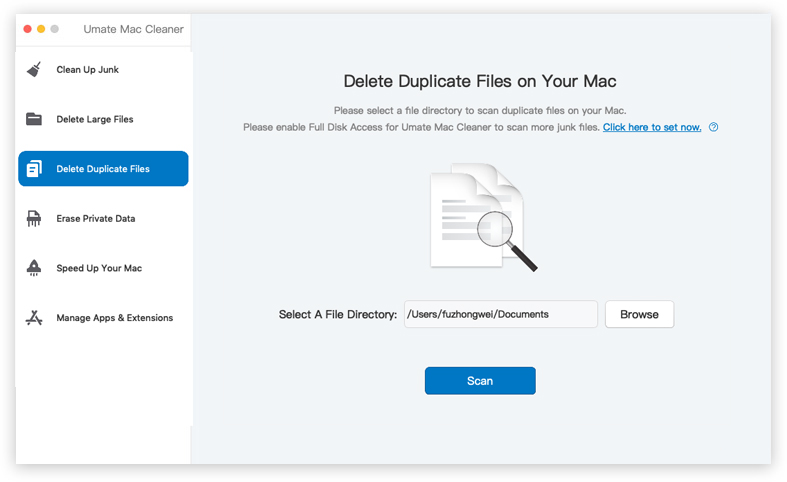
Step 1: Choose “Delete Duplicate Files” Tab and Scan
Choose “Delete Duplicate Files” tab and select a file directory on your Mac to scan the duplicates. After that, click "Scan" button to locate those duplicate items.
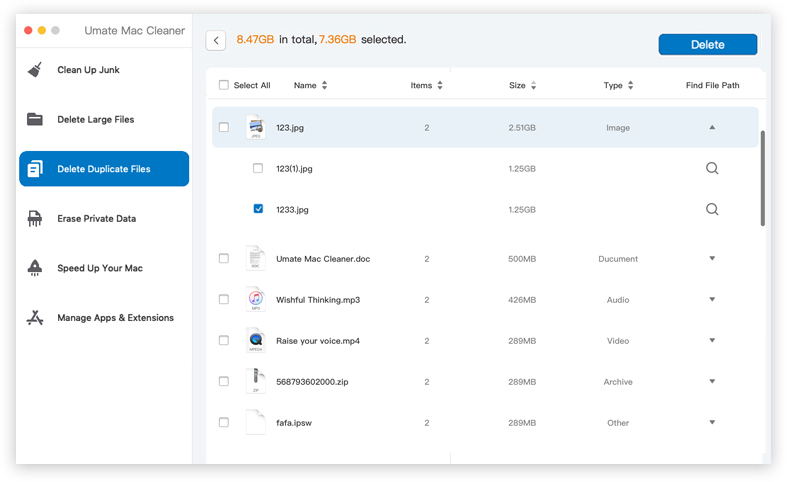
Step 2: Delete The Duplicate Files
After scanning, the app will show you the original files as well as their duplicates at the same time and automatically tick off the duplicate ones for quick deletion. Then you can directly click "Delete" button to confirm your request.
Note:
The Full Disk Access permission only required for macOS 10.14 and later versions.
Part 4: Erase Private Data
Umate Mac Cleaner helps to wipe your Mac's usage traces and personal private data completely to protect your privacy. No more fear of leaking privacy from your Mac.
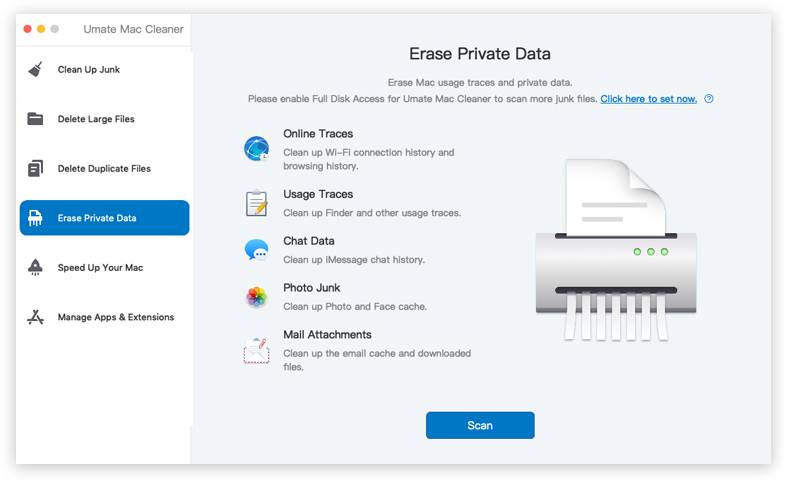
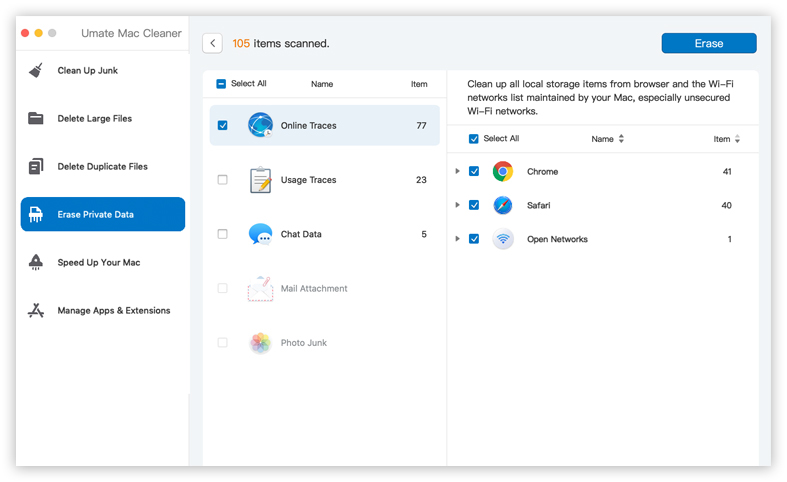
Step 1: Choose “Erase Private Data” Tab And Scan
Choose “Erase Private Data” tab and click “Scan” for locating the private stuff. After scanning, you will see how many erasable privacy files in the next window, including online traces, usage traces, chat data and photo junk, etc.
Step 2: Select Unwanted Private Data And Start to Erase
Select specific types of privacy data that you want to delete, and click "Erase" to wipe them out of your Mac.
Note:
The Full Disk Access permission only required for macOS 10.14 and later versions.
Part 5: Speed Up Your Mac
Startup items, heavy consumers and launch agents run secretly in the background, which may slow down your Mac. You can optimize your device and imporve its running speed by disabling these items. Releasing RAM on your Mac is also available in this feature.
Step 1: Choose “Speed Up Your Mac” Tab And Scan
Choose the "Speed Up Your Mac" tab, click" Start Now" and then Umate Mac Cleaner will start to scan the device and lists all the target items in the next window.
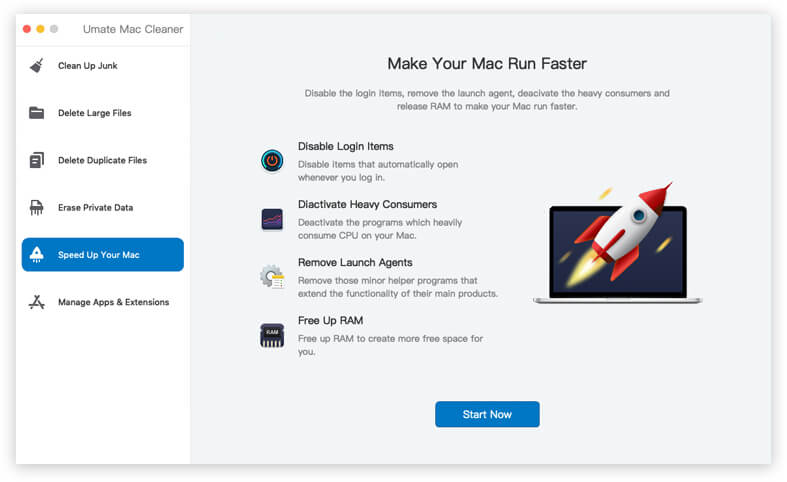
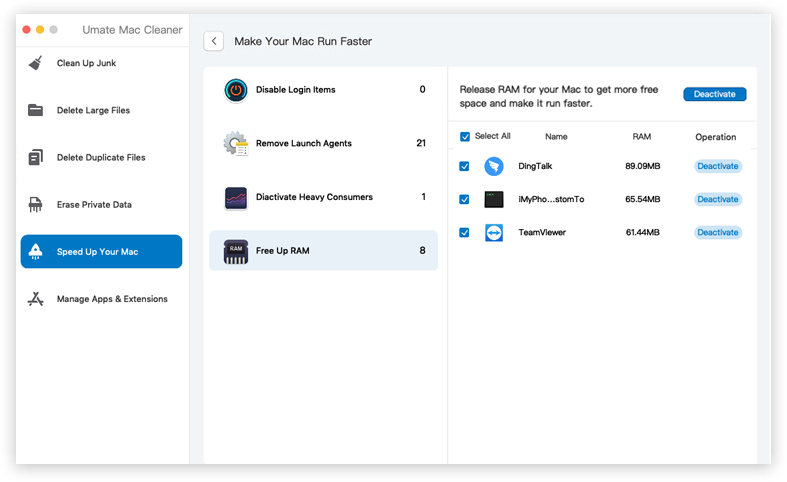
Step 2: A Desired Section and Operate Accordingly
Select one of the sections as needed, including "Disable Login Items", "Deacivate Heavy Consumers", "Remove Launch Agents" and "Free Up RAM" and follow the on-screen instructions to operate accordingly.
Part 6: Manage Application & Extensions
This feature helps you to uninstall unused applications and remove extensions with simple clicks to release more space on your Mac.
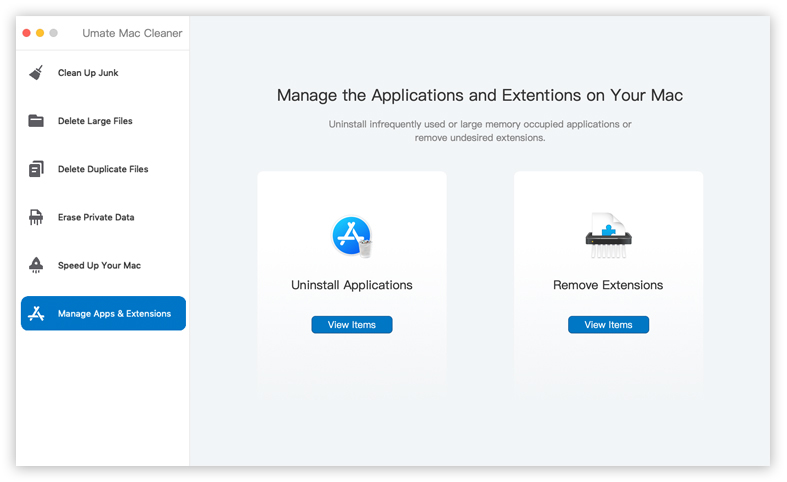
6.1 Uninstall Apps
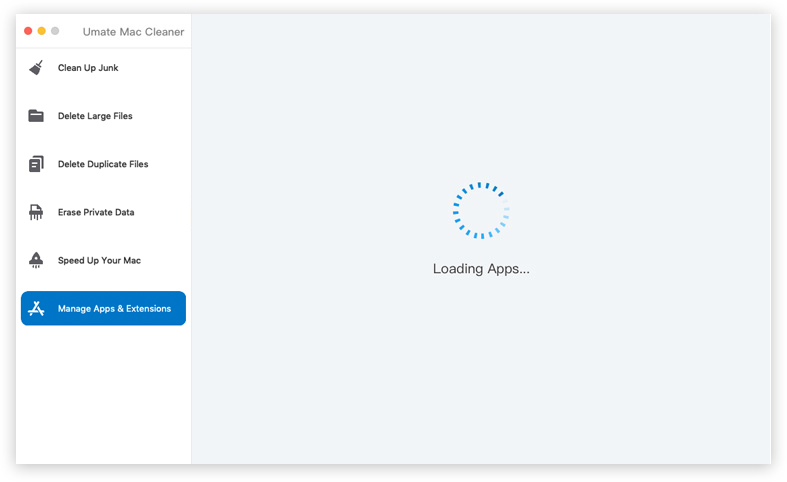
Step 1: Load Apps on Your Mac
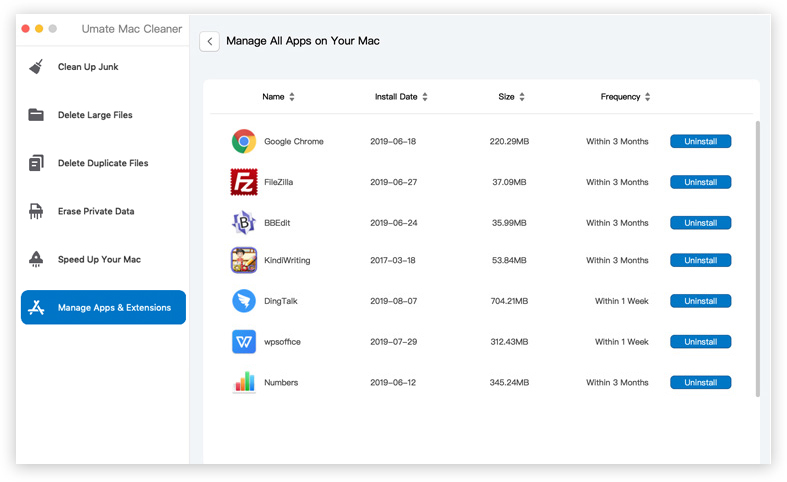
Choose “Manage the Applications & Extentions” tab, and click "View Items" on "Uninstall Applications" Part to load all the apps on your Mac, then the software will show the Install Date, Size and Use Frequency of apps to help you decide which one to be uninstalled.
Step 2: Uninstall Unused Apps
Click "Uninstall" button to remove those infrequently used or large applications occupying memory on your Mac.
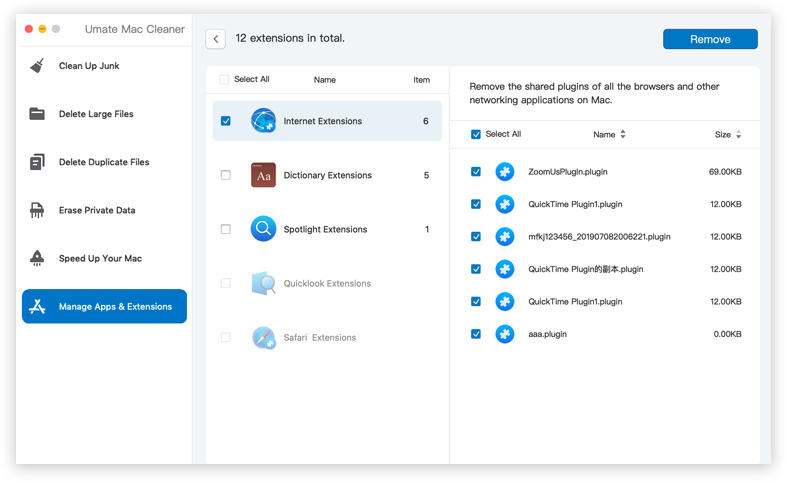
6.2 Remove Extensions
Step 1: Load Extensions on Your Mac
Click "View Items" on "Remove Extensions" part to load all the extensions on your Mac. Then the software will show you how many extensions in total are on your Mac.

Step 2: Remove Undesired Extensions
You can click on the extensions one by one to preview and select the items which you want to remove. Then click" Remove" to delete the selected items.