


 September 26, 2023
Backing up all the data on your iPhone is an important exercise that has to be done if you are going to keep your data safe. But the simple process of backing up the device can be hindered by a locked or disabled iPhone/iPad.
In this article, we are going to look at all the ways you can back up a locked or disabled iPhone/iPad to computer without passcode even when iTunes doesn’t recognize the device.
Part 1: If the Disabled/Locked iPhone/iPad Can Be Recognized by iTunes
If you had backed up the iPhone/iPad in iTunes before, it is very likely that you may not need to enter your passcode to back up the device again. The following two options can be ideal if iTunes still recognizes the device:
1. Make a Full or Partial Backup of Locked iPhone/iPad to Computer without Passcode/iTunes (iPhone 14 iOS 16 Supported)
Another way to back up your locked or disables iPhone/iPad is to use a third-party backup and restore tool like iMyFone iTransor Backup & Restore Tool . With iTransor, you can choose to make a full back up or a partial one. It is very easy to use, allowing users to create a backup and restore the backup in a single click. It is also ideal when you want to export data from the iPhone to the computer or from iCloud and iTunes backup files to computer. Besides, it works for iOS device running iOS 16.
Here’s how to use iMyFone iTransor to back up a locked/disabled iPhone to computer without passcode/iTunes.
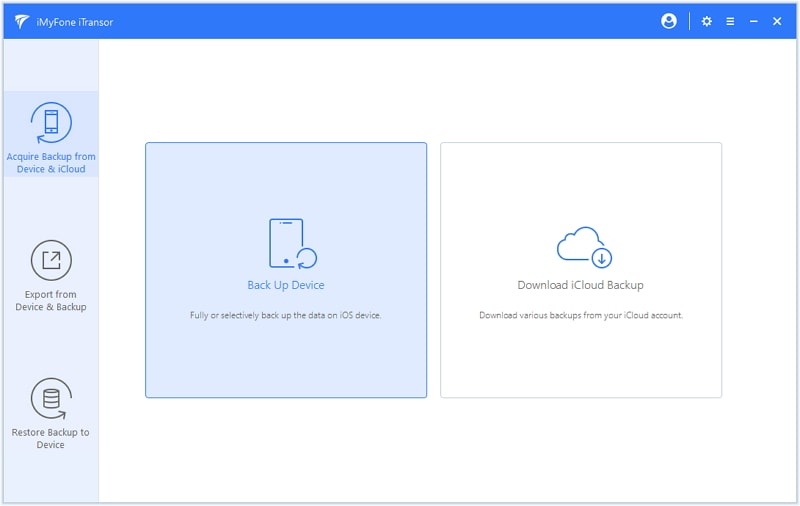
- Download and install iTransor on your computer. Open it and on the main window of the program, select “Acquire Backup from Device & iCloud”.
- Connect your iPhone with the program and choose Make a Full Backup. Click Back Up and the program will begin the backup process almost immediately.
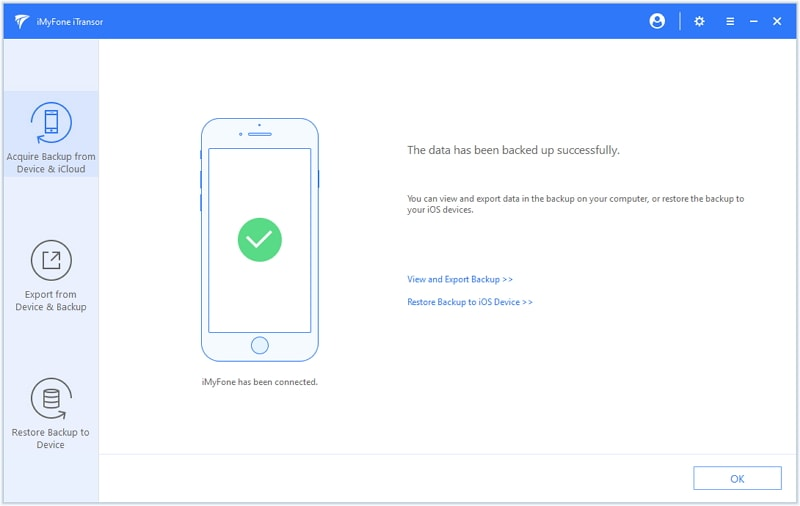
- When the process is complete, you will be notified that the device has been backed up successfully.

2. Export Data from Locked iPhone to Computer for Backup
If you just need to transfer some but not all of the data from your iPhone to the computer, iMyFone iTransor can help you selectively export the data. Follow these simple steps to do it;
- On the program’s main window, select “Export Data from Device & Backup.” Click on “Export Data from Device”.
- In the next window, choose the type of data you would like to export. You can select as many types of data as you wish. Click “Scan” to continue.
- The program will immediately begin scanning the device for the selected data. When the scan is complete, preview and select the data you want to export and then click “Export” to save the data to your computer.


3. Backup Locked iPhone/iPad to Computer with iTunes
The following simple steps will help you backup your locked or disabled iPhone/iPad in iTunes on a trusted computer:
- Open iTunes on your computer and then connect the iPhone to the computer using USB cable.
- When the iPhone shows up in iTunes, click “Summary” and the “Back Up Now” Ensure “This Computer” is selected to make sure the backup is saved on the local disk.

Part 2: If iTunes Doesn’t Recognize the Disabled/Locked iPhone/iPad
If iTunes doesn’t recognize the device, the following are just some of the options you can try:
If the screen is broken, fix it and then backup the device when you can enter the passcode.
You can also use a Bluetooth keyboard to enter the password although this keyboard needs to already be paired with the device for this method to work.
If a small section of the screen is still working, you can enable voice over mode and use it; Here’s how to backup disabled iPhone without iTunes:
How can I backup my locked/disabled iPhone/iPad without iTunes?
Step 1: Hold the home key to turn on Siri and ask Siri to turn on Voice Over.
Step 2: Swipe right or left until “Slide to Unlock” is selected.
Step 3: Double-tap to bring up the passcode page and the swipe right/left to enter the passcode. You can enter the passcode by double-tapping each number.
Part 3: How to Remove Passcode if iPhone is Disabled
If you have forgotten your passcode, you may need to erase the device to remove your current passcode and set up a new one. You can unlock a disabled iPhone permanently in iTunes or using recovery mode.
How can I unlock a disabled iPhone permanently?
1. Remove Passcode with iTunes
Follow these simple steps to remove the passcode on the device using iTunes:
Step 1: Connect the iPhone to a computer you’ve synced the device with before.
Step 2: Open iTunes and when asked for a passcode, use another trusted computer or use recovery mode.
Step 3: If you are not asked for a passcode, wait for iTunes to sync your device and make a backup.
Step 4: Once the backup is complete, click “Restore iPhone” and in the set-up screen, choose “Restore from iTunes” backup.
Step 5: Choose the most relevant iTunes backup by date and size and wait for the process to be completed.

2. Remove Password with Recovery Mode
If you have never synced your device with iTunes, you may need to use recovery mode to erase the device and its passcode. Follow these simple steps to do that;
Step 1: Connect the iPhone to the computer and then open iTunes.
Step 2: Once the device is connected, you need to force-restart it. Here’s how to do that for different devices:
For iPhone X, iPhone 8 and iPhone 8 Plus: press and quickly release the Volume up button. Press and quickly release the Volume down button and then press and hold the Side button until you see the recovery screen.
For iPhone 7 or iPhone 7 Plus: Press and hold the Side and Volume Down buttons at the same time until you see the recovery mode screen.
For iPhone 6s and earlier: Press and hold both the Home and Top or Side buttons at the same time until you see the recovery-mode screen.
Step 3: With the recovery mode on the screen, you should see the option to “Restore” or “Update” in iTunes. Click “Restore” and iTunes will download software to your device.
Step 4: Wait for the process to finish and then set-up the device as normal.

Conclusion
In conclusion, knowing how to backup a disabled iPhone without a passcode or iTunes is essential. We've explored methods like iCloud, third-party tools, and iTunes recovery mode. But prevention is key – regular backups to iCloud or iTunes can prevent this issue. Keep your passcode and Apple ID safe. With this knowledge, you can confidently protect your data and troubleshoot disabled iPhone issues, ensuring your digital life remains secure and accessible.