


 March 29, 2023
Copy, Cut and Paste is most commonly used to transfer data from external storage devices like SD card, USB drive, etc. to PC, and vice versa. But we've often heard complaints about data lost while transferring files with the cut and paste commands. Where Do Cut Files Go? Actually, you will not be worried about this. In this article, we will tell you how to Recover Files Lost in Cut and Paste.

Part 1.How to Recover Files Lost After Cut and Paste on Windows/Mac
Unlike deleted files that go to the Recycle Bin in Windows PC, when you cut files from PC or memory card, they disappear from the folder and become invisible. In this section, we will introduce three effective methods to recover files lost during cut and paste from windows 10/8/7 or external sd card/usb devices.
1.1. Recover Cut Files by iMyFone D-Back - the Best Way
If you have tried the above two solutions but still didn't restore cut files, then the elite data recovery program iMyFone D-Back is your best choice. This software is a sophisticated and advanced tool for recovering lost, deleted, or formatted files/data from hard drive, PC, Mac, or other data storage devices. It achieves a record-high recovery rate with its advanced Deep-Scan algorithms, which can go deep into the data structure to retrieve inaccessible files.
We recommend this powerful data recovery software to help you recover files lost during cut and paste because it can perform this task fast and efficiently.
Main Features about iMyFone D-Back:
- Efficiently recover data and files lost during cut and paste process whether it's transferring from PC to external device or vice versa.
- Able to restore data lost due to accidentally deletion, formatting, virus attack, lost hard drive partition, system crash, etc.
- D-Back Hard Drive Recovery Expert can recover various file types, such as photos, archives, videos, audio, documents and more.
- Fully compatible with Windows 10/8/7/XP/Vista and Mac, it's 100% safe to use.
Step 1.Launch D-Back Hard Drive Recovery Expert on your PC, and select a location where the lost files was saved, then click Start.

Step 2.D-Back Hard Drive Recovery is cunducting a deep scan to search for lost files, please wait for a while.
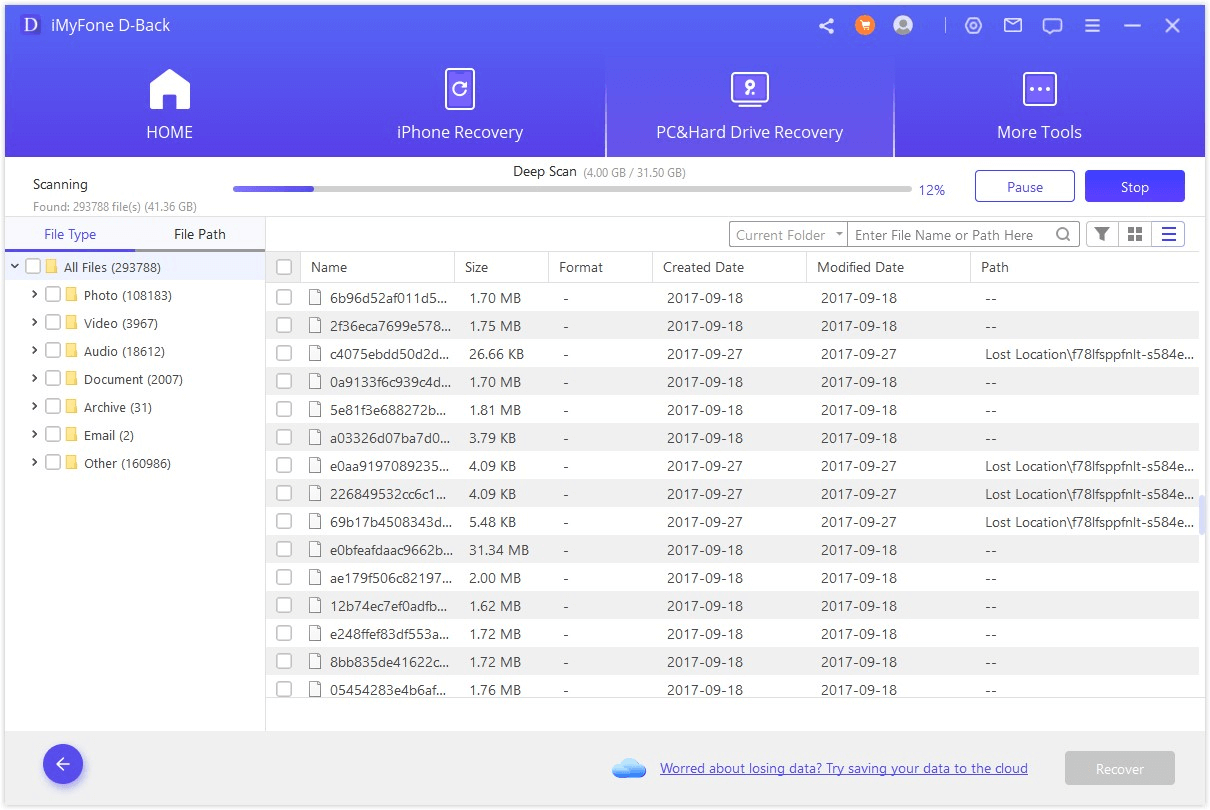
Step 3.Scan finished, all the recoverable files will be listed on left side. Select the ones you want, then click Recover. You can also preview it vefore recovery.

1.2. Recover Files Cut but not Pasted from Computer without any Software by Show Hidden Files
Sometimes the lost files are just hidden from you after cut and pasted from computer, so show hidden files in File Explorer might help.
- Head over to Start > Control Panel.
- Then choose "Appearance and Personalization", under which select "Folder Options", or directly click "Show Hidden Files and Folders".
- Click "View", then check "Show hidden files, folders, and drives", all is done.
1.3. Recover Cut but not Pasted Files from Desktop without any Software by System Restore Tool
If you want to recover cut files from computer without any software, then System Restore Tool is worth a try. However, this technique may not necessarily be helpful if the files were copied from an external hard drive, and the steps are complicated. If you prefer a more effective and simple method, then apply Method 1 directly.
How to use System Restore Tool to recover files lost after cut and paste from Windows 10:
Step 1. Enable System Restore Tool:
- Go to Control Panel and click “Recovery > Configure System Restore”.
- Select system C drive, and click on “Configure”.
- Check the option “Turn on System Protection” and click “Apply”.

Step 2. Create a system restore point:
- Go to Control Panel, and select the following options: “System and Security > System > System Protection > drive C > Create”.
- Name the restore point or give it a description that can help you to identify it.
- Click “Create”. Wait until you see the notification trail “The restore point was created successfolly”.

Step 3. Restore your Windows to a previous date:
- Go to Control Panel and choose “System and Security”.
- Click on “System” and select “System Protection > System Restore”.
- Click “Next” and choose the restore point you created in step 2 above. Then, click “Next” to continue the process.
- Click “Finish” to bring your system files and setting to a previous date. Finally, click “Yes” to continue. You can now follow the onscreen instructions to complete the process.

Part 2. Tips to Prevent Data Loss during Cut and Paste
The best way to perform data recovery is prevention. Here are some tips to help prevent file loss in cut and paste.
- Use "Copy and Paste" command instead of "Cut and Paste", this will reduce the risk of unexpected data loss.
- Never forcefully rejecting an external drive while transfering cut files.
- Don't cancel or interrupt the cut and paste process before it is finished.
- It's recommended to equip your computer with a UPS device to avoid data loss die to power failure.
Now you must fully understand where do cut files do and know how to restore copy something new from clipboard. We highly recommend trying iMyFone D-Back because it works more efficiently and can recover nearly all types of files.