


 March 29, 2023
DD is an extension of the image file. For creating a backup, the perfect form is a RAW format. Firstly, it is safe, and secondly, the backup restoration is easy and successful. There are different ways to mount a DD image in Windows. In this article, we will talk about DD images and how to recover deleted files.

Part 1. How to Recover Files from DD image on Windows
1.1. What Is A DD Image File?
DD is an extension, and it is a disk image that serves as a replica of a hard drive disk. For creating a .dd extension file, the DD utility is used in Windows. DD file is sometimes also used in various investigations. Due to this reason, it is also known as a forensic DD image.
1.2. How To Recover Deleted Files from DD Image?
To recover deleted files from DD images, you need a third-party recovery tool. iMyFone D-Back is the best tool that one can go for. With just a few clicks, you can recover your deleted files from the DD image. It works with Windows, even the latest Windows 11.
iMyFone D-Back supports numerous file types, including DD. It has an interesting UI that users can easily understand. Download the version to check the feasibility and capability of this tool to recover deleted files from DD images. Just install the tool and follow the steps below to recover files.
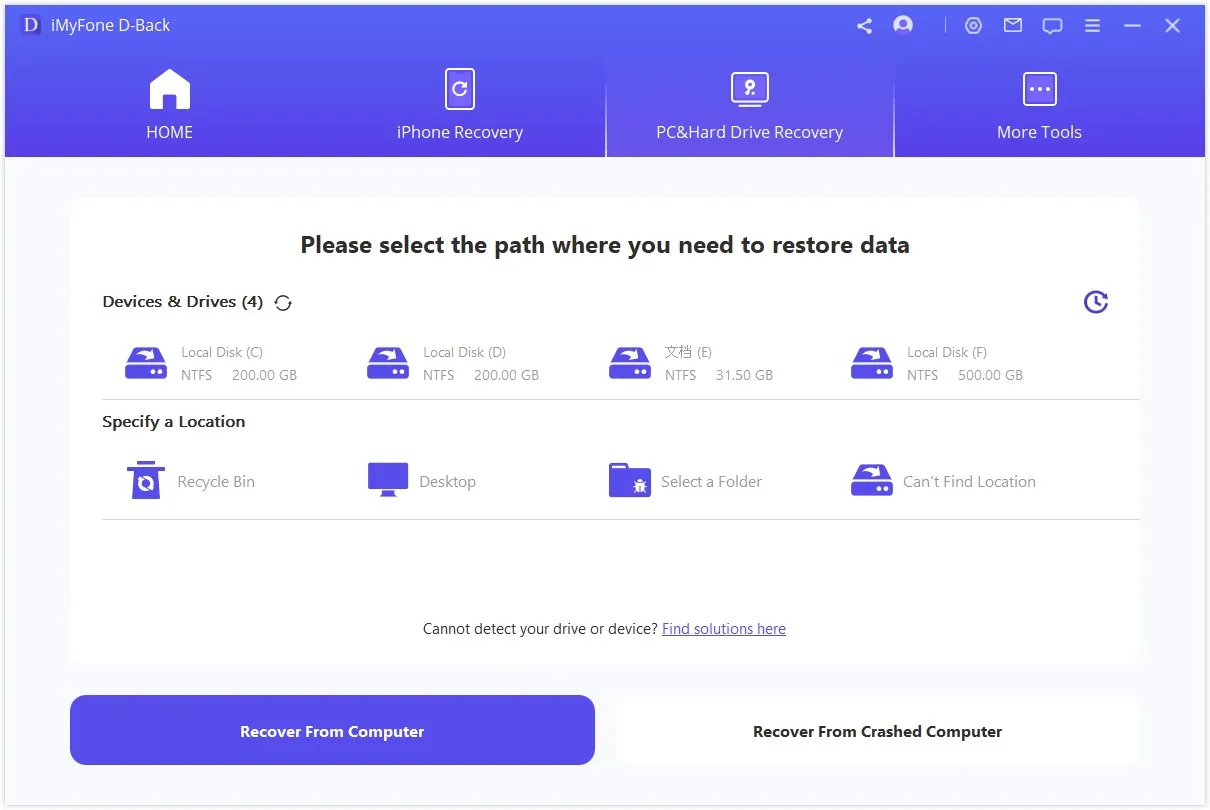
Step 1: Open the tool. You will see all the disks that are mounted to your computer. Select the disk from where you want to recover deleted files from the DD image.
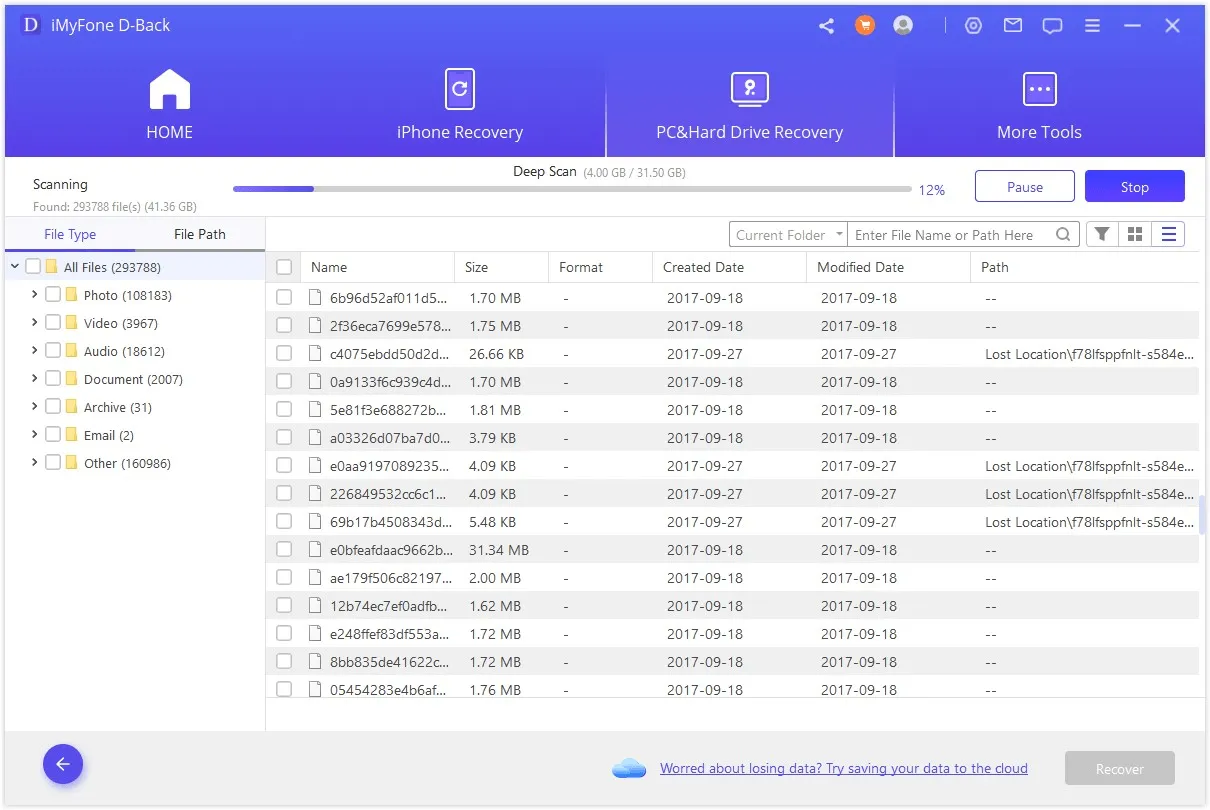
Step 2: Start scanning the drive. Once the scan finishes, you can preview all the DD images. Select the DD files that you want to recover.
Step 3: Select the path where you want to save the recovered DD files.
Pro Tip: DD Backup Image and DD Create Disk Image
2.1. DD Backup Image
The basic task of DD is to create a backup of files. It can copy raw files from any drive to another drive. It is used to make a copy or clone of drives or images. There are many ways to create DD Backup Image File. One of the easiest ways is mentioned below in ‘FAQ# 3’. The same method is used to create a DD backup image and to make a USB Drive Image.
2.2. DD Create Disk Image
Step 1: To create a disk image, install the DD utility and connect the disk which is damaged to your computer. Your PC must detect the disk; otherwise, it won’t work.
Step 2: Open CMD Prompt and type “dd -- list.” You will see the whole list of devices connected to your computer. Note the volume name for your disk as it will be used afterward.

Step 3: Make sure that you have enough space on your hard disk. Then type “dd if=\\.\Volume{6f41f4b2-d11a-11de-b318-001d4f88486c} of=c:\usb.img bs=1M”.
The command after ‘dd if=’ is the volume of your disk that ends with the end of the curly bracket. The directory ‘C’ represents where the carbon copy of the damaged disk will be created.
Part 3. FAQs
01 How Do I Mount a DD Image in Windows?
To mount a DD image in Windows, you need a tool or software. OSF Mount is a windows utility that allows the user to mount a local disk image files. The user can do this in Windows with just the drive letter. Then the user needs to analyze the DD image with the OS Forensics tool. The DD files are mounted as read-only so that the original Image cannot be altered or changed. Let us see how to mount a DD image in Windows using OSF Mount.
- After installing OSF Mount, open the tool. It has a very simple UI. Enter the source of the image file so that it can be mounted. Click on “Next”.
- The next step is to decide whether you want the entire Image or a specific partition mounted for further investigation.
- You will see additional mount options that you need to enter. Once you are done, click on “Mount”. The Image will then be successfully mounted.

To check the correct mounting, you can check the DD image by opening it.
02 What Is a DD Image in Forensics?
DD image file is usually made for Forensics. In Forensics, the examiners depend on Forensics as it can reveal the root of any investigation. Forensics is challenging, and a proper platform is needed to work on these files. Different Forensics applications help the user to resolve DD image file content. The basic task of Forensics is to proceed with the investigation efficiently.
03 How to Use DD to Make USB Drive Image?
Usually, DD is used to make a backup of image files. It is an efficient and quick process. To be able to make USB Drive Images using DD, you can follow these simple steps.
Step 1: First, install DD for Windows from any website. Install it. After installation, plug in your USB to the computer. It should be detected and shown as a folder in Windows File Explorer.
Step 2: Now, open CMD Prompt and enter the following command:
d:\dd\dd.exe if=\\.\’drive letter’: of=d:\dd\usb.img bs=1M --progress
Here, the folder ‘d’ is the DD path, and later ‘d’ is the destination of the image file. Whereas, in place of the drive letter, you need to enter the drive of your USB that appears in Windows File Explorer.
Step 3: It will take a few minutes to finish creating the image file. It depends on the capacity of your USB Drive. The user can also make raw images using this same command.
Conclusion
DD files are generally used to create replicas or backup the hard drive. It is a secure and efficient way to create a backup. Most professionals that use Windows and Linux OS use DD extension to create their disk image. If accidentally you have deleted DD images, you can recover them using the iMyFone D-Back. It is a third-party professional data recovery tool that recovers almost any type of file type and format. It is not compatible with Linux, but it works well with Windows. Download the trial version to recover your DD image files.