iTunes is a useful tool to sync data on your device to your computer and also allows you to enjoy and organize the music and movies you have. In addition, you can also use it to restore your iPhone or install a firmware on iPhone. ios 16/17/18 is already available now. Some people are using iTunes to install ios 16/17/18 update on their iPhone.
However, some people find it stuck on restoring iPhone firmware during process. This is very disappointing. If you are one of these, just keep reading. We are here to put a pause on all your worries and help you fix the problem with these easy solutions.
1. What "Stuck" Issues You Can Meet during ios 16/17/18 Installation or Restore
When iTunes gets stuck on restoring the iPhone firmware, there are many factors ranging from the server, storage to software problems triggering the issue. Below are some of the stuck issues you may encounter when updating to ios 16/17/18 or restore ios 16/17/18 firmware to iPhone.
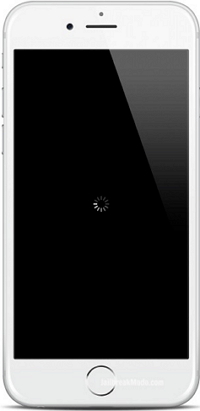
- One may face iPhone getting stuck on black screen with the spinning wheel while performing the installation of the new version ios 16/17/18.
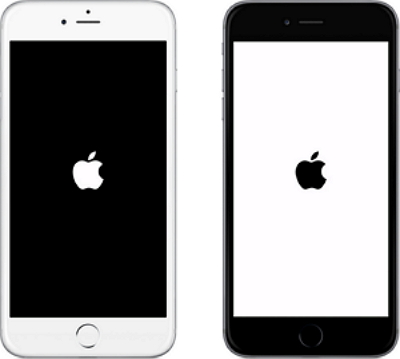
- Another such issue witnessed during the installation phase is the Apple logo getting freezed. Thus, there is no any further activity.
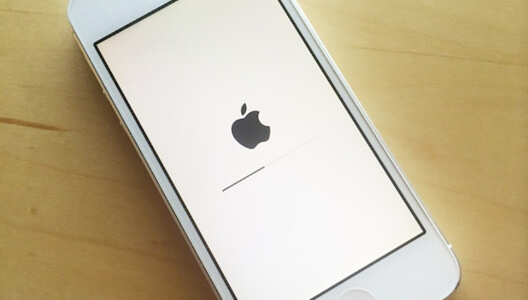
- During the ios 16/17/18 update, your iPhone might get stuck on the Apple logo while showing the progress bar too.
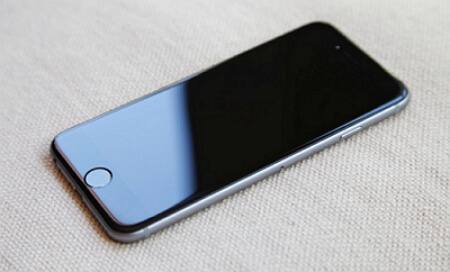
- You iPhone may also get frozen on white/black screen issue when restoring iPhone firmware.
2. How to Fix iTunes Stuck on Restoring iPhone Firmware of ios 16/17/18
Following some of these useful tips you may save yourself from the panic when you find your iTunes is stuck on restoring iPhone firmware.
2.1. Common Tips
If your iTunes gets stuck on restoring iPhone firmware or shows the software is not available for iPhone, here are some common tips you need to try. For example, update iTunes to the latest version, use another computer, switch to another wifi, force restart iPhone and make sure you are using the original USB cable. These tips are very basic but can be pretty much useful in such cases.
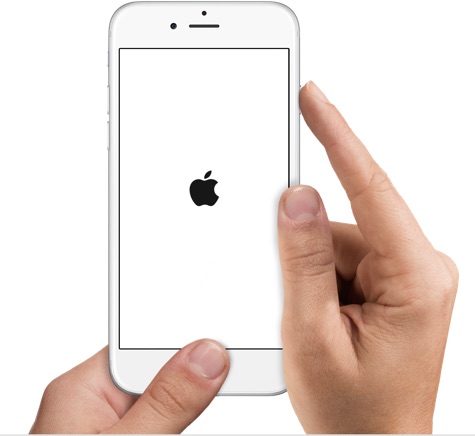
Here are the easy steps to do force restart, depending upon the models you are using.
If your iPhone version is 6 or below:
You would be required to hold the "Home" and "Sleep/Wake" buttons together. Once the apple logo appears on your screen, you can release both the tabs you kept holding.
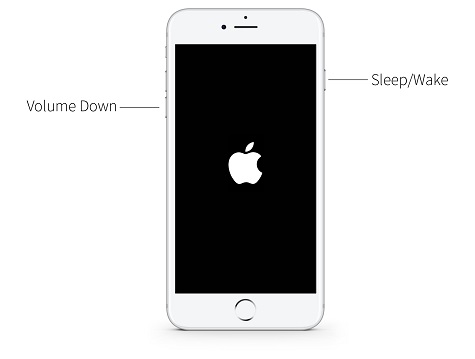
If you are currently using iPhone 7 Series:
You need to press the "Sleep/Wake" button and the "Volume Down" button together till you get to see Apple logo appearing on the screen. You can then take your fingers off the buttons and it may resolve the issue of iPhone getting stuck during the restoring of ios 16/17/18 firmware.
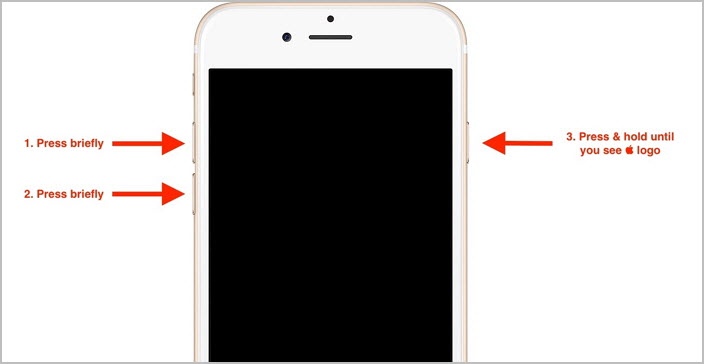
For your iPhone 12/11/X/8:
Press and release the 'Volume Up' button quickly. Repeat this with the 'Volume Down' button and then ensure to hold down the 'Power' button for next 7-8 seconds. We hope this will kick away the issue of iPhone getting stuck on restoring the firmware of ios 16/17/18.
2.2. Try iTunes Alternative to Fix the Problem without Data Loss
Just in case, the above methods didn't brought any positive result for you, we have another recommended and quite effective solution in that case. The iMyFone Fixppo is the one mighty tool that will be a savior if your iTunes gets stuck on restoring the ios 16/17/18 firmware or are facing any other iOS related issues. It can also reset iPhone/iPad/iPod touch without password, fixing the "Forgetting password" issue.
For instance, stuck on spinning wheel, Apple logo, Black/White screen, recovery mode, loading screen, and more, can all be effortlessly resolved with this powerful IPSW firmware restore tool. Also, one doesn't have to worry upon losing their crucial data while fixing the iOS issues. Let's understand the step by step tutorial to fix iTunes stuck on restoring iPhone firmware issue.
Step by Step Tutorial:
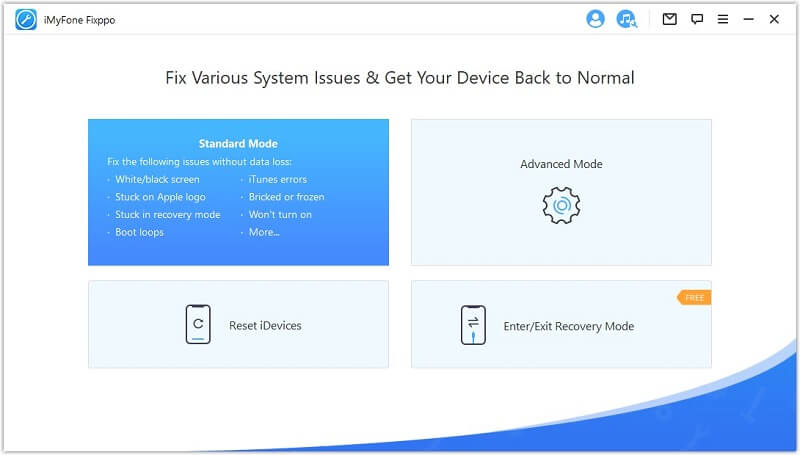
Step 1 – You need to download the iMyFone iOS System Recovery software and connect your PC with the iOS device via a genuine USB Cable. Now, launch the software and hit on 'Standard Mode'.
Step 2 – In order to get your device detected by the tool and to fix the issue, you must set your device to the DFU mode by properly following the step by step tutorial displayed on the iMyFone screen.
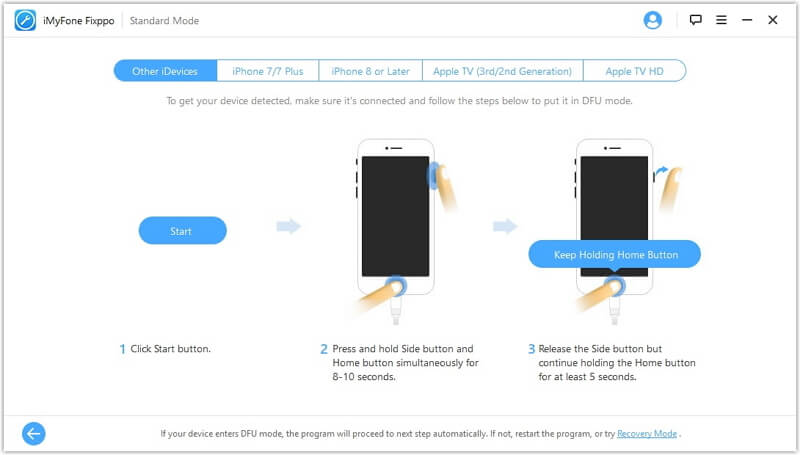
Step 3 – After successfully entering DFU Mode, the program will automatically detect the information about your device and offer the suitable firmware. You then need to hit on 'Download' button.
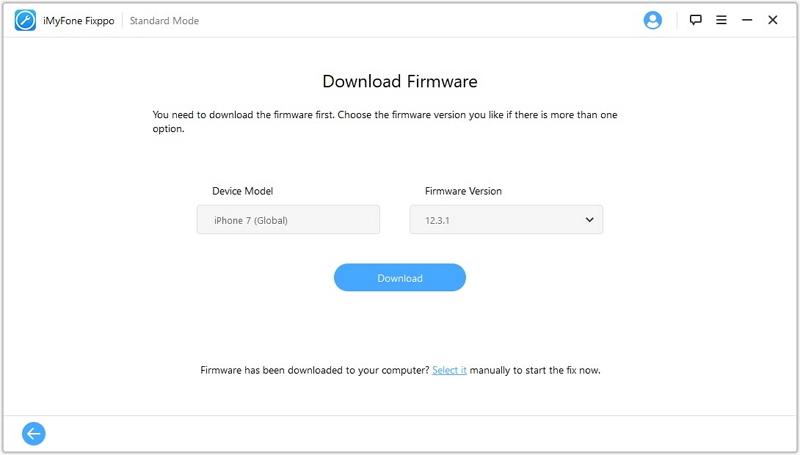
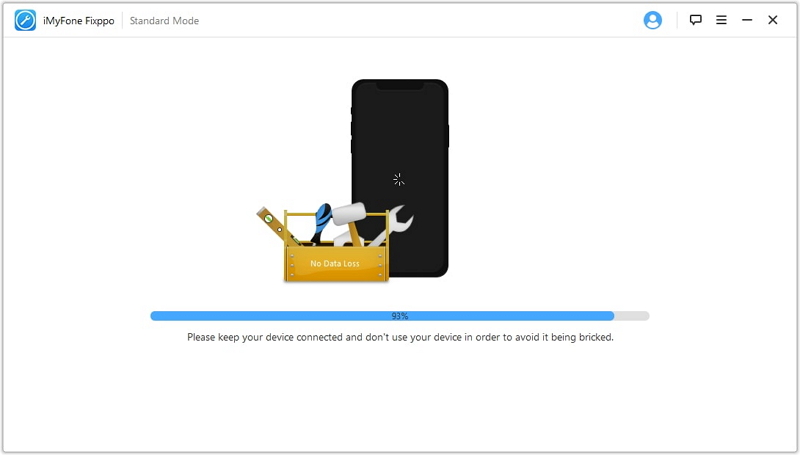
Step 4 – When the firmware is downloaded, you can then proceed to 'Start to Fix' button and the program will automatically fix all the iOS issues including the issue of iPhone getting stuck on restoring the ios 16/17/18 firmware.


 March 27, 2025