Many iPhone users have asked themselves this same question when they try to connect their iPhone to Wi-Fi and it just won’t connect. You may have jailbroken or recently updated your iPhone to iOS 16/17/18 and you can no longer connect to a cellular network even if you enter the correct password. You will keep getting a No service message every time you connect to Wi-Fi.
There are a number of troubleshooting methods that you can use to fix common Wi-Fi connectivity problems. You can try some of the methods below to see if the problem will go away and you can have Wi-Fi connectivity again.
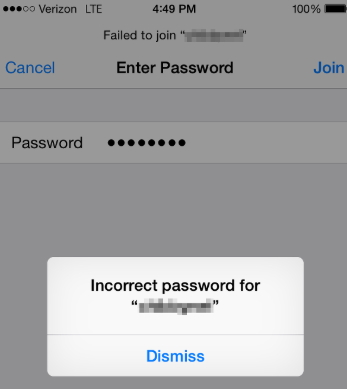
1. Forget the Network and Join Again
By forgetting the Wi-Fi network then rejoining it again can fix iPhone not accepting Wi-Fi password issue. Following these simple steps:
Step 1: Go to iPhone Settings and click on Wi-Fi.
Step 2: Click on the (i) button next to the network name of the Wi-Fi router you want to join.
Step 3: Click on Forget this network.
Step 4: Confirm your action by clicking on Forget.
Step 5: Wait a few minutes then rejoin the same Wi-Fi network and enter the correct password.

2. Turn OFF Wi-Fi Assist
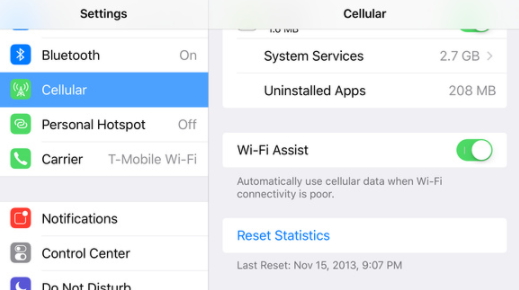
Whenever your iPhone has a weak Wi-Fi connection, the Wi-Fi Assist feature will automatically switch to cellular network. You can turn off the Wi-Fi assist to help fix iPhone or iPad not accepting Wi-Fi password with the following steps:
Step 1: On your iPhone, go to Settings.
Step 2: On the Settings screen, click on Cellular.
Step 3: Scroll to Wi-Fi Assist and turn it off.
3. Reset Network Settings
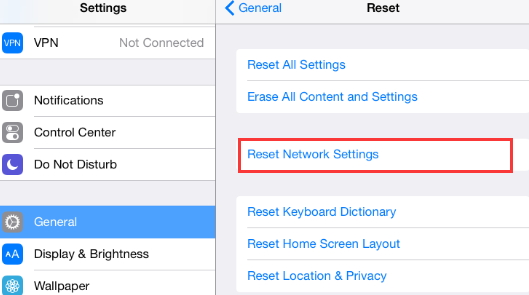
You can try resetting your iPhone’s network settings to see if iPhone not accepting password will be fixed eliminating the option that your device may be having a software issue. This also fixes iPhone not connecting to Wi-Fi after update. Follow these steps:
Step 1: Go to your iPhone Settings and click on the General tab.
Step 2: Click on the Reset button.
Step 3: Then choose Reset network settings.
Step 4: You will have to reconnect to all your Wi-Fi networks and enter their passwords. Once your iPhone reboots try reconnecting to your wireless route.
4. Choose Another Network
Step 1: On your iPhone network, click on Other.
Step 2: Type the SSID number that is indicated on your router.
Step 3: If asked click on the necessary security protocol.
Step 4: Enter your Wi-Fi password you had entered before and click Join.
5. Check DNS Server
If the DNS server of your internet service provider is busy or having problems, this could cause iPhone or iPad not accepting Wi-Fi password. For you to get a better Wi-Fi connection you will need to switch to Google DNS servers. Follow these steps:
Step 1: Go to your iPhone Settings and click on Wi-Fi.
Step 2: Click on the Wi-Fi network.
Step 3: Click on the Numbers that are indicated on DNS under the DHCP tab.
Step 4: Replace the existing DNS with 8.8.8.8, 8.8.4.4 using the onscreen keyboard of your iPhone.
Step 5: Click on Wi-Fi to go back to the main screen.
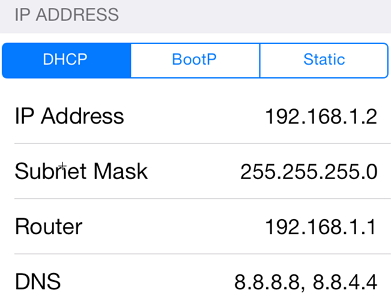
Please note that you can type 208.67.222.222, 208.67.222.220 if you want to switch to open DNS.
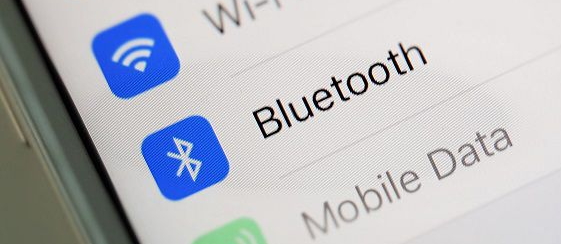
6. Disable Bluetooth
Your Wi-Fi connectivity issues may be brought about by Bluetooth. By turning it off, you can be able to fix the problem by following these simple steps:
Step 1: Go to your iPhone Settings.
Step 2: Click on the Bluetooth tab and disable it.
7. Ultimate Solution to Fix iPhone won't Connect to Wi-Fi
iMyFone iOS System Recovery is a recovery tool that will help you to eliminate software bugs on your iPhone like Wi-Fi keeps turning on, returning it back to normal. Three fix modes are offered with this program. You can use the fix modes to fix your iPhone without losing any data. Besides, it is fully compatible with iPhone 12/13/14/15/16 and iOS 16/17/18.
Steps on How to Fix iPhone won't Connect to Wi-Fi with iMyFone iOS System Recovery
Step 1: Install the program to your computer, connect your device to your PC, open the program then click on Fix iOS system and select Standard mode.
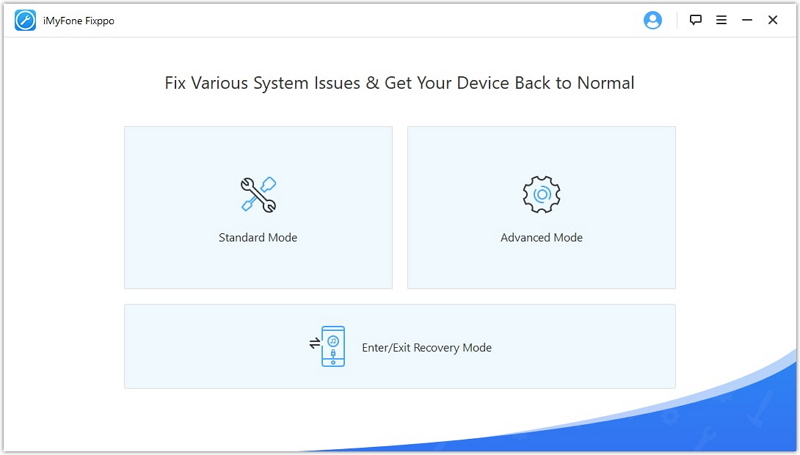
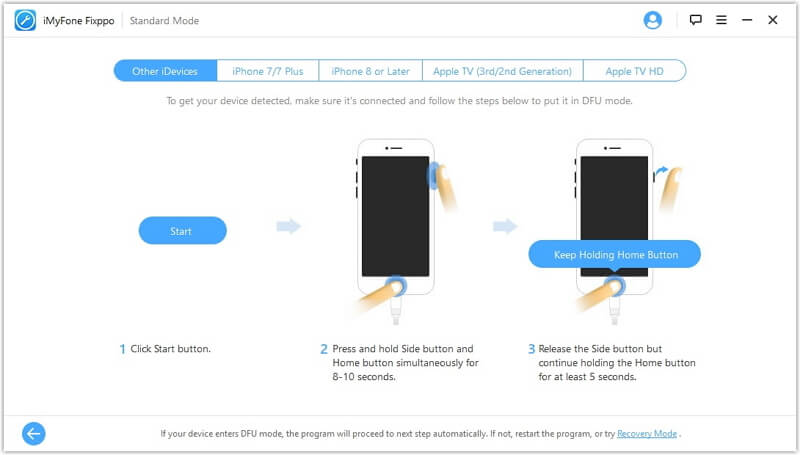
Step 2: Put your device on DFU or Recovery modes by following the onscreen procedure.
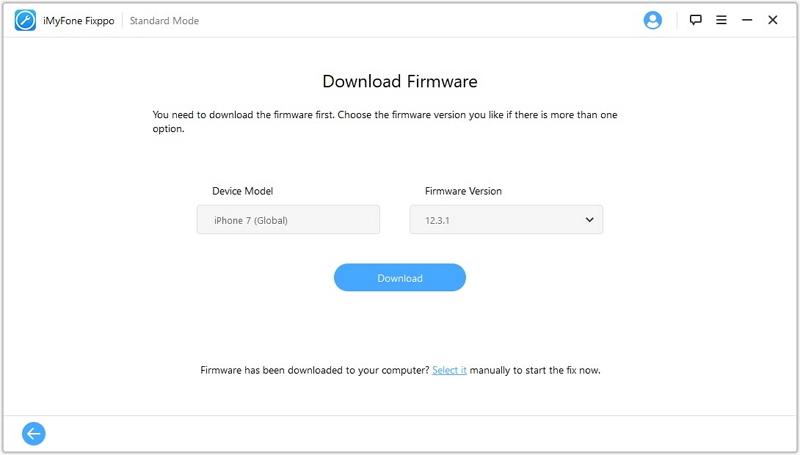
Step 3: Once the program detects your device, the next step is to download your device’s latest firmware. The program will automatically select the corresponding firmware for your device then click Download.
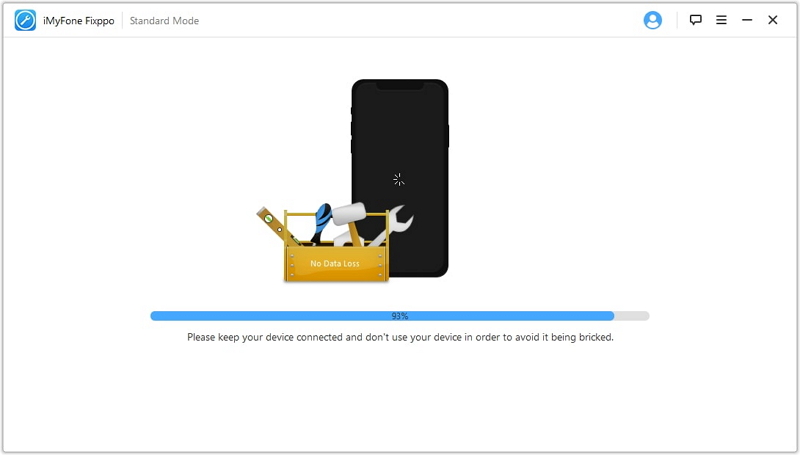
Step 4: Once downloading is complete, click on Start to fix for the program to start fixing your device. If this mode does not work you can try again or try the Advanced mode.
Wi-Fi connectivity is one of the many problems that iPhone users complain about especially if they have recently updated their iPhones which can cause glitches in the phone network. When you get an incorrect password error message when you try to connect to your wireless network despite entering the correct password is an indicator your Wi-Fi connection has a problem. iPhone not accepting Wi-Fi password can be fixed using some of the outlined methods whether the problem is in your iPhone or your wireless router. Wi-Fi connectivity problems happen all the time on your phones and iPhone or iPad not accepting Wi-Fi password is just one of these problems.


 September 20, 2024