Smartphone, the category where iPhone is proudly a part of, enhances interpersonal connectivity through social media and other individual interactions. Due to the high sociability nature of iPhone, users tend to share different types of information with other people, including notes. To make it easier to share your iPhone notes, we will discuss three ways to do that in this article including using iOS 10 notes app, using other iOS devices, and using iMyFone D-Port app.
Let's look at each method to share iPhone notes in more details below:
1 Share iPhone Notes from the Notes App in iOS 10
iOS 10 brings new ability to do more for iPhone users. It allows you to invite other users to view and manage your notes. It doesn't matter whether you are adding to a doodle or sharing a checklist, anyone invited can access your notes and manage it. But one thing should be noted, though, the notes to share must be on iCloud folder not “On My iPhone” folder as of old.
The following steps are involved in sharing iPhone notes in iOS 10.
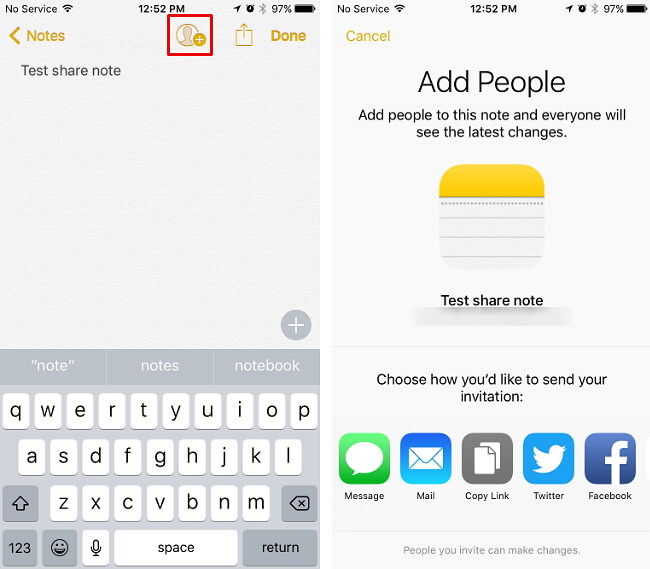
Step One: Start new notes. Begin new notes and locate a silhouette icon close to the share icon. Don't be deceived by the share icon; the icon doesn't share the notes, its purpose is for messaging, tweeting, more like a social media icon used to invite people through Message, Mail or other apps.
Step Two: Invite people. Use the silhouette icon to ask people which you want to share your notes with from your Contacts, email or phone number. You can send an invitation to multiple people, but note that anyone that was invited will have access to your notes.
Note
2 Share iPhone Notes on Other iOS Devices
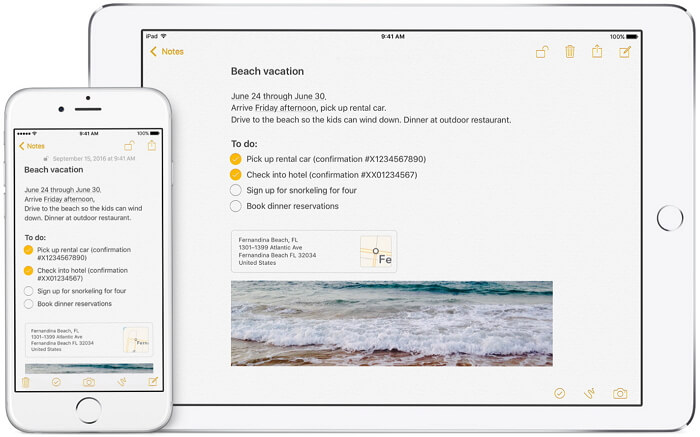
iCloud brings the possibility to keep your notes shared across all your iOS devices. Nothing is more pleasing than having unfettered access to your notes any time you need them; that is the power, and convenience iCloud brings to your iOS devices. You can capture your thought, have checklists created and draft out ideas and so much more with ease of sharing with your other iOS devices.
To have all the remarkable benefits of iCloud in your iPhone notes share, see how to do that in the discussion below.
The process of doing it is simple:
Go to Settings > [Your name] > iCloud, turn on Notes. For anyone using iOS 10.2 or earlier, they need to go to Settings and choose iCloud. Once signed in, all your notes you signed in with the same Apple ID in your iOS devices will be seen. Go ahead and access them with ease.
3 Share Notes from iPhone to Computer with iMyFone D-Port
Sharing your notes across all Apple devices couldn't be easier with the methods discussed in this guide. Here we introduce the third method is iMyFone D-Port. The backup tool for iPhone data is excellent, giving you so easy way to share your notes with your Windows or Mac computer. The iMyFone features give you all you ever could ask for in sharing you iPhone notes across everyday iOS devices you are using.
The features include:
Key Features:
- Share notes on iPhone/iPad/iPod touch/iTunes backup/iCloud backup to computer.
- Share up to 20 types of files such as photos, videos, voice memos and much more.
- The power offered by iMyFone D-Port ensures your existing data on iPhone and computer is not compromised.
In all the above features, iMyFone D-Port ensures you enjoy easy sharing of your notes on all iOS devices to your computer so that you can further protect your important notes information against accidental deletion or any other incidence. See how to do it.
How to Share Notes from iPhone to Computer
With the following easy operations, you can transfer iMessages from iPhone to computer as a backup in case you have been blocked by friends and lose their iMessages. And before the start, you can go to iMyFone D-Port's official page to download the Free Trial.
Step One: You will need to download Windows version iMyFone D-Port if you use a Windows 7/8/10 or download Mac version iMyFone D-Port if you use Mac system. After it's fully installed, go to the Back Up Export from iOS Device tab and click Export Data to choose Note or all the data types.
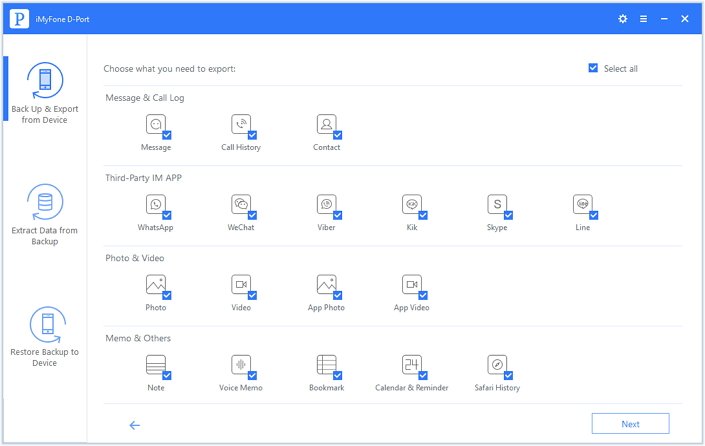
Step Two: Then connection your iPhone with the notes you wanna share to the iMyFone Program. Scanning will last for a little while depends on your iPhone storage.
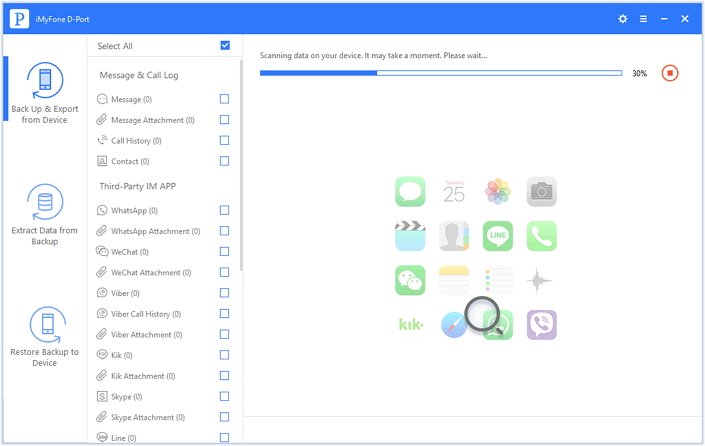
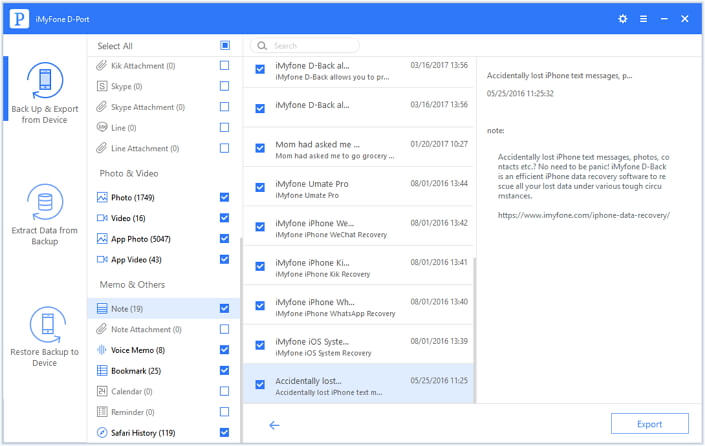
Step Three: After scanning, iMyFone D-Port will display all the notes on iPhone and you can click them one by one to confirm which are you need. Then check the checkboxes and click Export to share the notes from iPhone to computer.
For iPhone users, sharing notes onto different places to keep your vital information safe offers peace of the mind. Use the above methods to share your iPhone notes and don't forget iMyFone D-Port iPhone data extractor's offer of 30-day money back guarantee and Free Trial version. Take advantage of it now.


 September 22, 2021
