


 March 29, 2023
Do you want to recover files from Windows.old folder on your computer without sacrificing the security of your data? We will offer you an easy and secure solution for recovering your data in minutes, including deleted one or disappeared one. Keep reading and you will find a thorough solution.
Table of Content [Hide]

Part 1. What Is Windows.old Files?
In simple terms, Windows.old is a folder that contains your previous version of Windows. This happens when you upgrade to a new version of Windows from an older one. For example, if you upgrade from Windows 7 to 10, you'll find a Windows.old folder on your C: drive.
The idea behind this is that if you don't like the new version of Windows, you can always go back to the old one. To do that, you would use Windows.old folder.
However, there are a few things to keep in mind. First, the Windows.old folder takes up a lot of space. On my C: drive, it's taking up about 20 GB. Second, you can only go back to the old version of Windows for a limited time. After that, the Windows.old folder is deleted.
Part 2. How to Manually Recover Files from Windows.old Folder
If you've just upgraded to a new version of Windows, you'll find a folder called Windows.old on your hard drive. This folder contains all your old files and settings, so you can restore them if something goes wrong with the new version of Windows. But what if you need to recover a file that's not in Windows.old folder? This section will cover two manual methods explaining how to recover files from Windows.old folder.
Method 1. Find and Copy Windows.old Files Folder with File Explorer
The first method is to use File Explorer to find and copy the files you need from Windows.old folder. To do this, follow these steps:
- Open File Explorer and go to the C: drive.
- Double-click on the Windows.old folder.
- You'll see a list of all the old files and folders. Find the one you need and copy it to C: Users.

Method 2. Go Back to Previous Windows Version in Settings
If you're still within the grace period, you can go back to your previous version of Windows. To do this, follow these steps:
- Go to Start > Settings.
- Click on Update & Security.
- Under the Recovery section, click on Get Started.
- Follow the prompts to go back to your previous version of Windows.

Once you're done, you can find your old files in Windows.old folder. Copy them to your new Windows installation, and you're good to go!
Part 3. How to Recover Disappeared Windows.old Files with Data Recovery Tool
Both methods discussed earlier have their limitations. For example, what if you can't find the file you need in Windows.old folder? Or what if you're outside the grace period and can't go back to your previous version of Windows? In these cases, you'll need to use a data recovery tool. Data recovery tools are designed to recover lost or deleted windows.old files. They can be used to recover files from hard drives, SSDs, USB drives, and more.
There are a lot of data recovery tools out there, but D-Back for PC has some unique features that make it stand out. It's the best free data recovery program for recovering lost files, photographs, documents, and more after formatting, wiping, partition loss, disk damage, virus attacks, and more.
Other Features of D-Back for PC:
- Quick Scan: D-Back has been designed in consideration of the importance of time. It provides a quick scan, saving you time in the entire process.
- Secure: D-Back is a tool that enables you to be able to recover your data at home without handing out your pc to a stranger.
- Filter: In order to save you time and energy, D-Back features a filter option where you can filter down a lost file using its type, kind, data, and other factors.
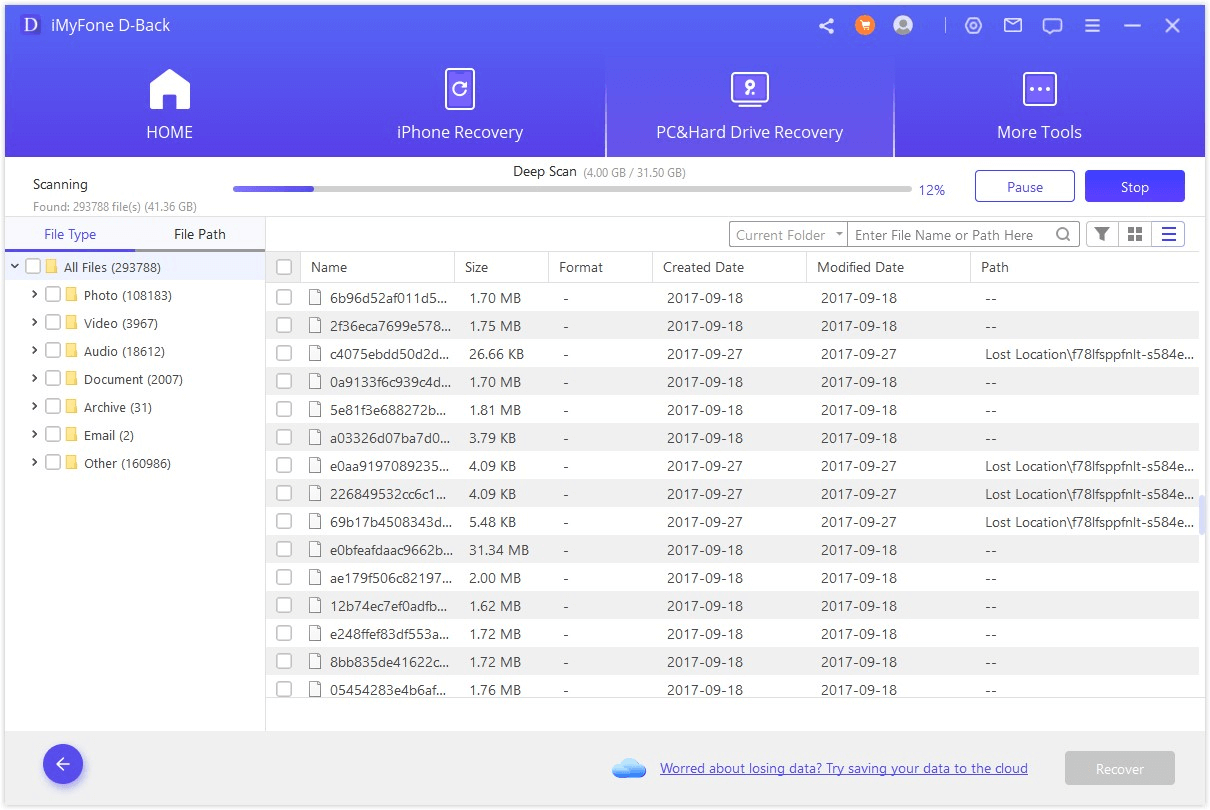
Step 1.The first and foremost step is to install the tool. After installing the tool, select the hard drive or desktop.

Step 2.While D-Back does its job of scanning the selected location, you can sit back and wait for the results. You can pause or cancel the scan if required.
Step 3.Once the scanning is complete, you can check the files through the Preview option offered by D-Back. This allows you to make sure that you recover the required files only.
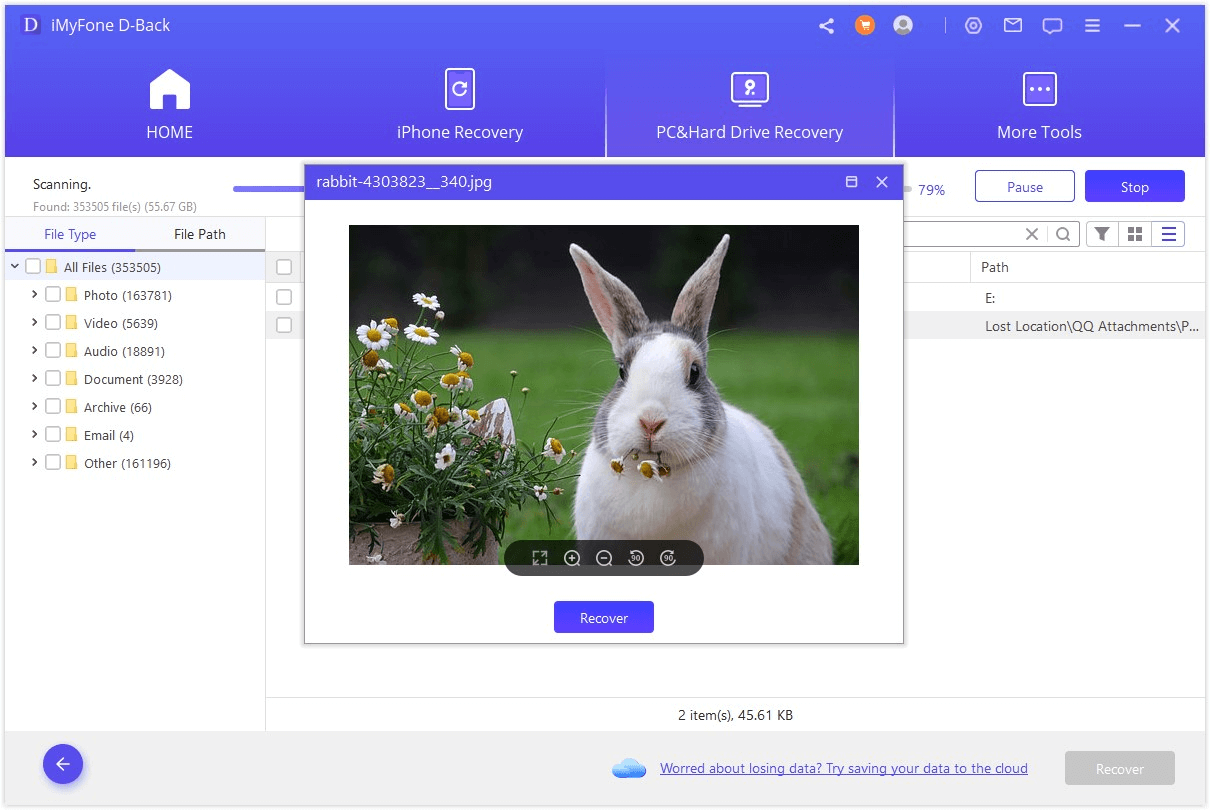
Step 4.After you've found the files that you want to recover, just click on the Recover button and wait for the tool to prepare your recovered files.
Final Words
In conclusion, D-Back is an excellent choice for data recovery with its quick scan, secure, and filter options. It is easy to use and time-saving! Instead of going for the manual recovery option, you can try out this tool for a better and faster experience! The tool offers several features, including the option to filter, preview, and, most importantly, security.