


 March 29, 2023
Have you mistakenly converted your storage drive to ESD-USB? Are you worried about your space and data loss? If yes, then don‘t worry. This article is all about solving your issue. We will discuss how to undo ESD-USB in 3 different ways. Moreover, you will also get to know how to recover data from ESD-USB. You will have to read the whole article carefully till the end. So, let‘s start!

Part 1: What is the Meaning of ESD USB?
ESD is the short form of Electronic Software Delivery. It is a special type of external storage device that contains all the necessary files to install Windows on any machine. This ESD-USB formats your device‘s internal storage and grants 32 GB space for its format.
Some people convert normal drives to ESD - USB on their own, but some people convert it unintentionally while making different tools. This unwanted conversion causes data and space loss. That‘s why people have started looking for an effective way to undo ESD-USB to a normal drive.
Part 2: How to Undo ESD USB and Recover Files
This part will be all about converting ESD-USB to normal, and you will also learn how to make ESD-USB data recovery. Let‘s have a look at them separately.
2.1. How to Recover Files from ESD USB
In case you have lost your data from the drive while converting it to ESD-USB, then you can use iMyFone D-Back. It is a desktop-based software that has an extraordinary algorithm to support data recovery from multiple platforms.
It will also extract and restore lost data from external storage devices like ESD-USB. All kinds of data can be recovered through it because of its 1000+ file types supporting feature. You can restore images, audio, videos, documents, and many more data types within a few minutes. The software is very easy to use and has a clean interface that keeps the users calm throughout the process.
Here are the simple steps that you can follow to recover lost data from your ESD-USB.
Step 1: Launch iMyFone D-Back on your computer. You can download Mac and Windows versions as both are available.
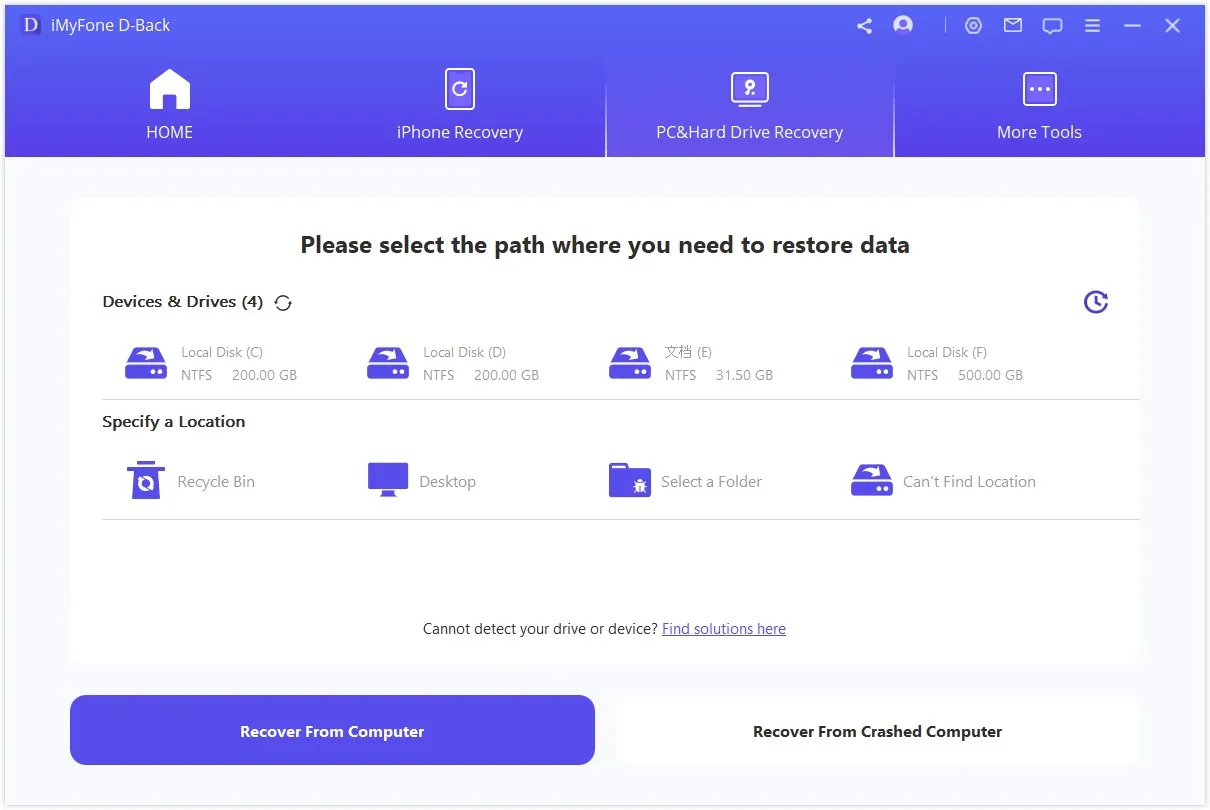
Step 2: Make sure to connect your external ESD-USB to your computer before starting the process. Connect the USB and open the software.
Step 3: You will see an interface having different location options. Select the hard drive/USB that you have attached at the start. Click on that USB folder, and the scanning process will start.
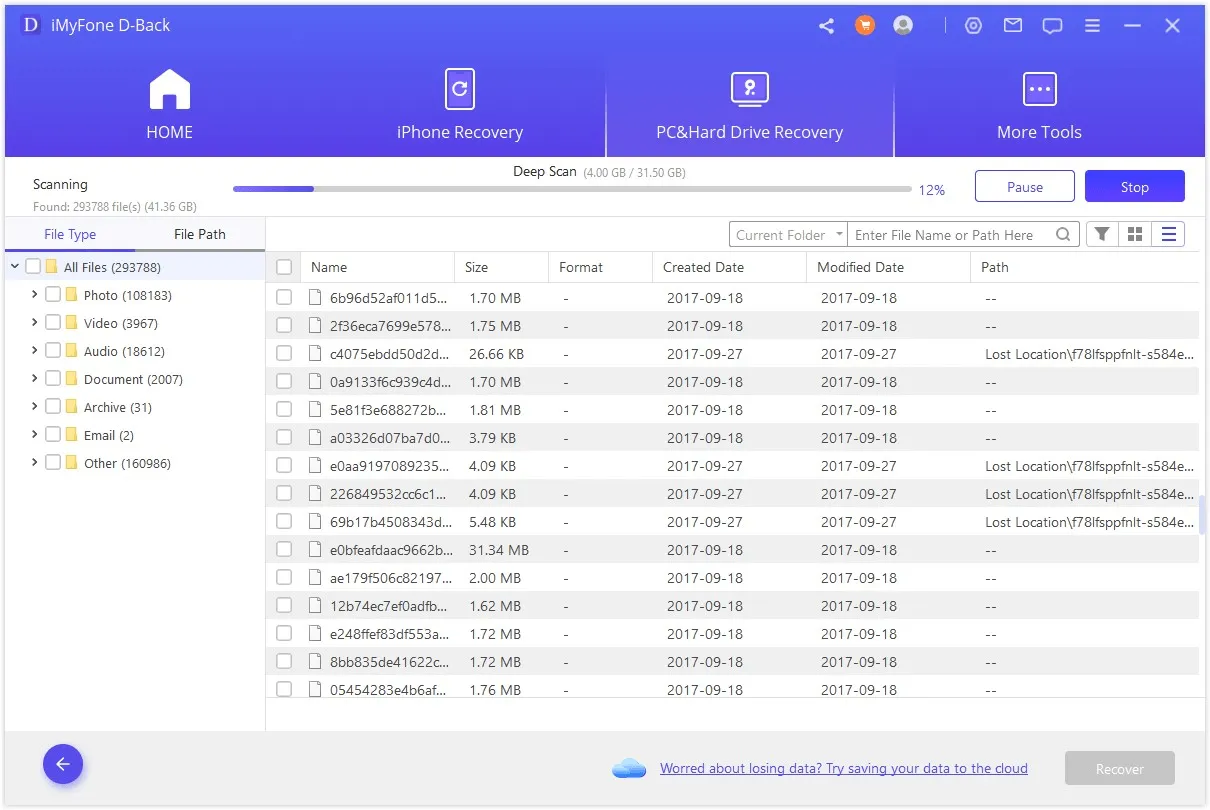
Step 4: Now, wait for the scanning to be completed, and you will find all the recoverable files from that external drive/ESD-USB on the screen. Select the file you want to recover and click the Recover button to restore it on your device.
2.2. 3 Ways to Change ESD USB to Normal USB
We have seen how to recover data from ESD-USB in Part 1. Now, we will see three different methods of converting ESD-USB back to a Normal drive. Let‘s have a look at all these three methods one by one.
1. Formatting the External Drive
Step 1: Connect the hard drive with your computer and open the file explorer. Right-click on the external drive folder and select Format from the drop-down menu.
Step 2: Here, you will see different customizing options. Change the File System to NTFS and allow the unit size of 2048 bytes.
Step 3: Under the File System, make sure to check the Quick Format box. In the end, click on the Start button, and this will format the ESD-USB and convert its format to the required NTFS format.

2. Using Command Prompt
Step 1: Go to file explorer and note the letter given to the ESD-USB. Now, go to the Command Prompt from the Windows button and replace the recent command with this one (chkdsk Y: /f)

Step 2: This will run a process to complete the command. You will have to wait at this step. Once the process is complete, the command will automatically convert your ESD-USB file format to the normal format.
Step 3: Now, you can simply use the drive as a normal storage space without doing anything additional manually.
3. Creating a New Volume
Step 1: First of all, go to the Smart Menu and search for Windows Disk Management. You will see a list of different drives here.
Step 2: Look for your one (ESD-USB) and right-click on the drive‘s unallocated space. Select the New Simple Volume.

Step 3: For this new volume, select the format as NTFS and then click on Perform a quick format. This will start creating a new volume, after which you can easily use that particular ESD-USB as a normal storage drive.
Part 3: FAQs
01 Can I Delete ESD File?
Yes, it is possible to delete the ESD files like others, but it is not recommended. These files work for resetting the PC, so their deletion will definitely increase space, but you will lose the files to reset the computer effectively.
02 Can I Format ESD USB?
Yes, ESD-USB can be formatted for any reason. We have also discussed some ways in the above parts through which you can format the ESD-USB to bring it to the normal drive format.
Conclusion
ESD USBs are very helpful but only for their relative purposes. When someone mistakenly converts a normal drive to ESD, it becomes a problem. This conversion will cause your data to be at risk of being lost. In case you have already lost your data, there is no need to be worried about it. You can use iMyFone D-Back to recover your data easily. This software allows data recovery of more than 1000 file types easily and securely. Furthermore, we have discussed three ways of converting ESD USB back to a normal drive. You can follow any of them according to your ease.