How to Skip Verifying Your Account in Gmail on Android?
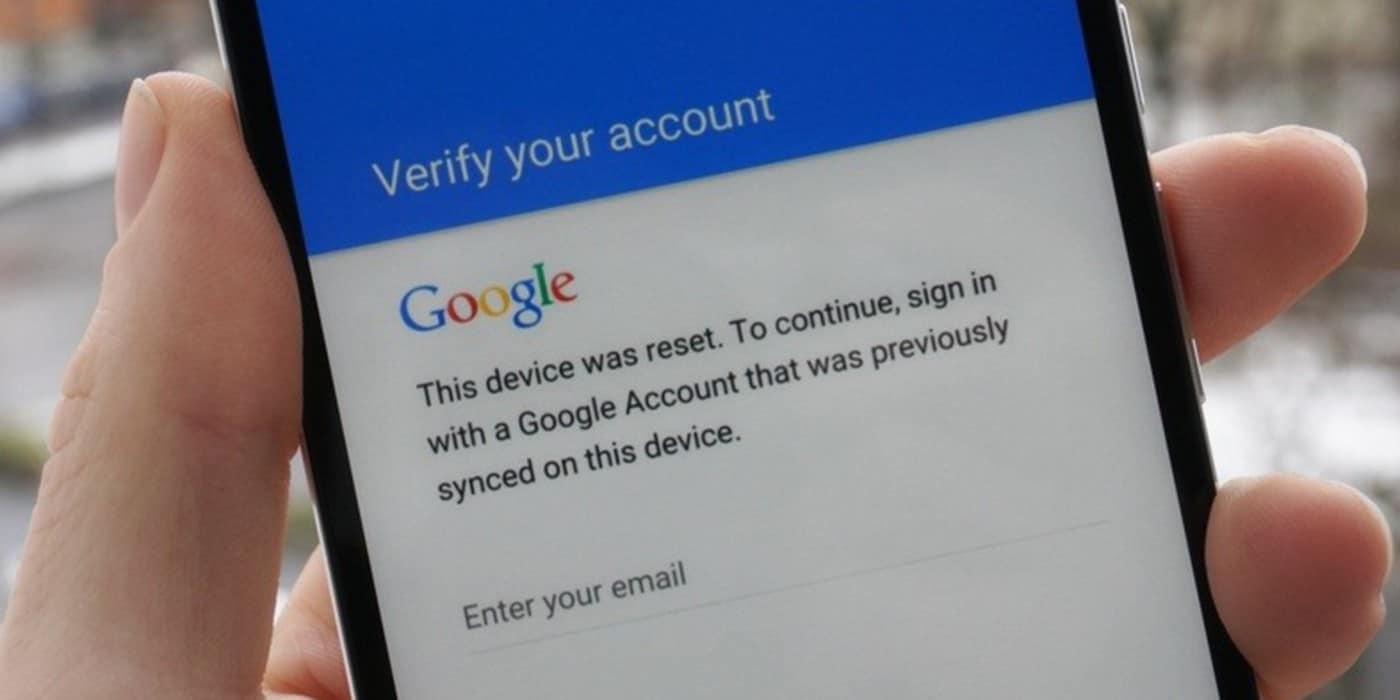
Everyone loves their mobile devices to have all the latest specs and features, and this is excellent, as it is what drives the fierce competition in the tech industry. Google account verification is a great way to make sure your Android phone or tablet is secure. However, when you don’t remember your account credential, you will have to learn how to skip verifying your account in Gmail using several techniques.
Way 1 iMyFone LockWiper (Android)
Are you stuck on the annoying Google account verification page, and people have said to you that the device is as good as useless? That is not correct, thanks to iMyFone LockWiper (Android). This exciting tool gives you back full control of your device after a smooth Google account verification bypass process.
Features of iMyFone LockWiper (Android):
- Bypass Google account lock completely without password, leaving no trace of the old account.
- Allow you to configure a new Google account for the device.
- Remove various screen lock: pattern, password, PIN, fingerprint and face lock.
- Extremely unusually high success rate by industry standards (over 98%).
- Easy to use, even with zero technical knowledge.
How to Skip Verifying Your Account in Gmail with LockWiper (Android)?
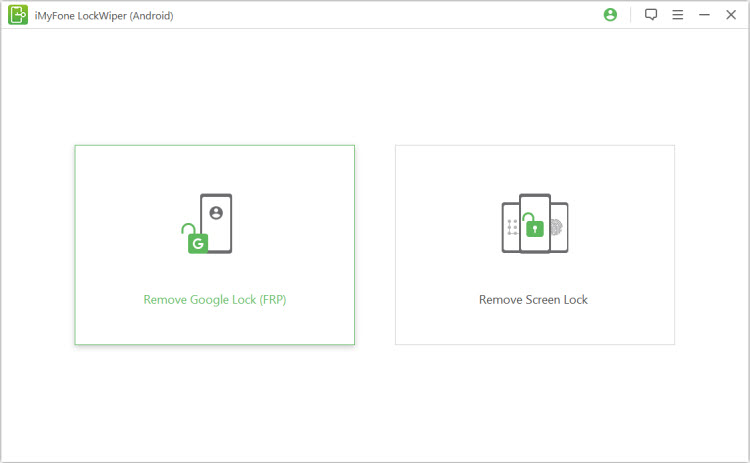
Step 1 Launch LockWiper (Android) on your computer and select the mode called “Remove Google Lock (FRP)”. Connect your device and click "Start".
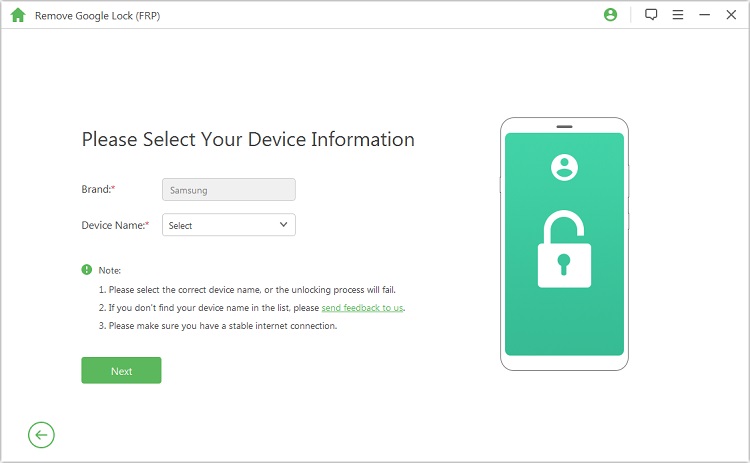
Step 2 Confirm if the displayed information about your device is correct. If not, correct it. Click “Next”.
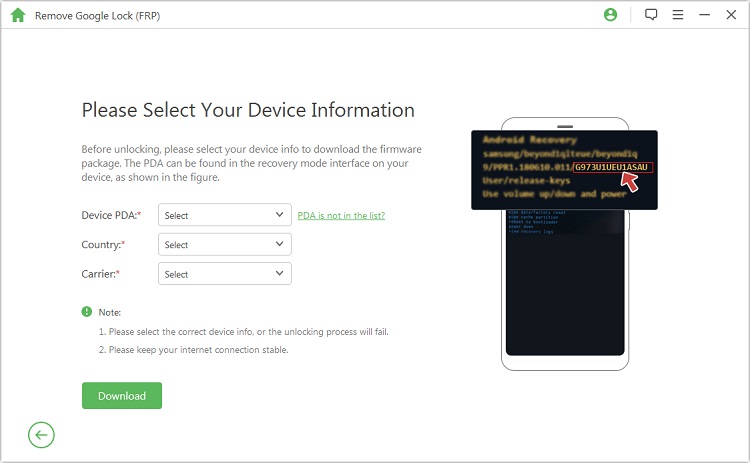
After that, put your device in recovery mode (instructions will appear on the screen) and click “Next”. Choose your device from the list or specify it manually. Select your device country and carrier, and then hit “Download”.
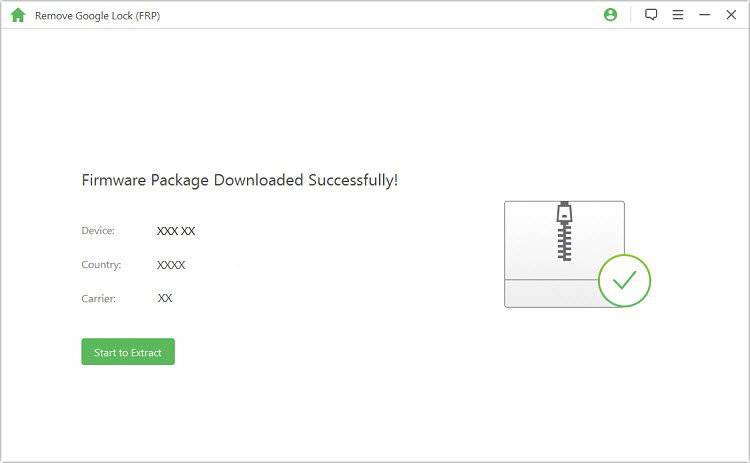
Step 3 Following the completion of the download, click “Start to Extract”. After this, enter downloading mode (instructions will appear on the screen) and hit “Start”. Enter “000000” to begin the operation.
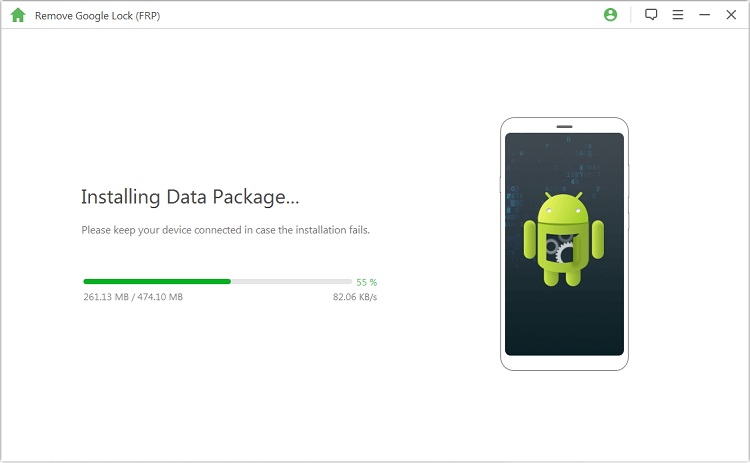
Step 4 After the installation, enable “USB debugging” and “OEM unlock” on your device. Check the OEM one more time to be sure it is enabled.
.jpg)
Step 5 Reset your device (instructions will be displayed on the screen) and enter Downloading mode again to download the firmware package. Upon completion, hit “Start to Extract”. Nothing more to do. Just give LockWiper (Android) a few minutes to remove the Google lock.
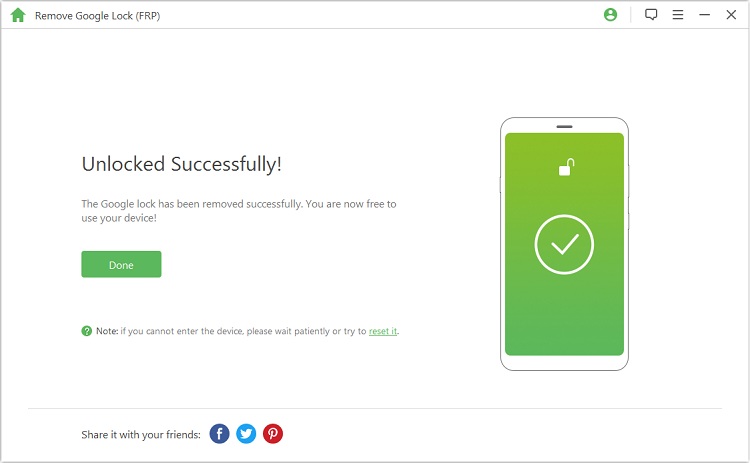
Given a successful operation, your device will now be without a Google account configured, and it will be left to you to add one.
You May Also Like
Way 2 Skip Verifying Your Account in Gmail by Disabling Factory Reset Protection
Steps to take:
- Step 1: Open Settings.
- Step 2: Click Cloud and accounts and then select Accounts. Note that on some devices, this option may not appear as ‘Accounts’ but something similar).
- Step 3: Locate the Google account associated with the device.
- Step 4: There will be three dots in the top-right corner; tap it and tap Remove account next. This will then trigger a verification request from Google to you.
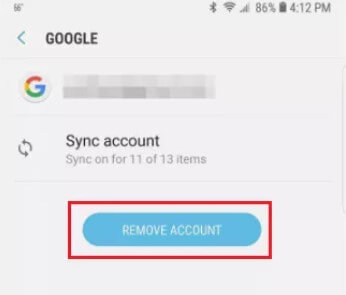
After confirming it, your Google account, as well as the account verification would be removed from your device.
Way 3 Reset Your Device to Skip Verifying Gmail Account
Some devices allow you to disable FRP and others do not. For the phones and tabs that do not let you disable FRP, a factory reset is a great solution to skip verifying your account in Gmail. This process will, however, wipe all your device data along with the FRP. Here is how to go about it:
Steps to take:
- Step 1: Open Settings. Click System and select Advanced.
- Step 2: Select Reset options. Next, tap reset phone. Continue the reset operation until you get to the Google verification stage. Press back to go to the Wireless Network screen.
- Step 3: Tap on Add Network and input some random characters in the field for Network Name or SSID. Tap and hold the random characters and share it to Gmail
- Step 4: Tap Notification and click App Settings. Tap the 3 dots and select Account.
- Step 5: Go to Settings and if you are still asked for the verification, click Continue.
- Step 6: In Settings, select Backup and Reset, and click Factory Data Reset.
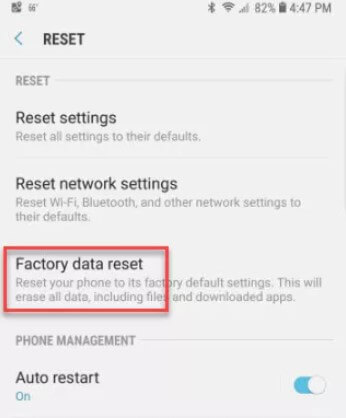
NOTE
You'll be logged out of the Apps that you've logged in with this account as this method would completely remove Google account from your device.
How to Verify Your Account in Gmail?
Verifying a Google account with Gmail is an essential task but also pretty straight forward. You must have a working phone number to be able to do this, because Google will need to confirm your identity by an OTP sent to your phone.
Steps to take:
- Step 1: Log in to your Google account.
- Step 2: Locate the Sign-in & security section. Select Signing into Google.
- Step 3: Choose 2-Step Verification.
- Step 4: You will be shown the 2-Step verification number. Click Edit.
- Step 5: A window will display. On that window, click Change Phone.
- Step 6: Select your preferred option. Click Next.
Conclusion
Next time you need to skip the verification of your Google account or wonder how to skip verifying your account in Gmail, turn to this guide. iMyFone LockWiper (Android) would help you solve the issue even when the screen is locked. One more thing is that we advise that you always configure a recovery email for your Gmail accounts. This is because, without a recovery mail, after two or three days, Google may require that you set a mobile number for security reasons.


 January 2, 2024

