


User Guide of iMyFone iBypasser
The powerful iMyFone iBypasser can help you bypass iCloud activation lock, remove screen lock and bypass activation, turn off camera sound and remove iPhone SIM lock on your iPhone/iPad/iPod touch. No matter what kind of activation error you encounter, iMyFone iBypasser can easily help you with that and you will be able to gain full access to your device after the fixing process.
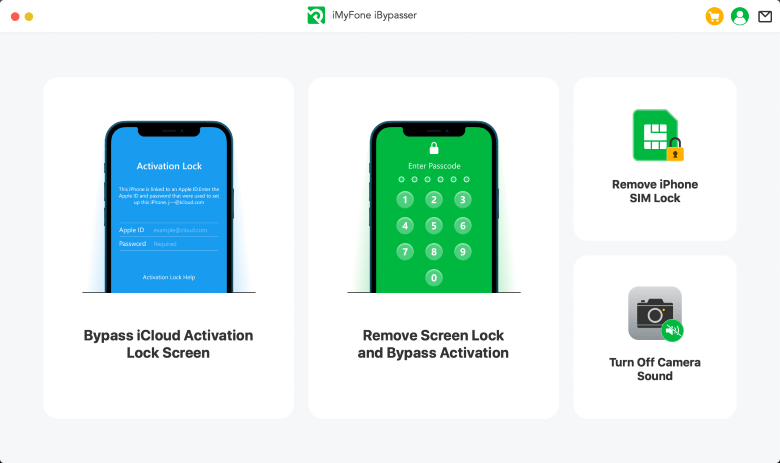
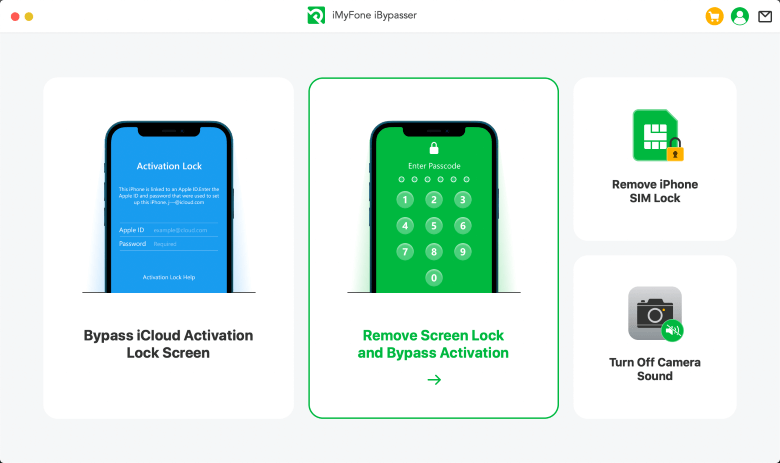
You can learn the difference of the four modes in the reference page.
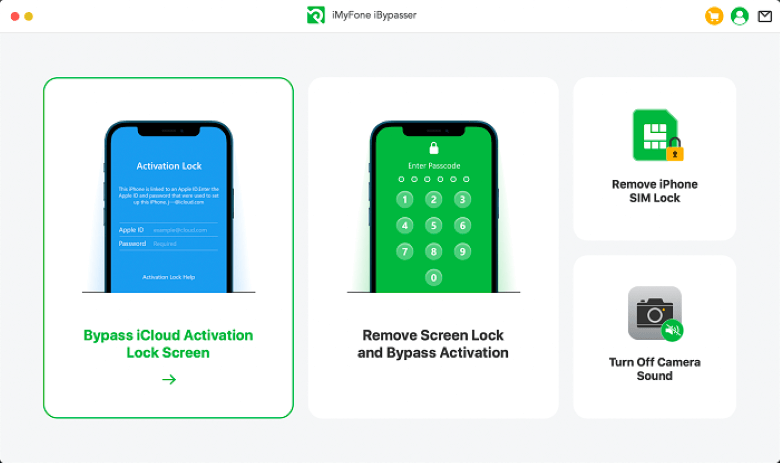
Part 1. Bypass iCloud Activation Lock Screen
MUST READ:
If your device is already sutck on the screen showing "Activation Lock", "Unable to Activate" or "Could Not Activate iPhone", please select the "Bypass iCloud Activation Lock Screen" Mode.
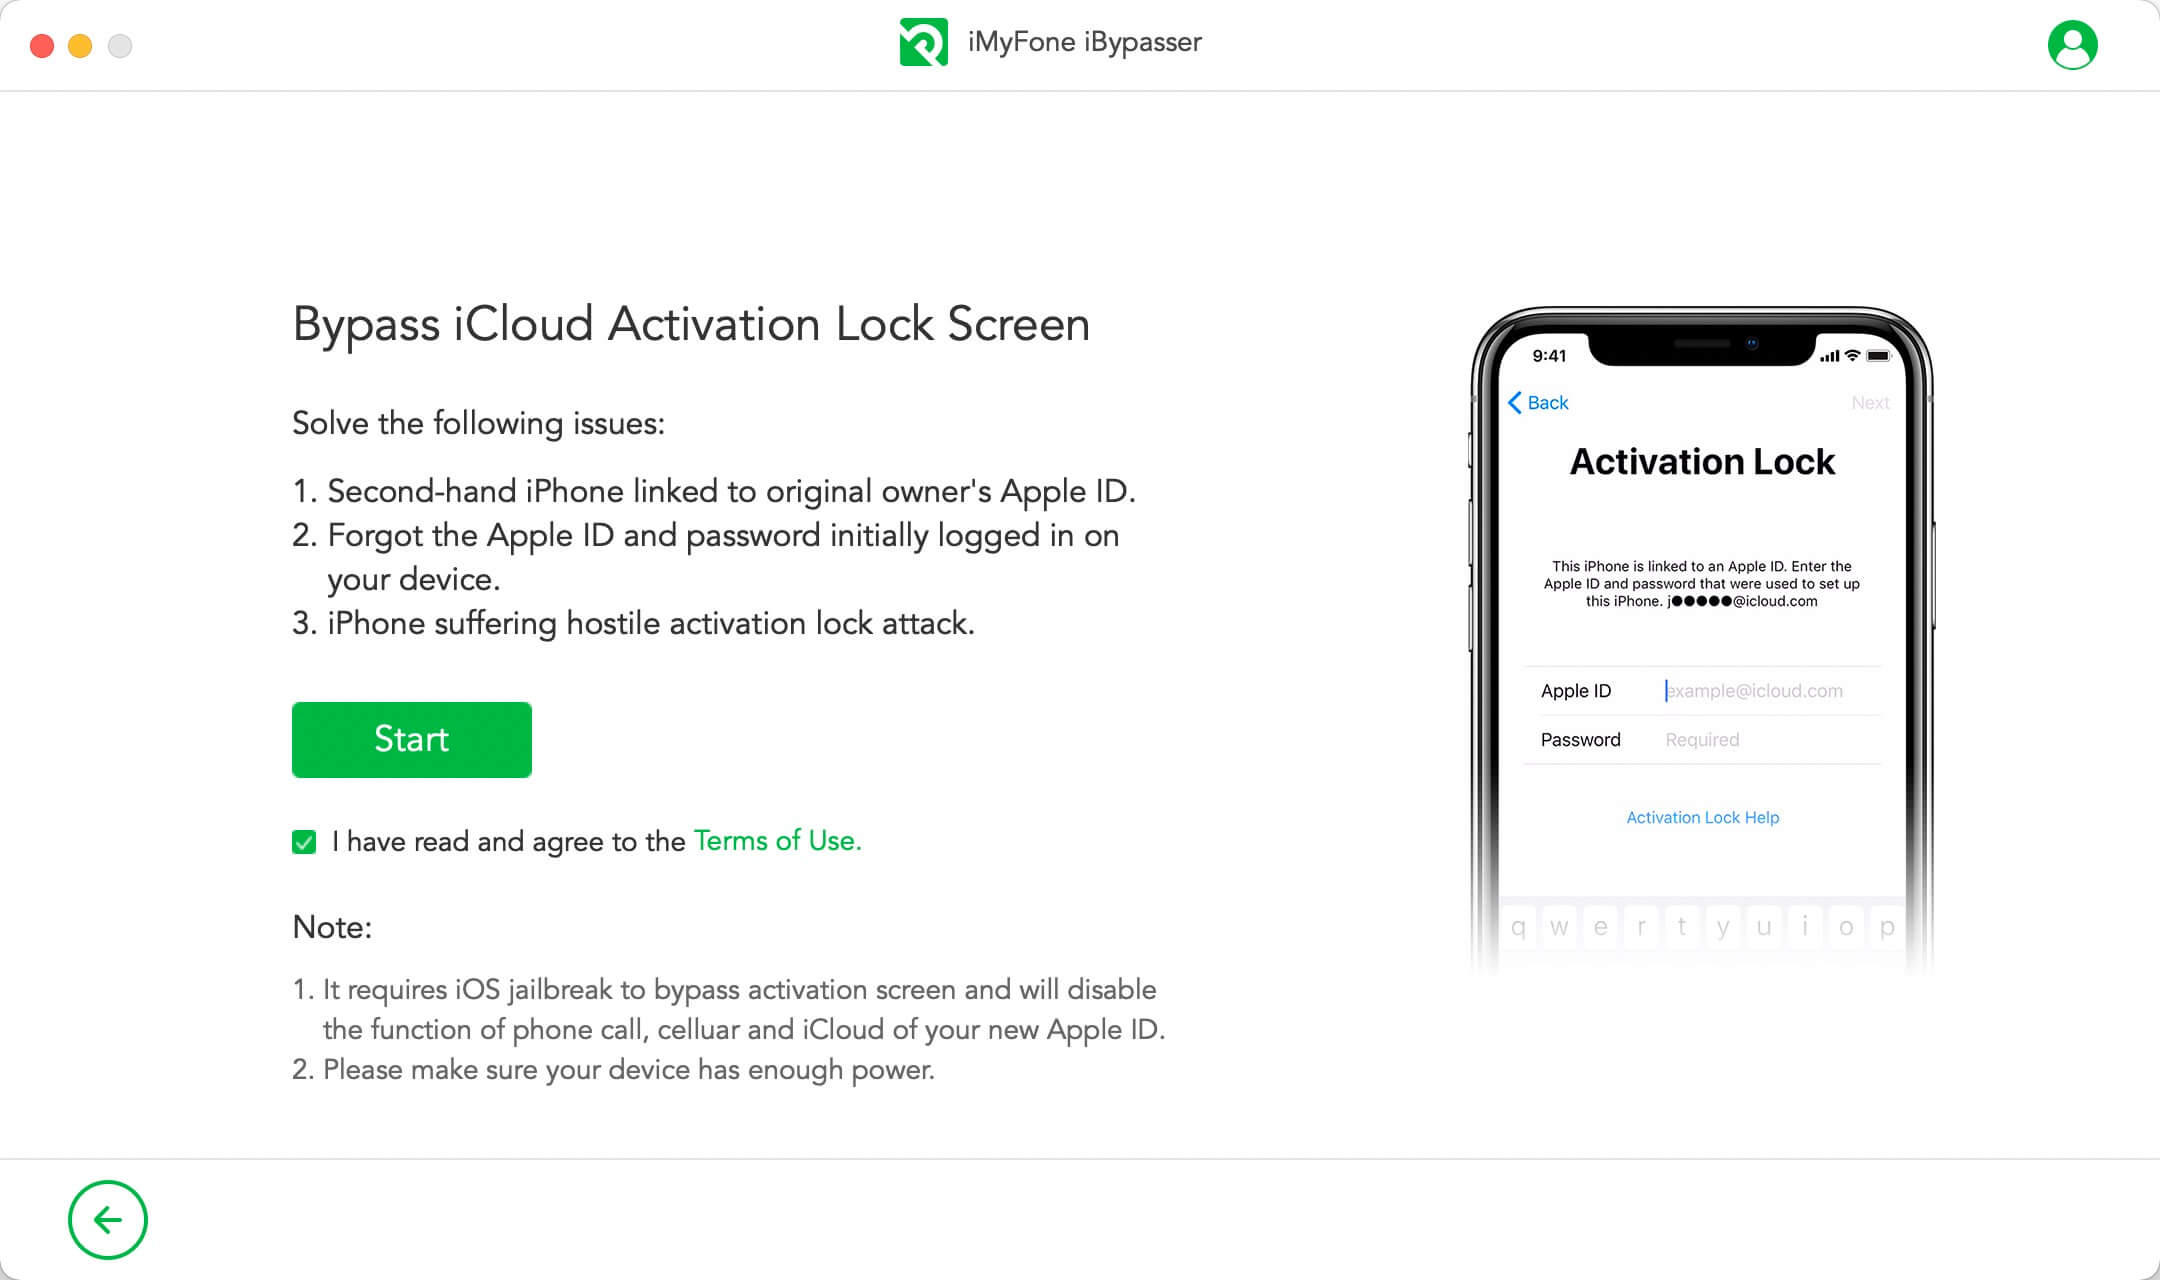
Step 1: Launch iMyFone iBypasser
Install and launch iMyFone iBypasser on your Mac computer, and click "Start".
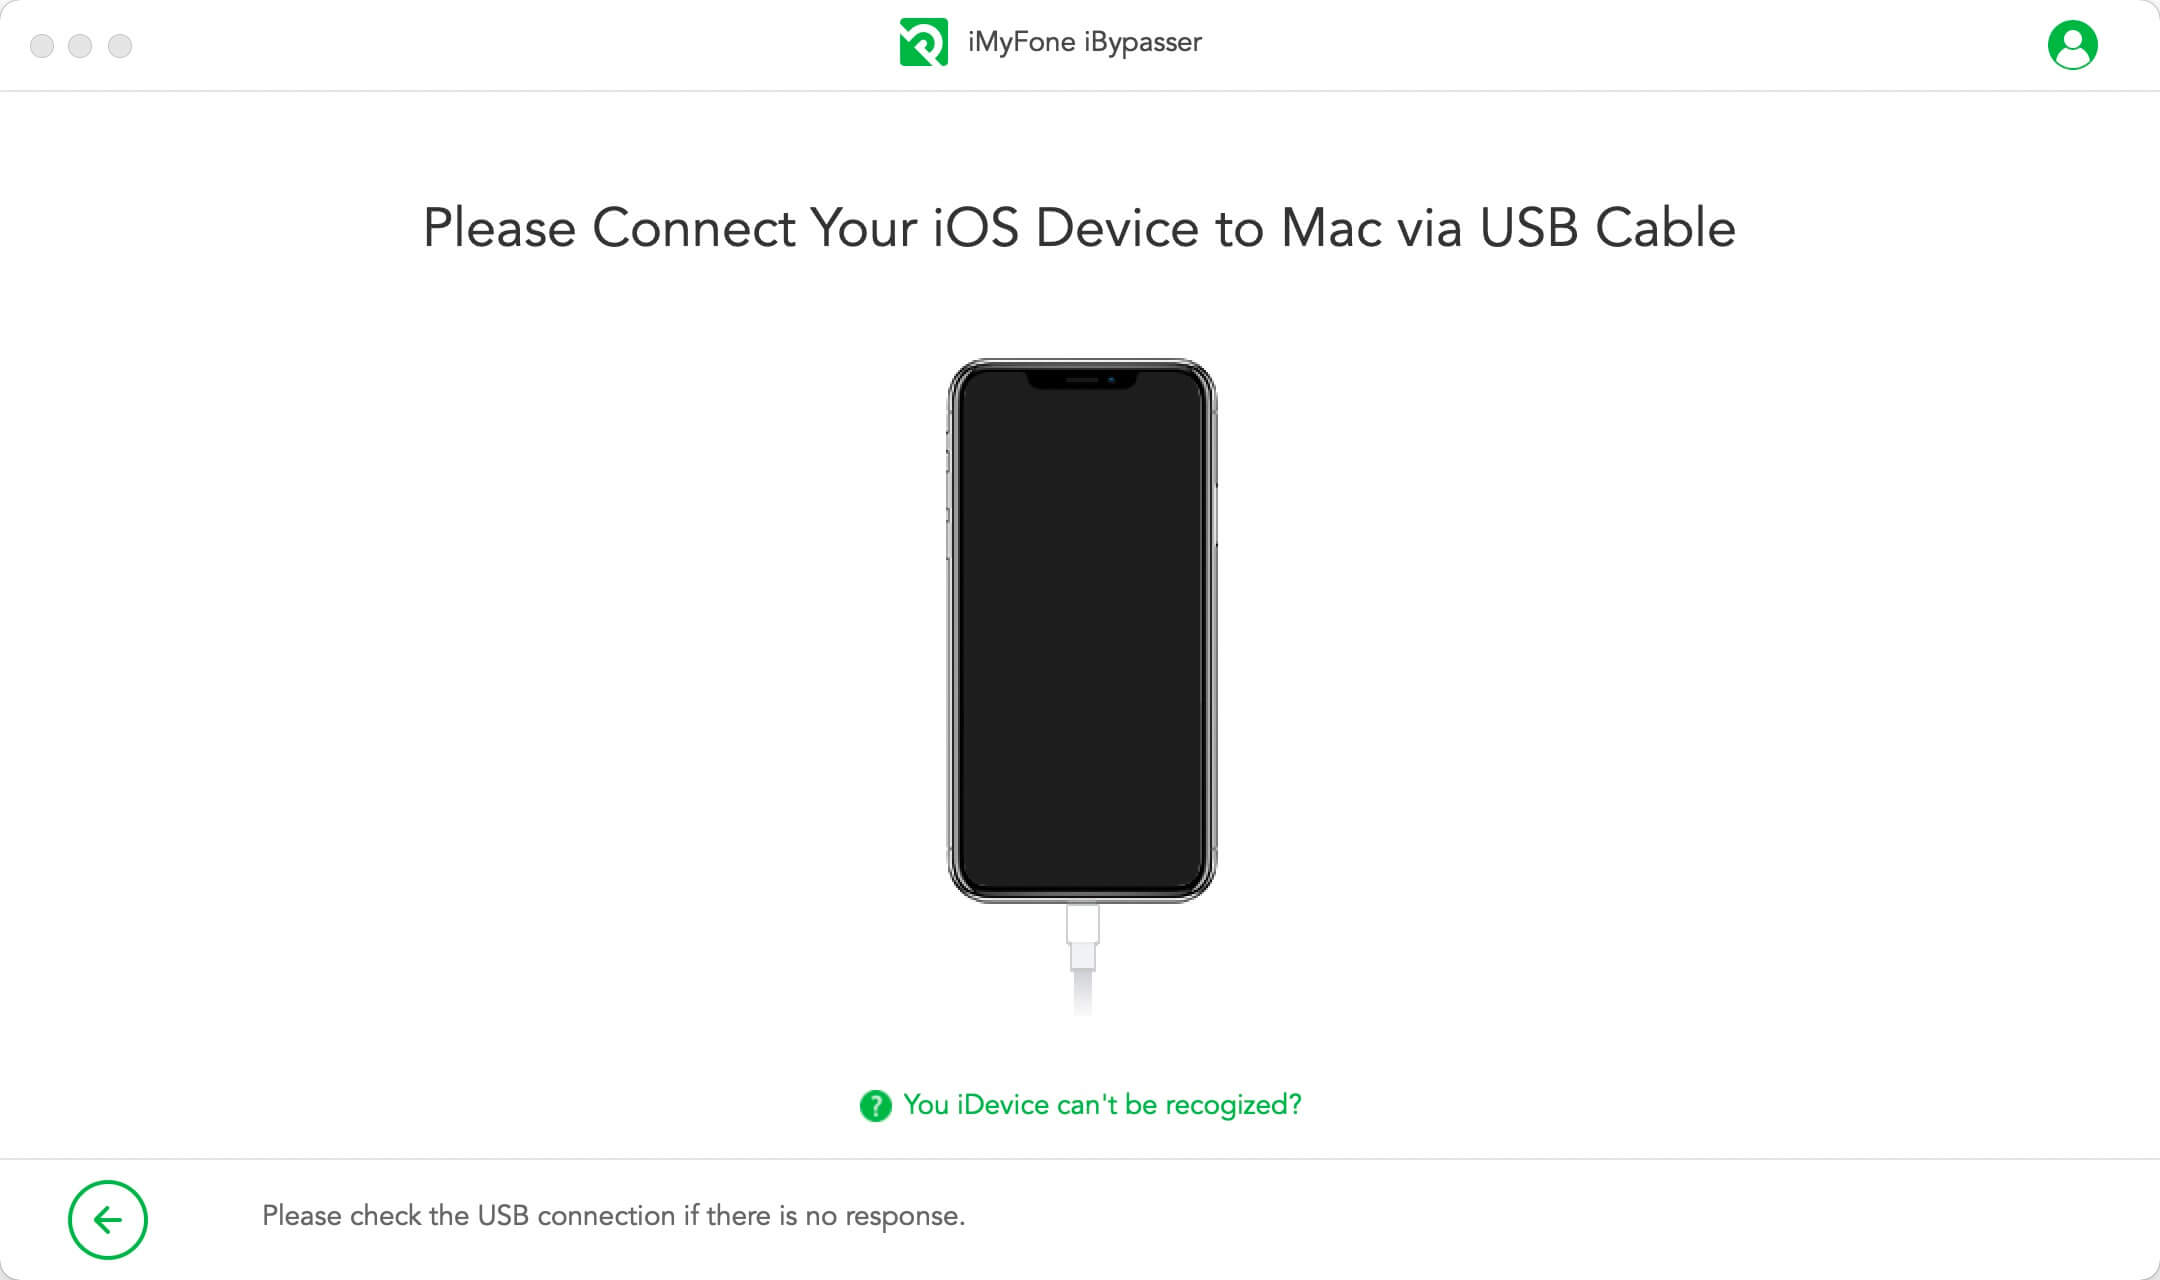
Connect your iOS device to Mac via a USB cable.
iBypasser requires jailbreak for bypassing iCloud activation lock on iOS devices. The jailbreaking solutions for Mac version and Windows version are different.
Case 1: Jailbreak iOS Device - Mac Version
iBypasser will start to download a right jailbreak package for your iOS device.
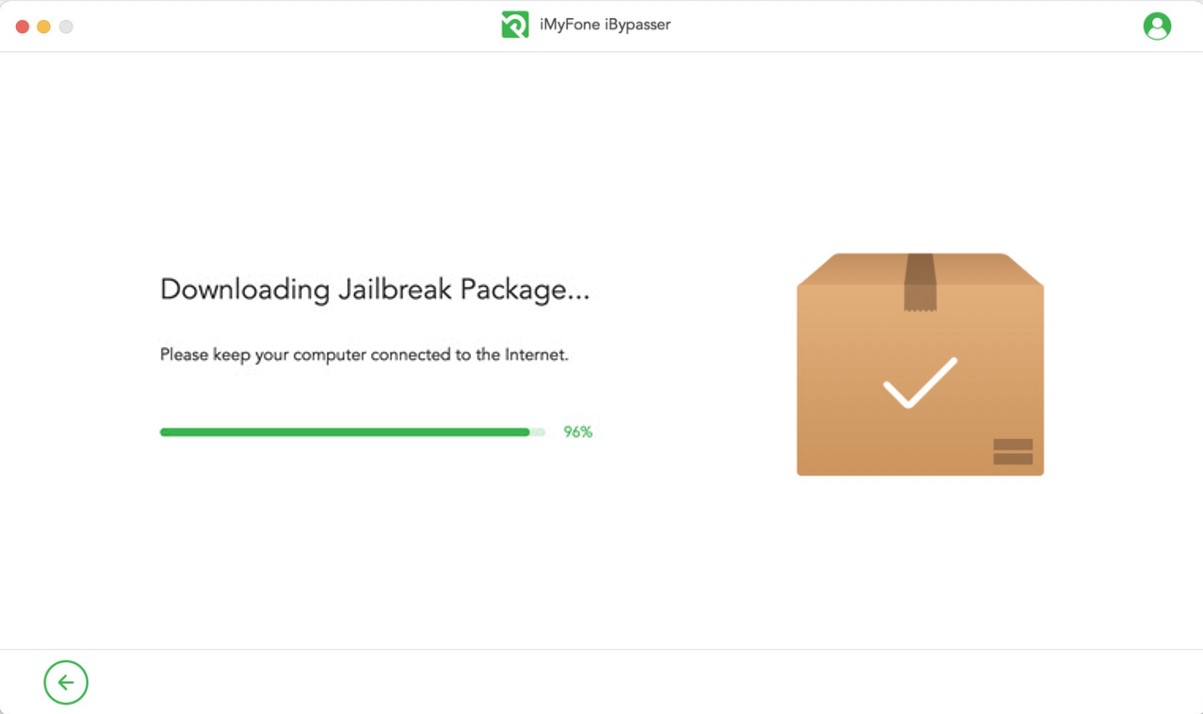
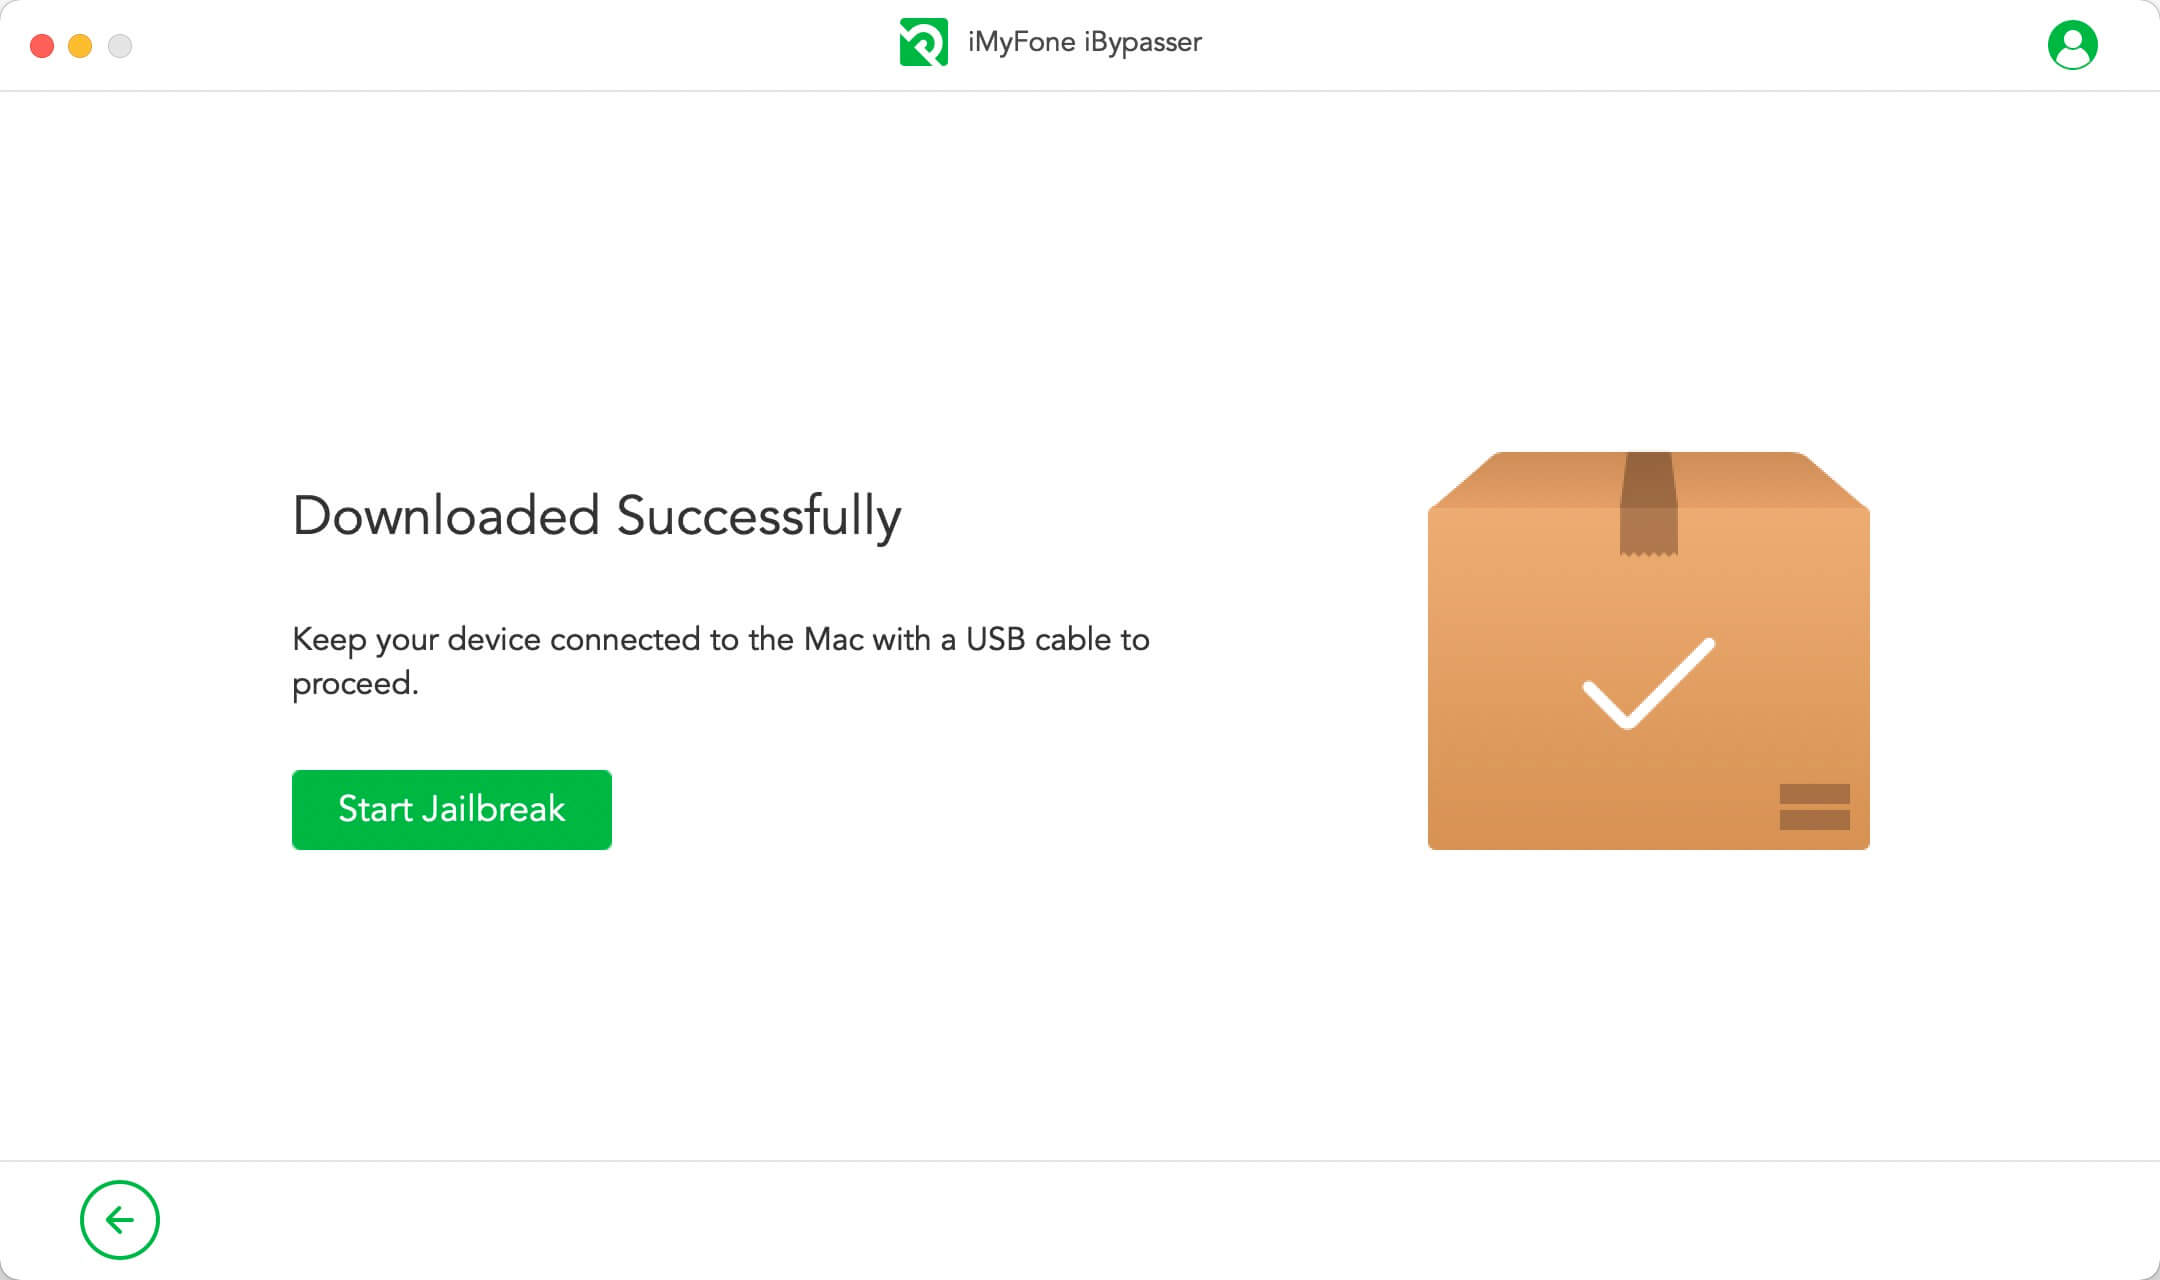
Click "Start Jailbreak" when the jailbreak package downloading process completes.
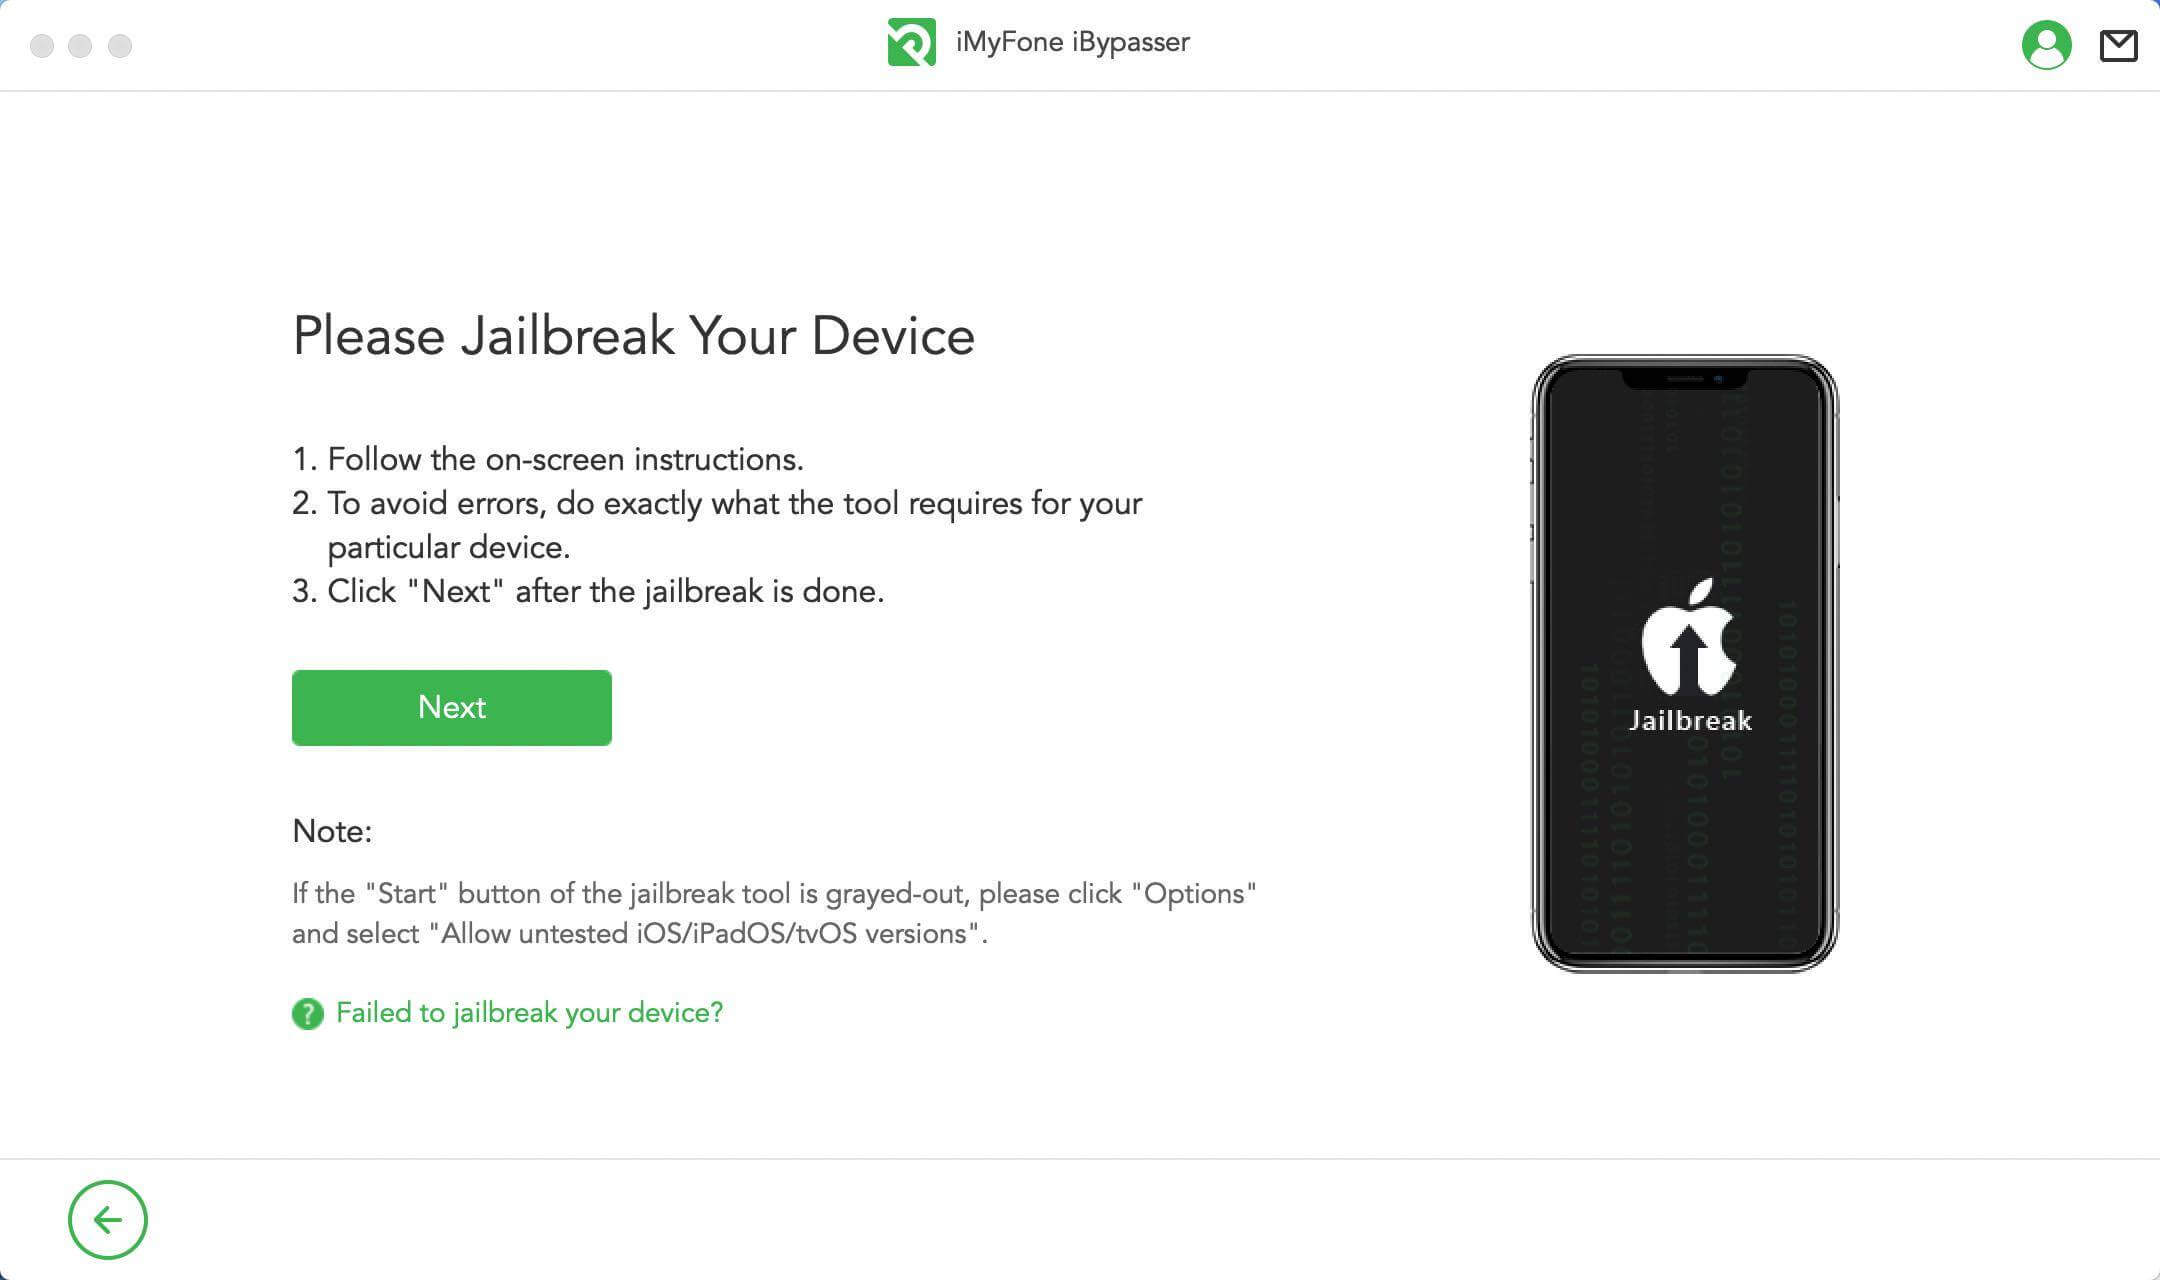
Follow the onscreen instructions to put your device into DFU mode. Then wait for a while until the program finishes jailbreaking your device. Click "Next" to proceed.
Case 2: Jailbreak iOS Device - Windows Version
Since there is no jailbreak tool for the Windows system, you can follow the tutorial jailbreak your iOS device on a Windows computer. When jailbreak is done, click "Finished Jailbreak" to go on.

Step 3: Bypass Activation Lock Screen
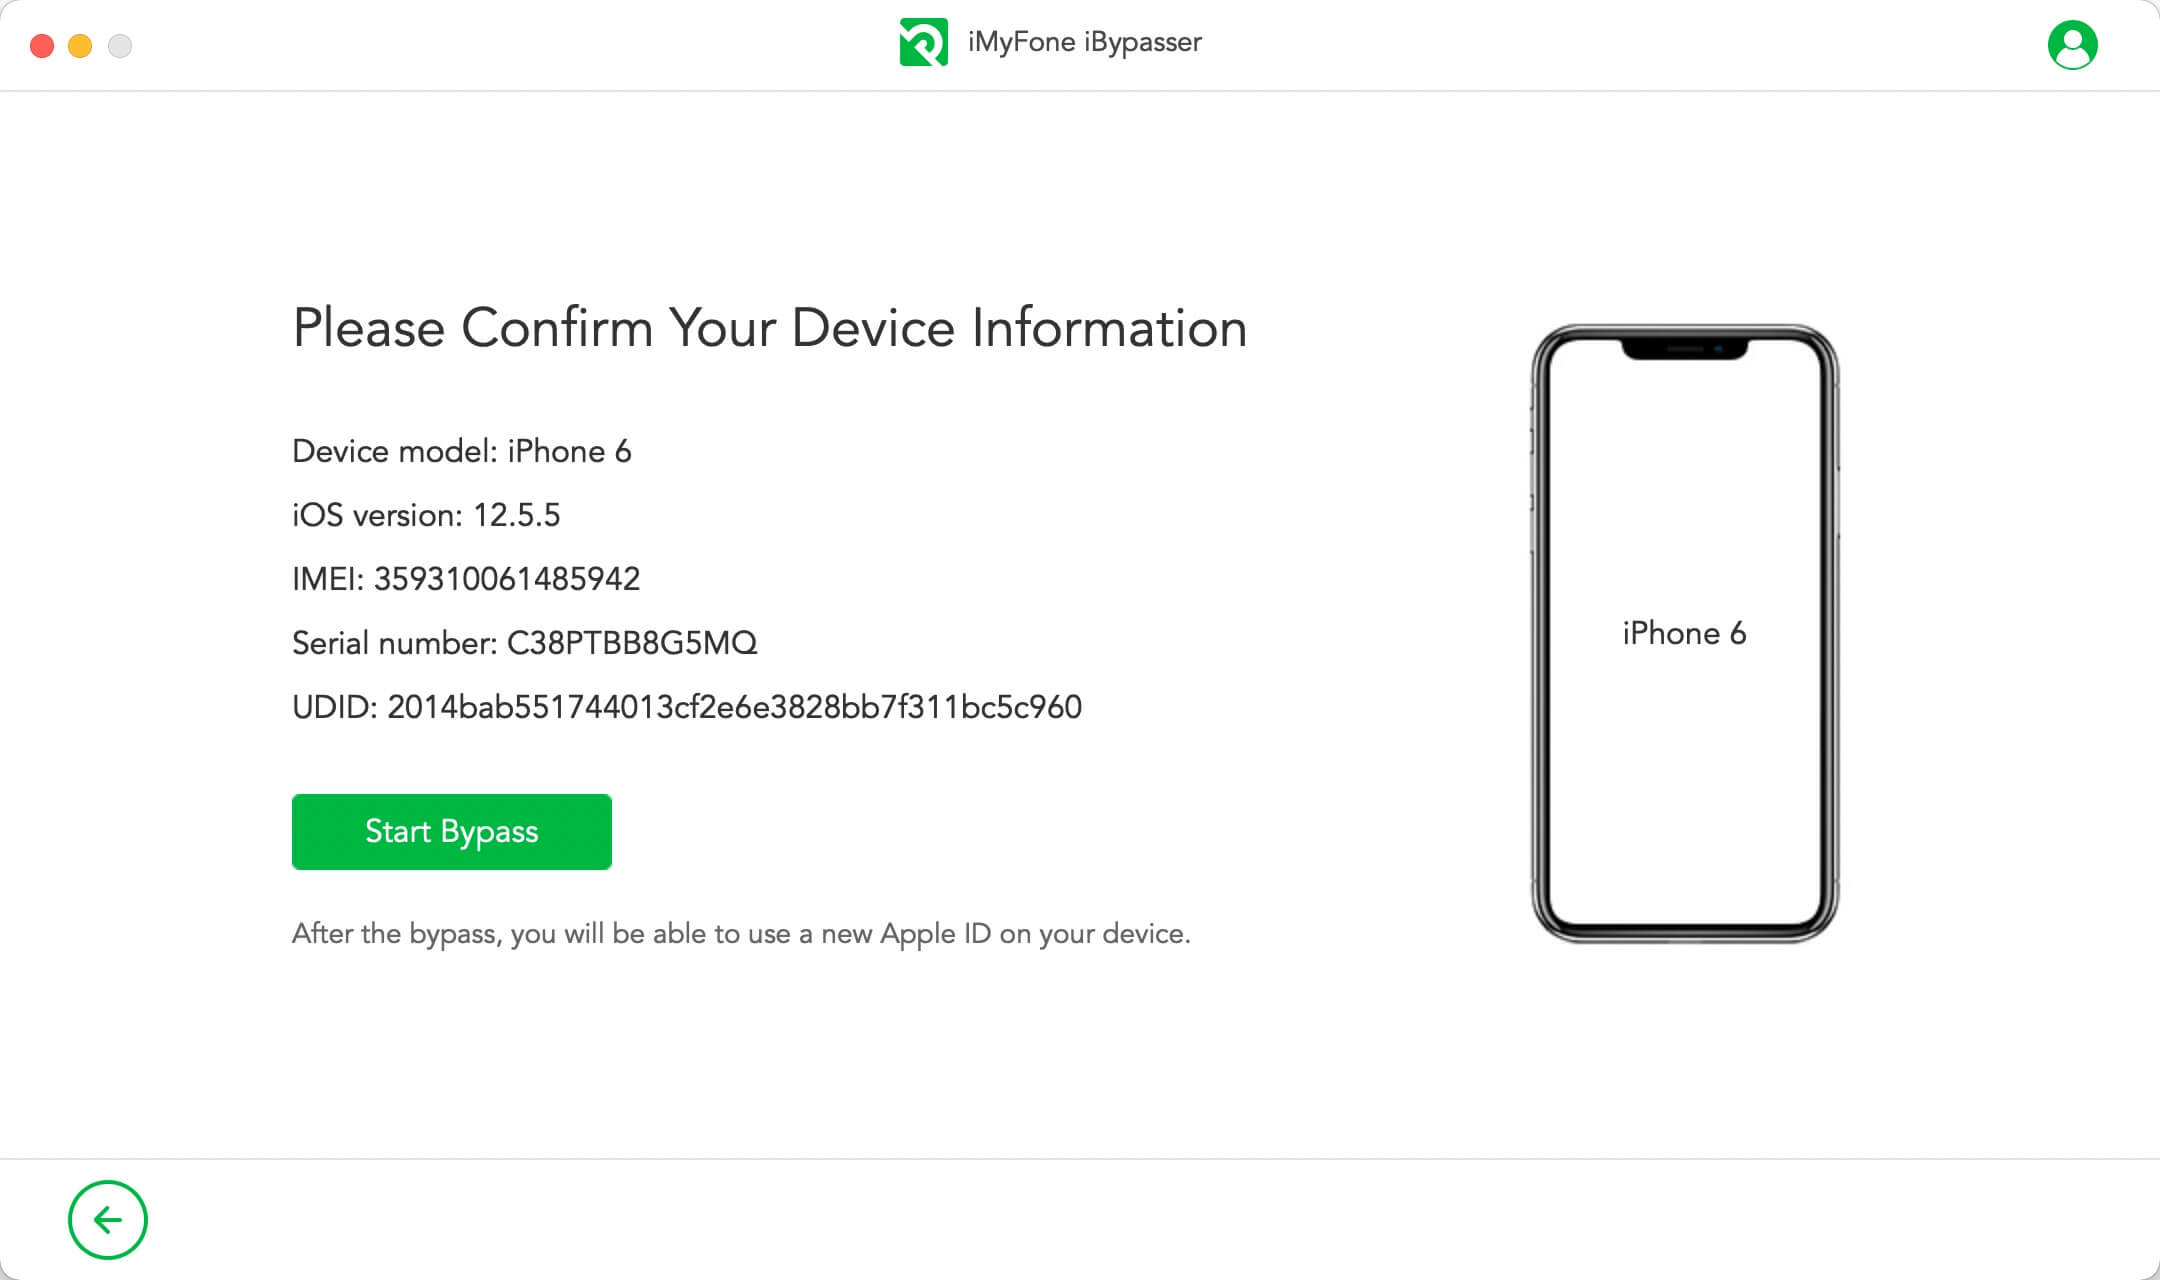
Confirm your device information with device model, iOS version, IMEI, etc. Then click "Start Bypass" to continue.
Note: It will disable the function of phone call, celluar and iCloud of your new Apple ID after bypassing the iCloud activation lock screen.
iBypasser will instantly start to bypass the Apple activation lock screen. It only takes a few seconds to complete the bypassing process.
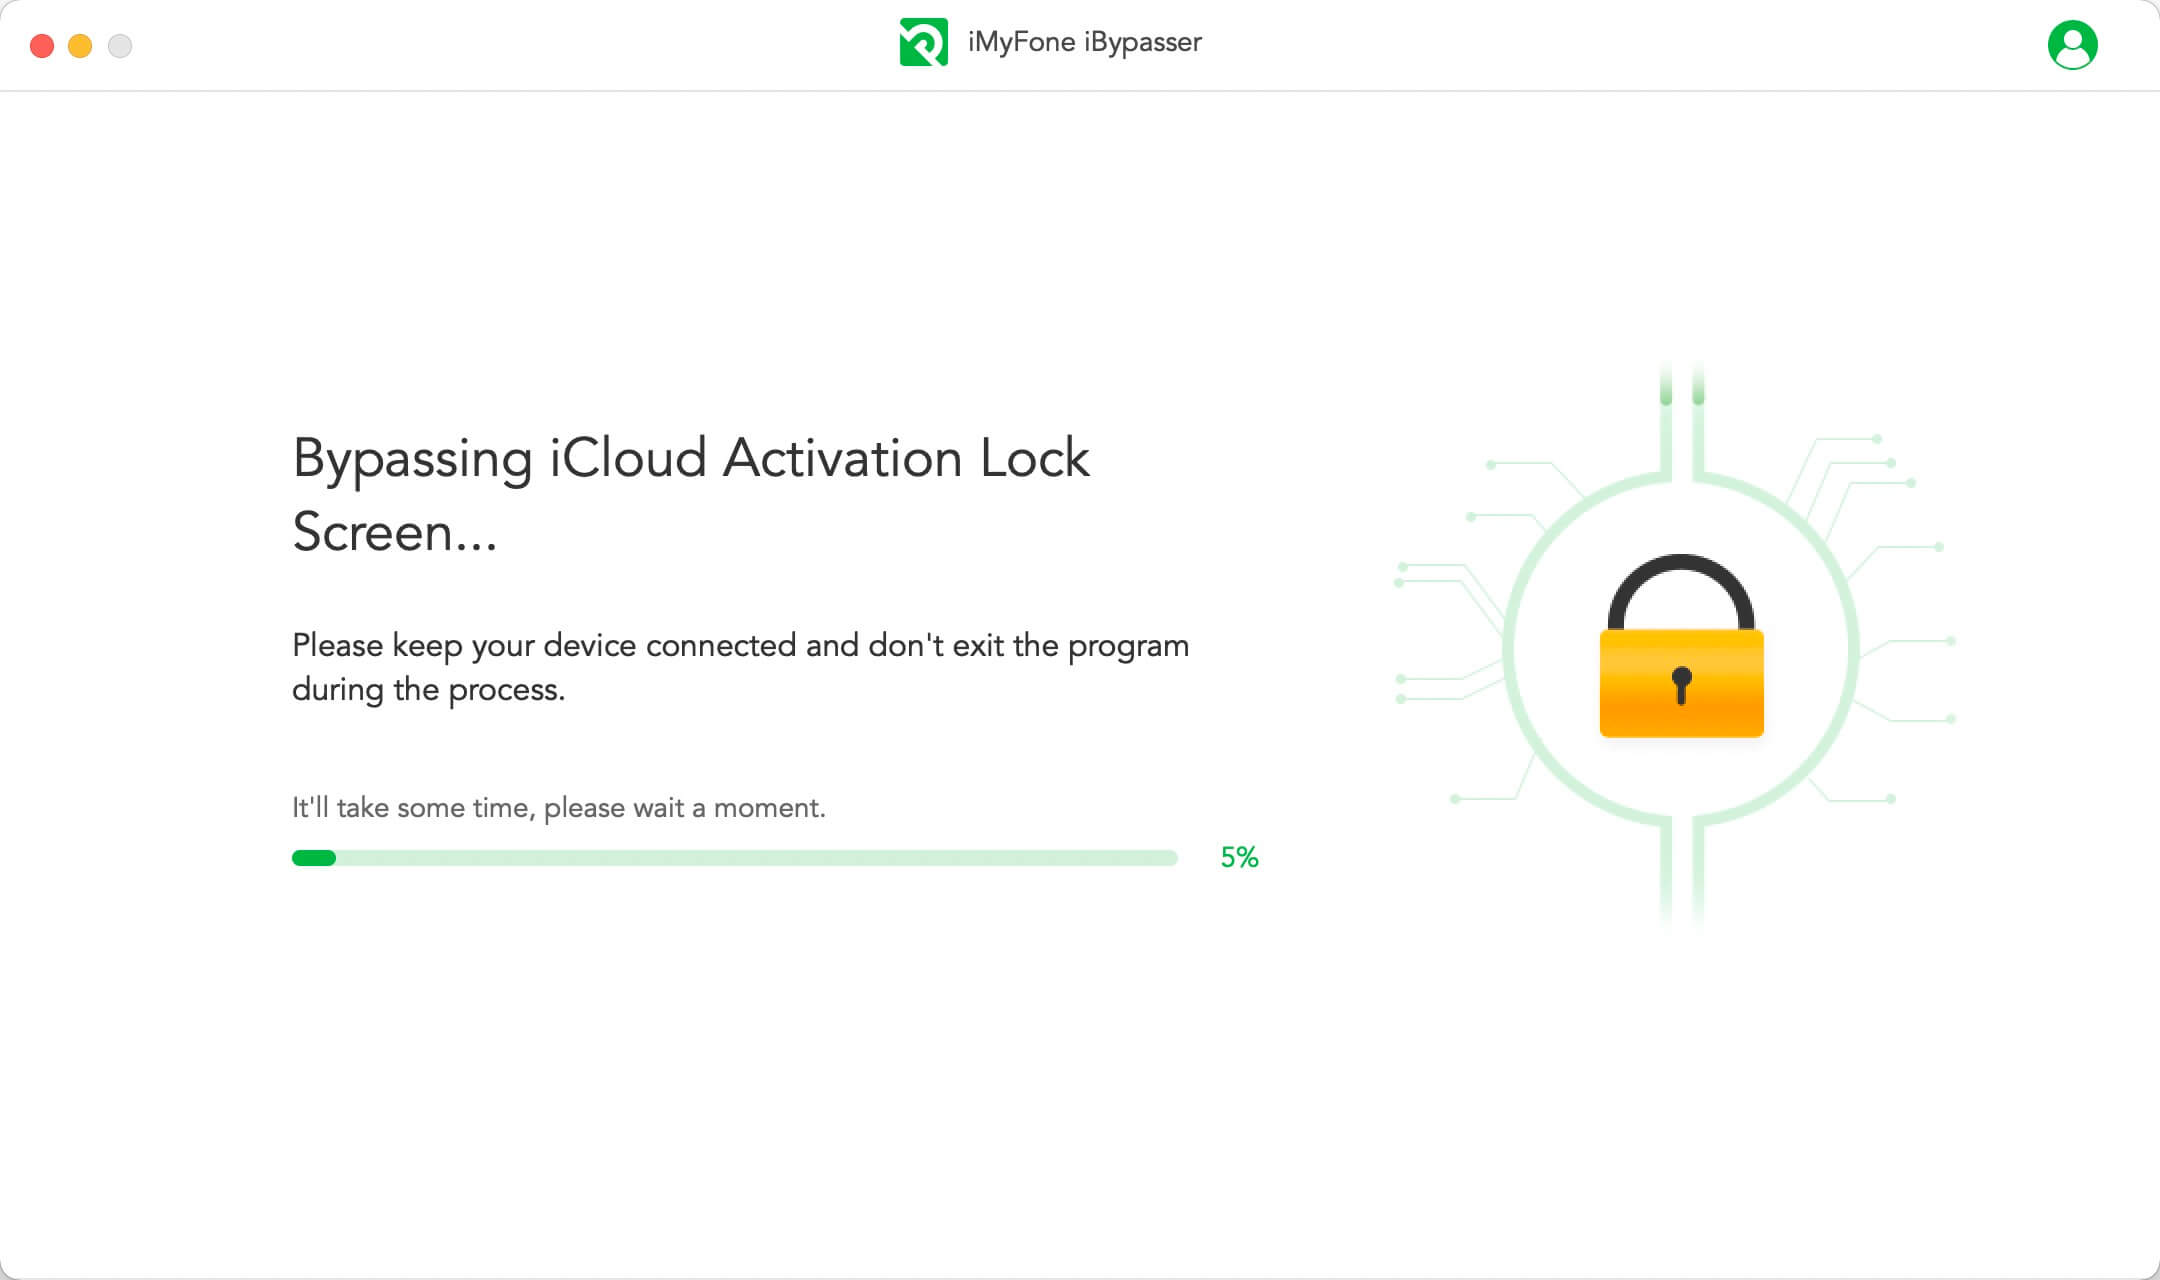
Now, the activation lock screen linked to the previous owner's Apple ID is bypassed successfully. Then you can use a new Apple ID and customize settings.

Part 2. Remove Screen Lock and Bypass Activation
MUST READ:
If you don't know the screen passcode of your device, or the device is disabled, please select the "Remove Screen Lock and Bypass Activation" mode.
Step 1: Launch iMyFone iBypasser
After successful installation, launch iBypasser and choose the "Remove Screen Lock and Bypass Activation" mode.
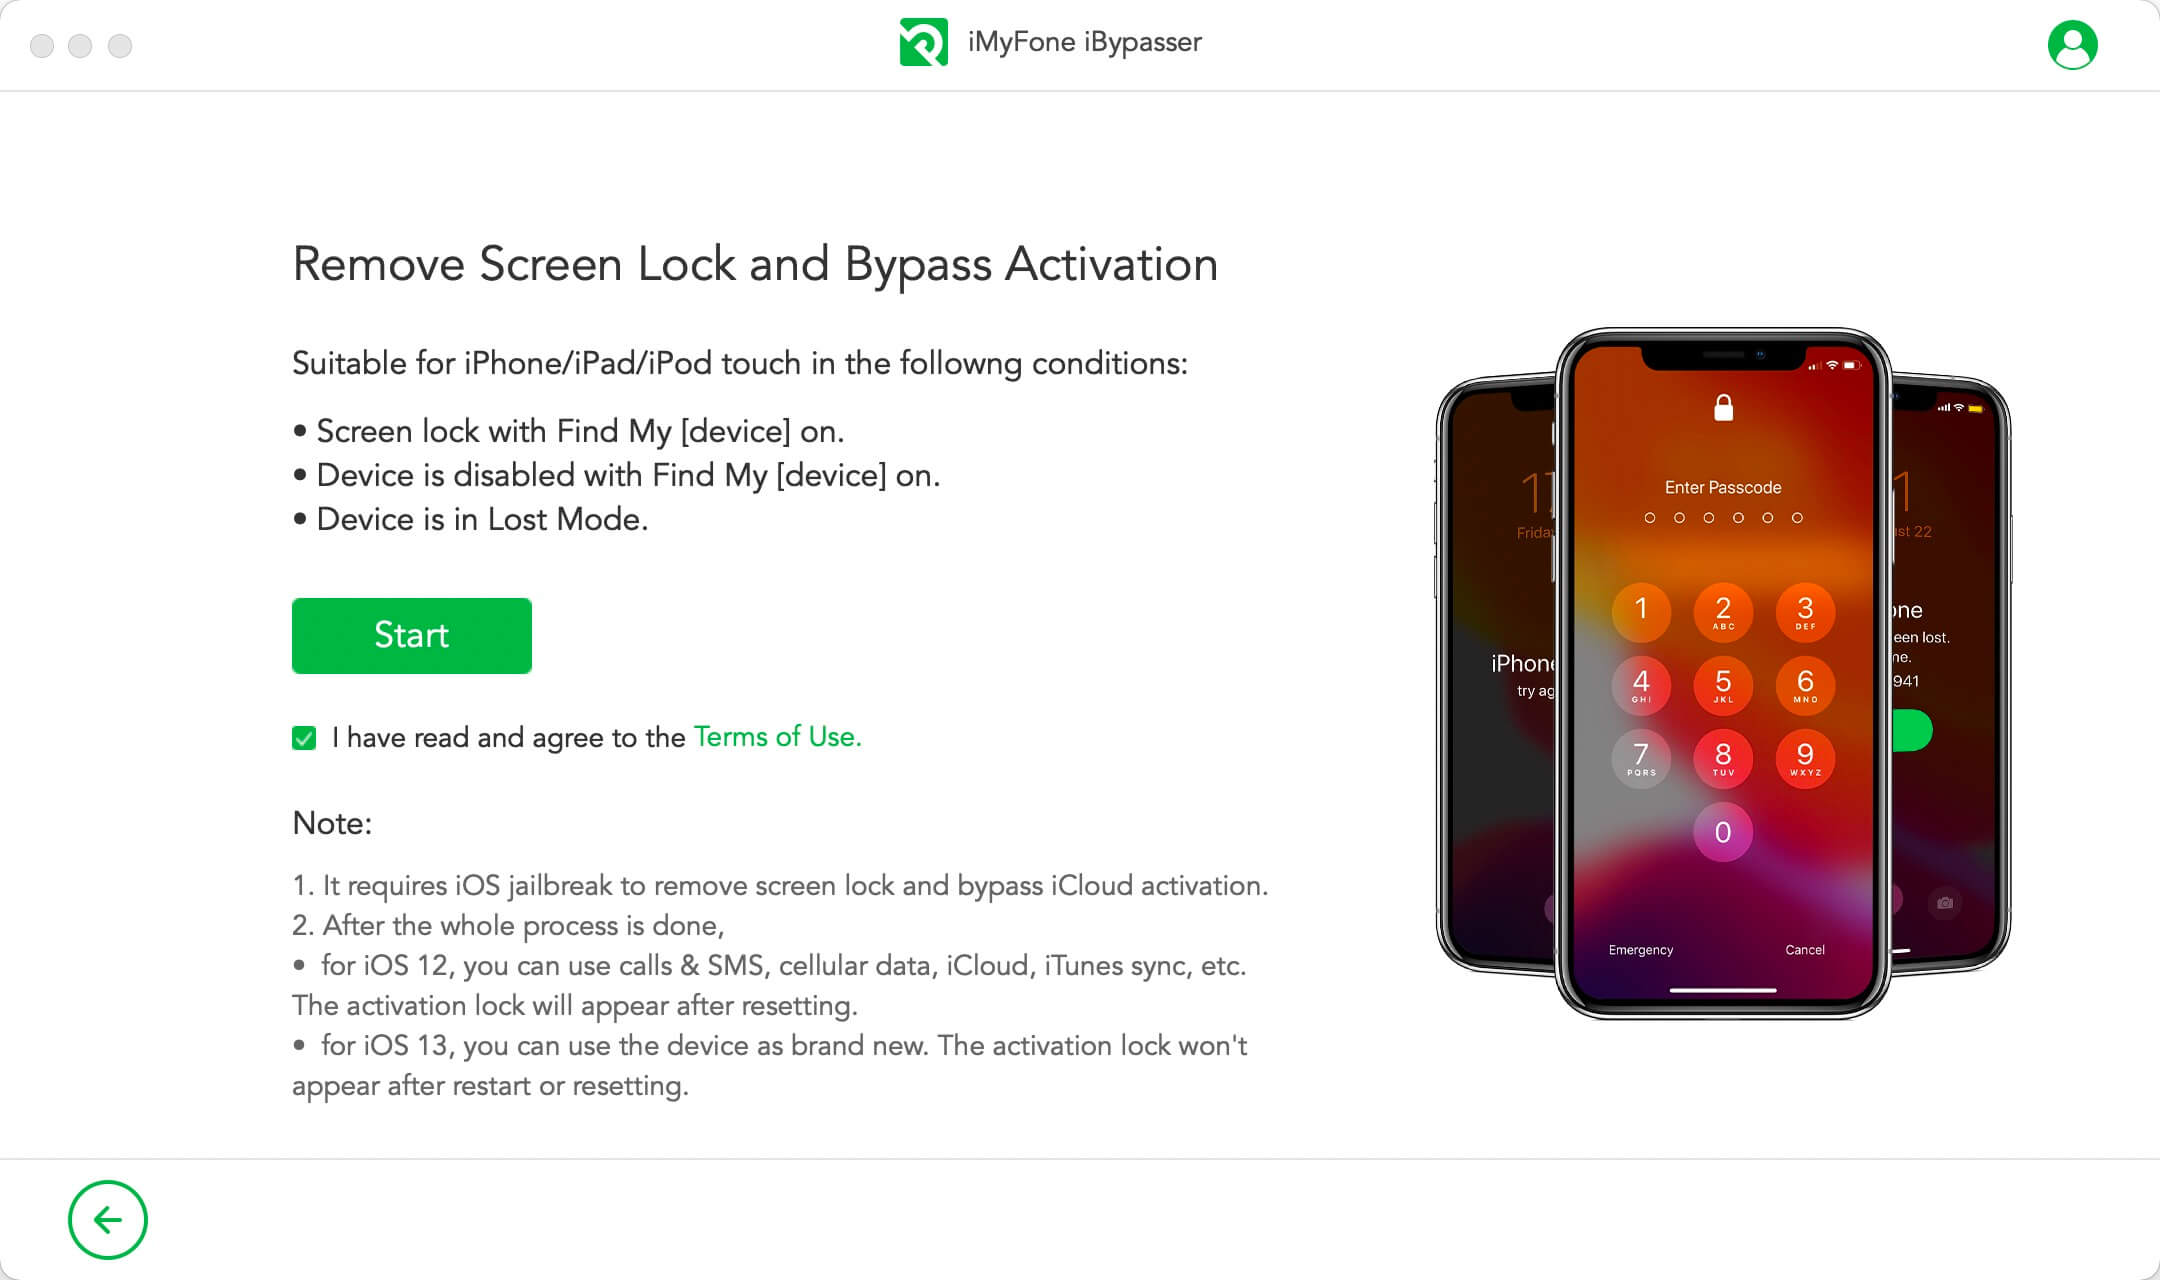
Read the explanations and notes of using this mode, click the "Start" button.
Connect you iPhone/iPad/iPod touch through a lightning cable.
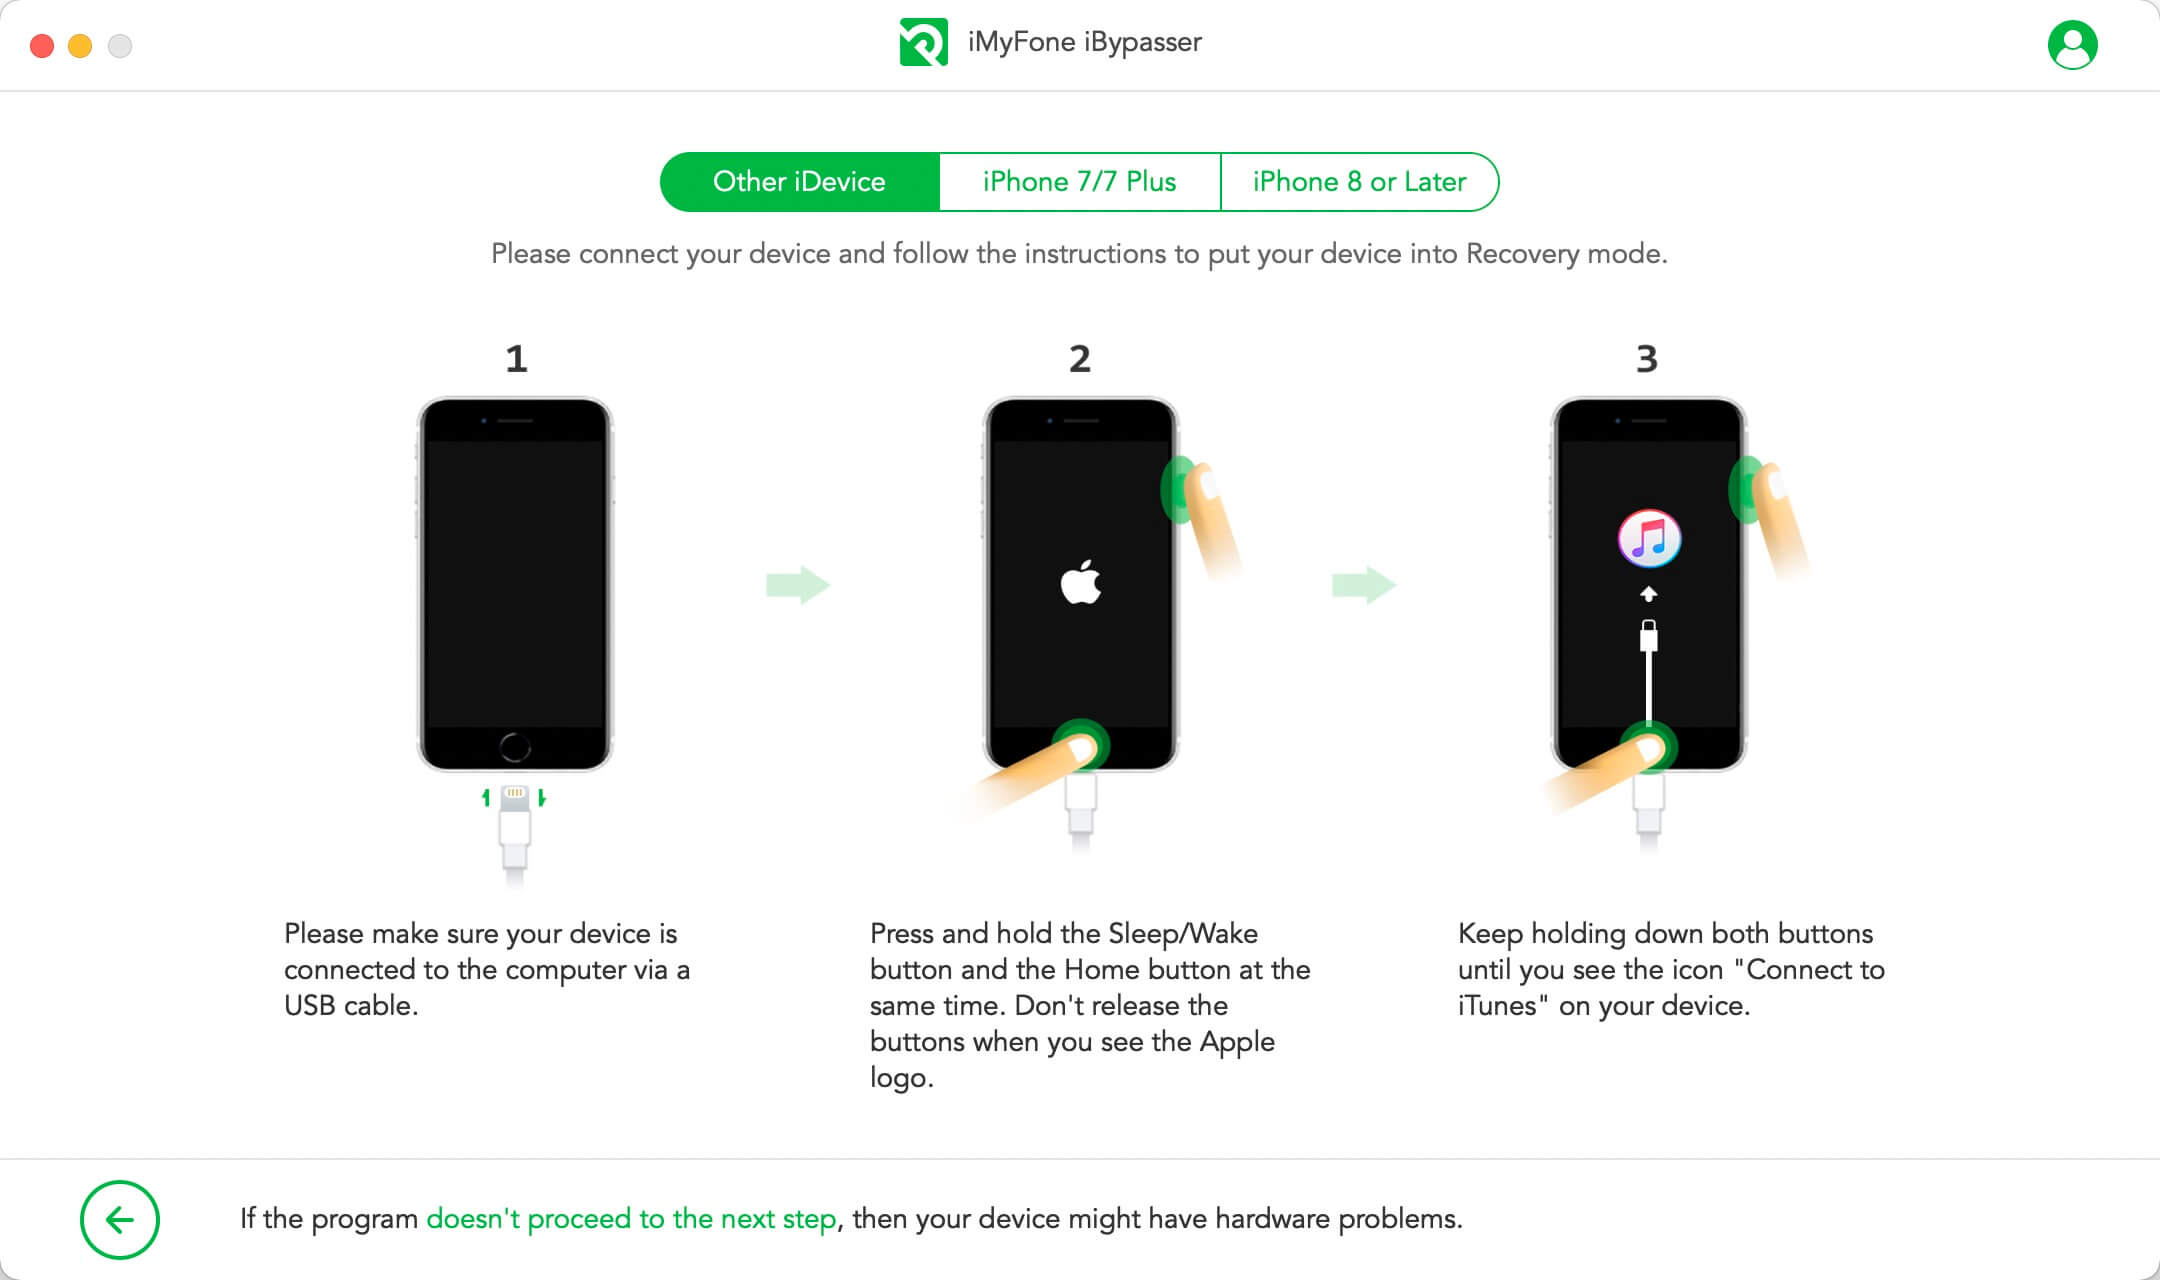
Follow the on-screen instructions to put your device into recovery mode. Once your deice has successfully enter the recovery mode, the program will automatically proceed to the next step where you can select your device information. If not, please check the connection and try again.
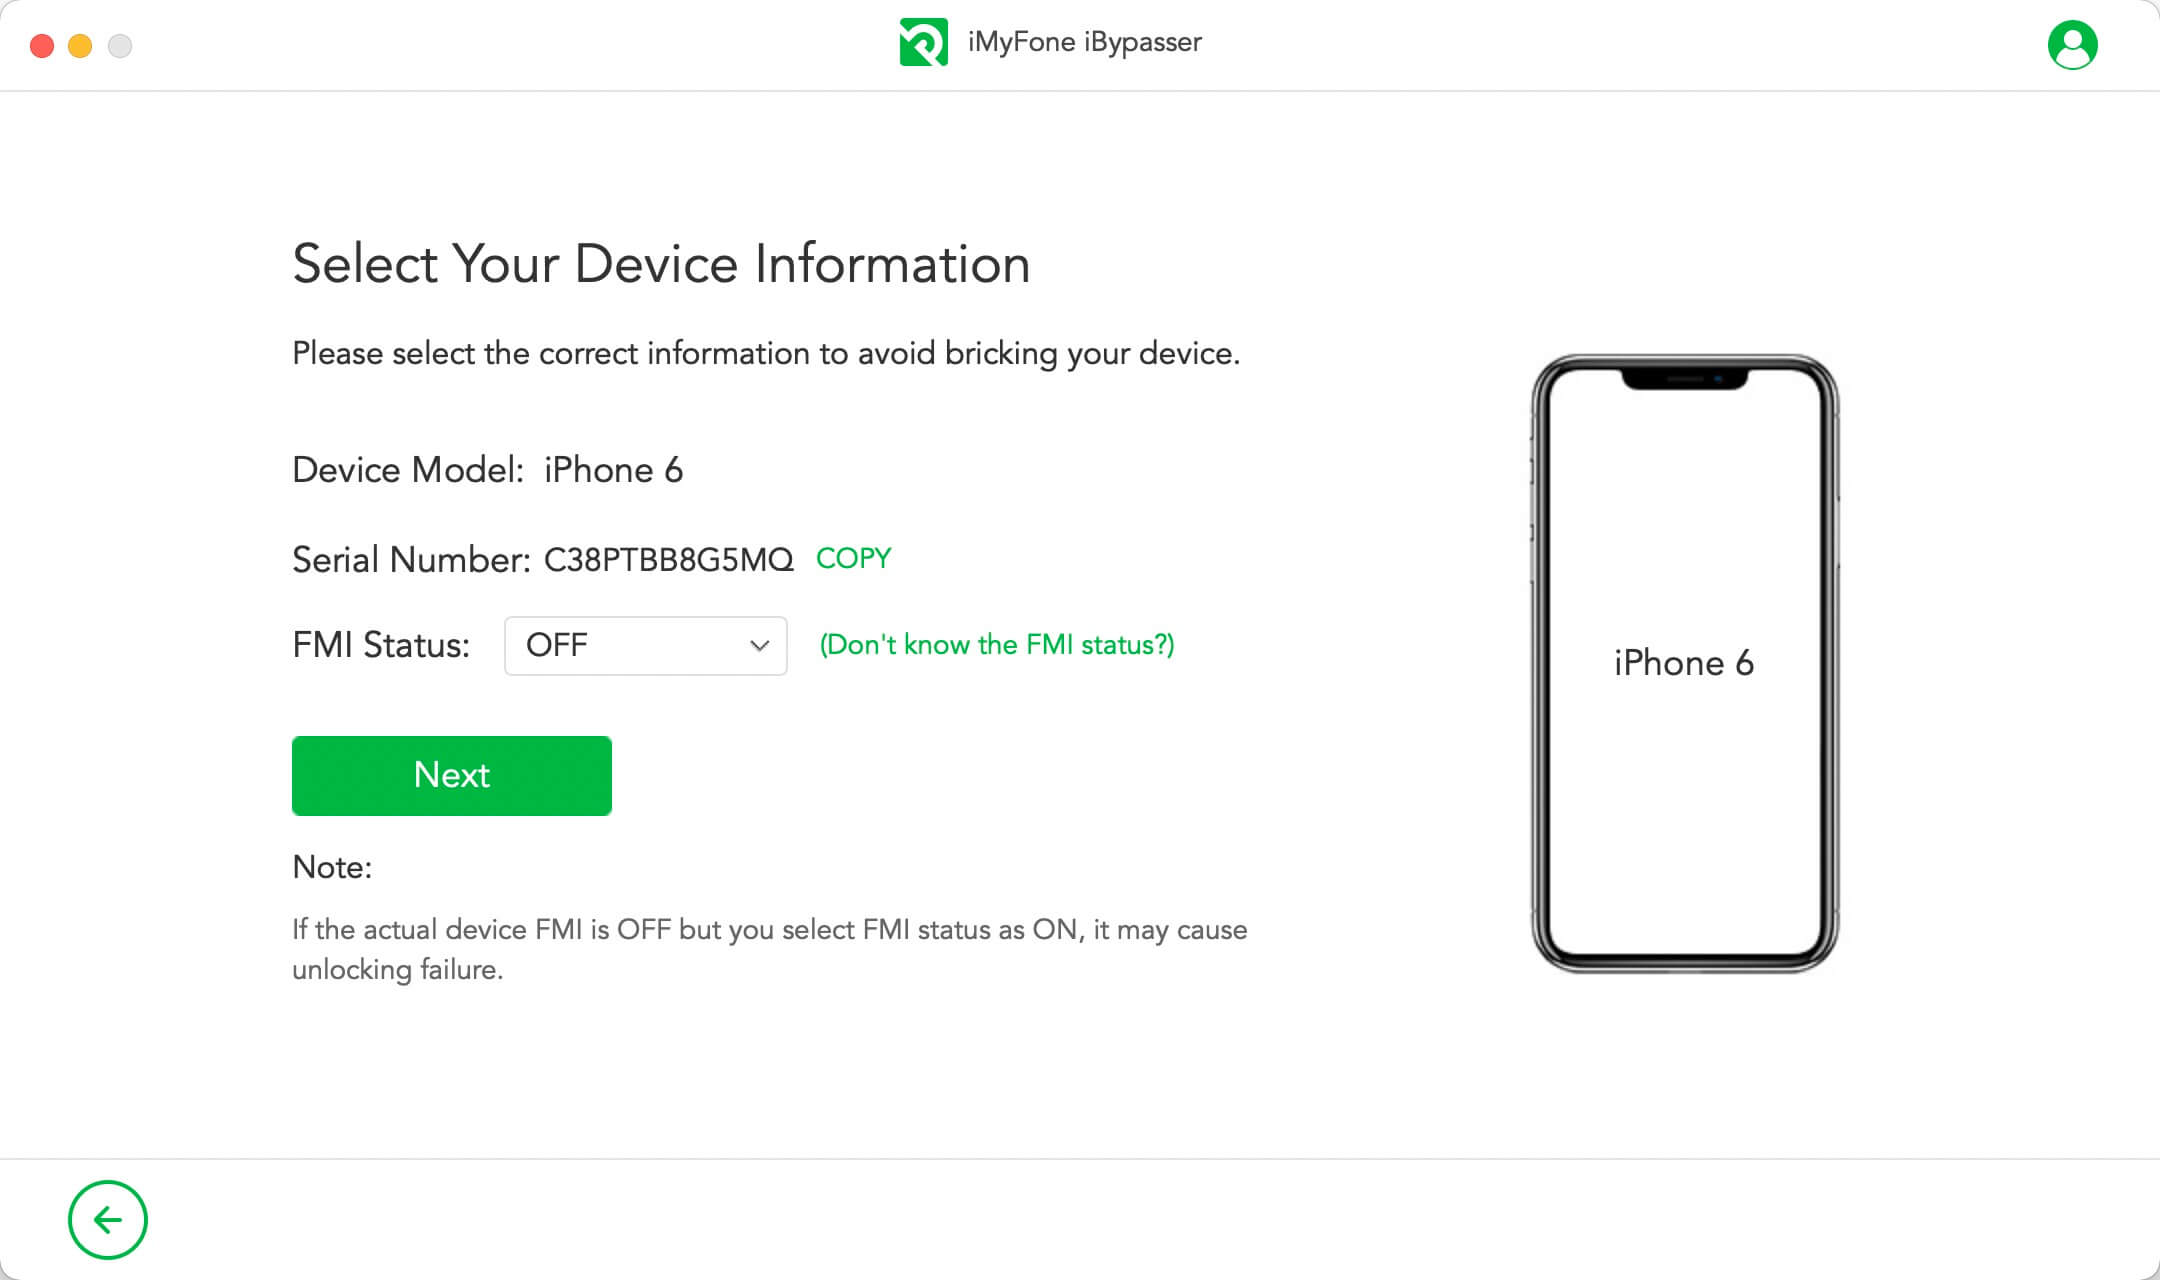
Select your device FMI status – whether Find My [device] is ON or OFF and the iOS version of your device. If you don't know the FMI status, an FAQ about checking FMI status is offered to help. Click "Next" after selecting the information.
Step 2: Jailbreak Your iOS Device
iBypasser requires jailbreak to remove screen lock without iCloud activation restrictions. iBypasser will start to download a right jailbreak package for your iOS device.
Click "Start Jailbreak" when the jailbreak package downloading process completes.
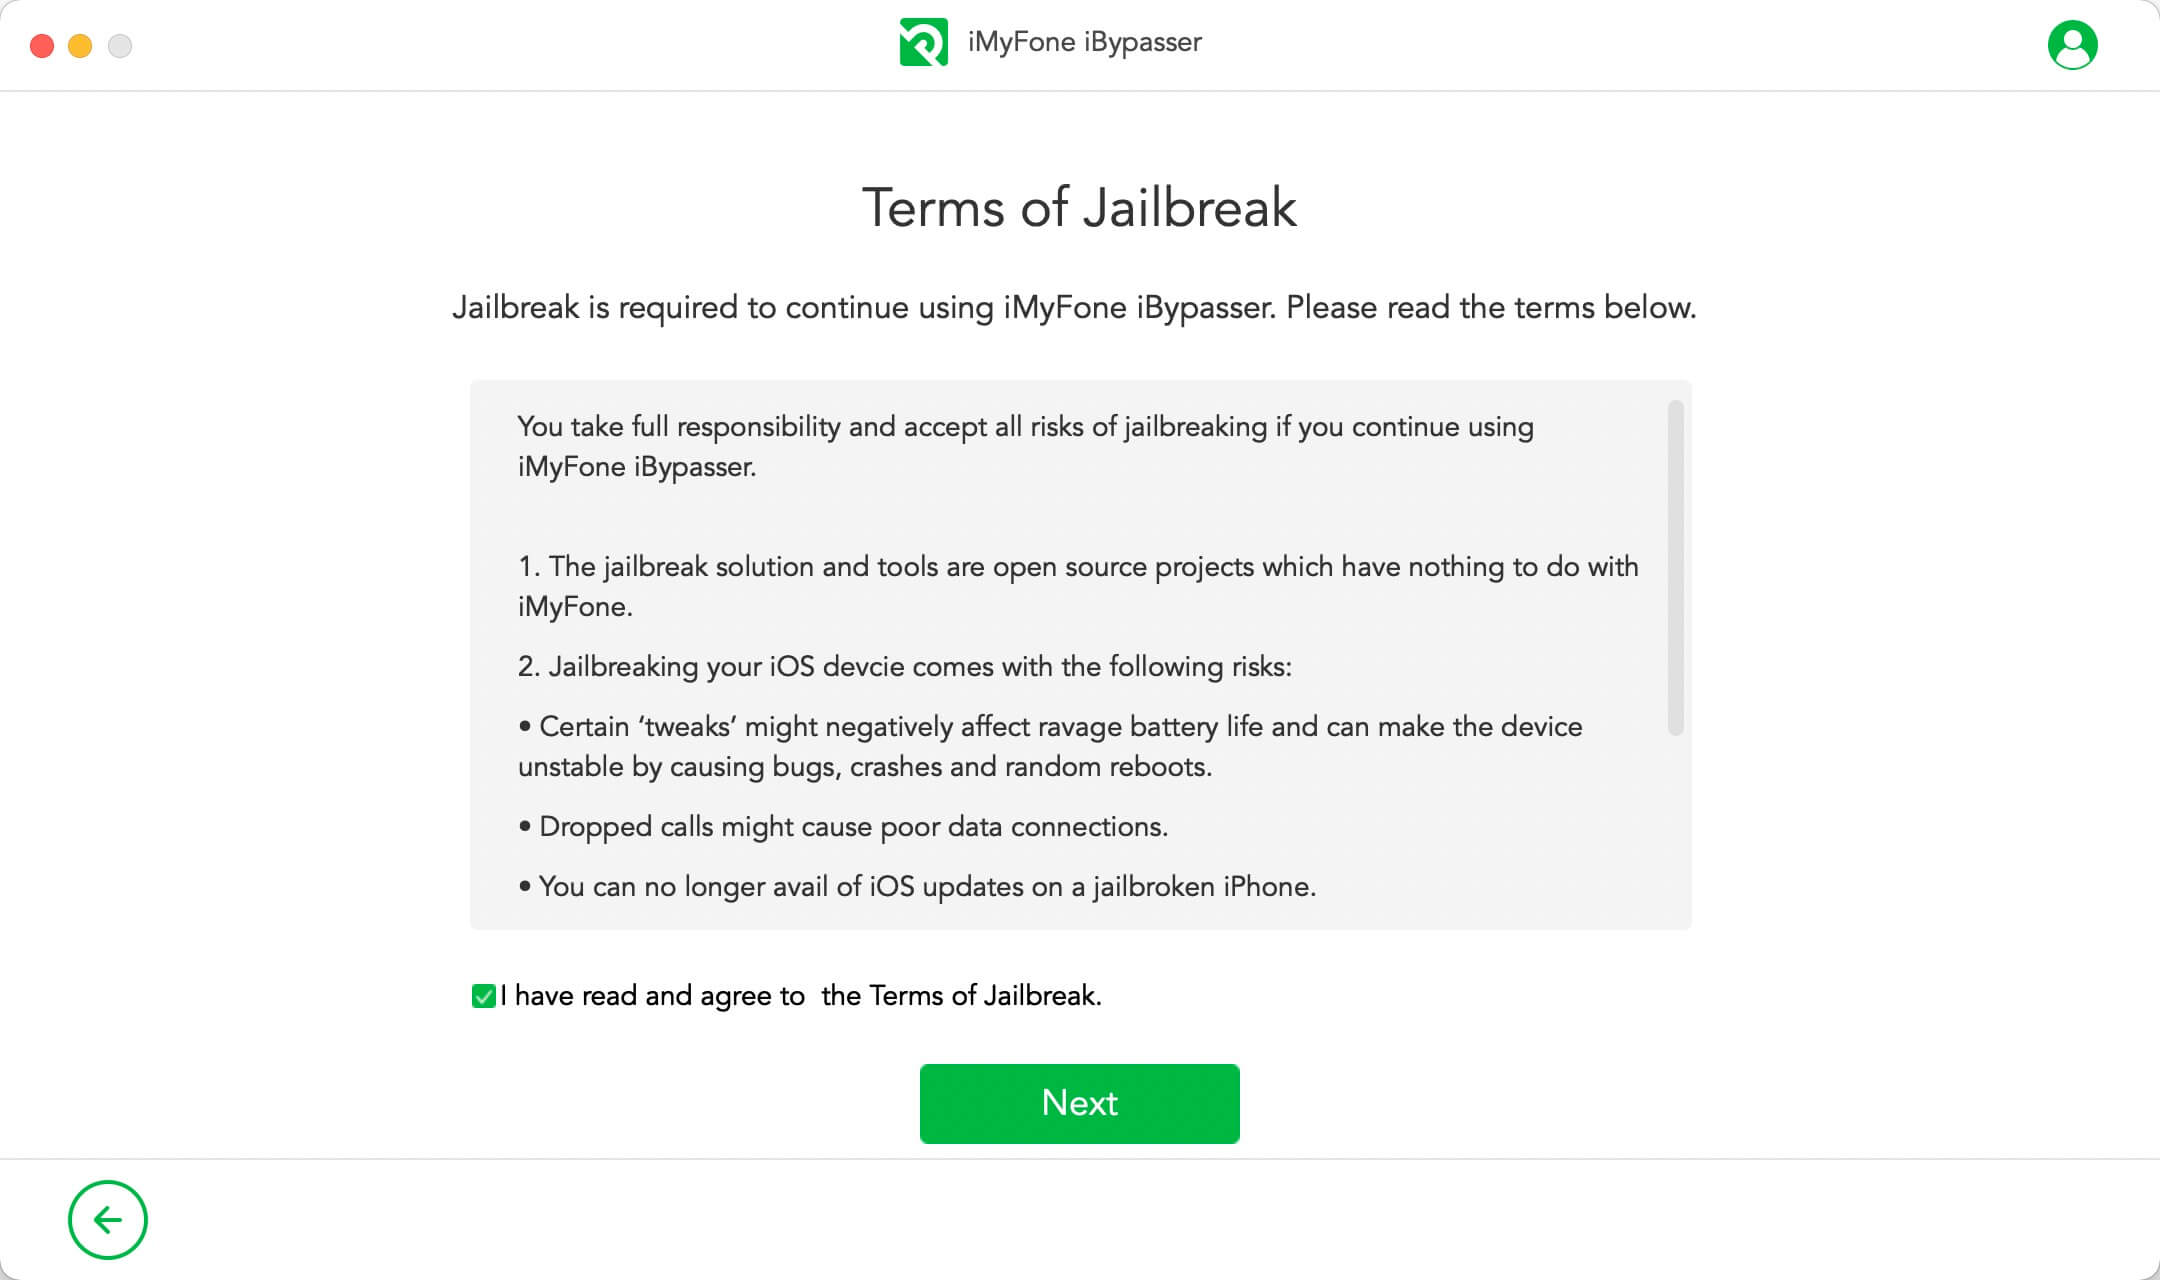
Read the Terms of Jailbreak and tick the checkbox if you agree to this, then click "Next".
Follow the onscreen instructions to put your device into DFU mode. Then wait for a while until the program finishes jailbreaking your device. Click "Next" to proceed.
In the "Remove Screen Lock and Bypass Activation" mode, different solutions are offered for devices running different iOS versions.
-
Situation 1: If your iOS version is iOS 12
for iOS 12, you can use calls & SMS, cellular data, iCloud, iTunes sync, etc..
-
Situation 2: If your iOS version is iOS 13.0 or above
for iOS 13, you can use the device as brand new. The activation lock won't appear after restart or erasing.
Situation 1: If your iOS version is iOS 12
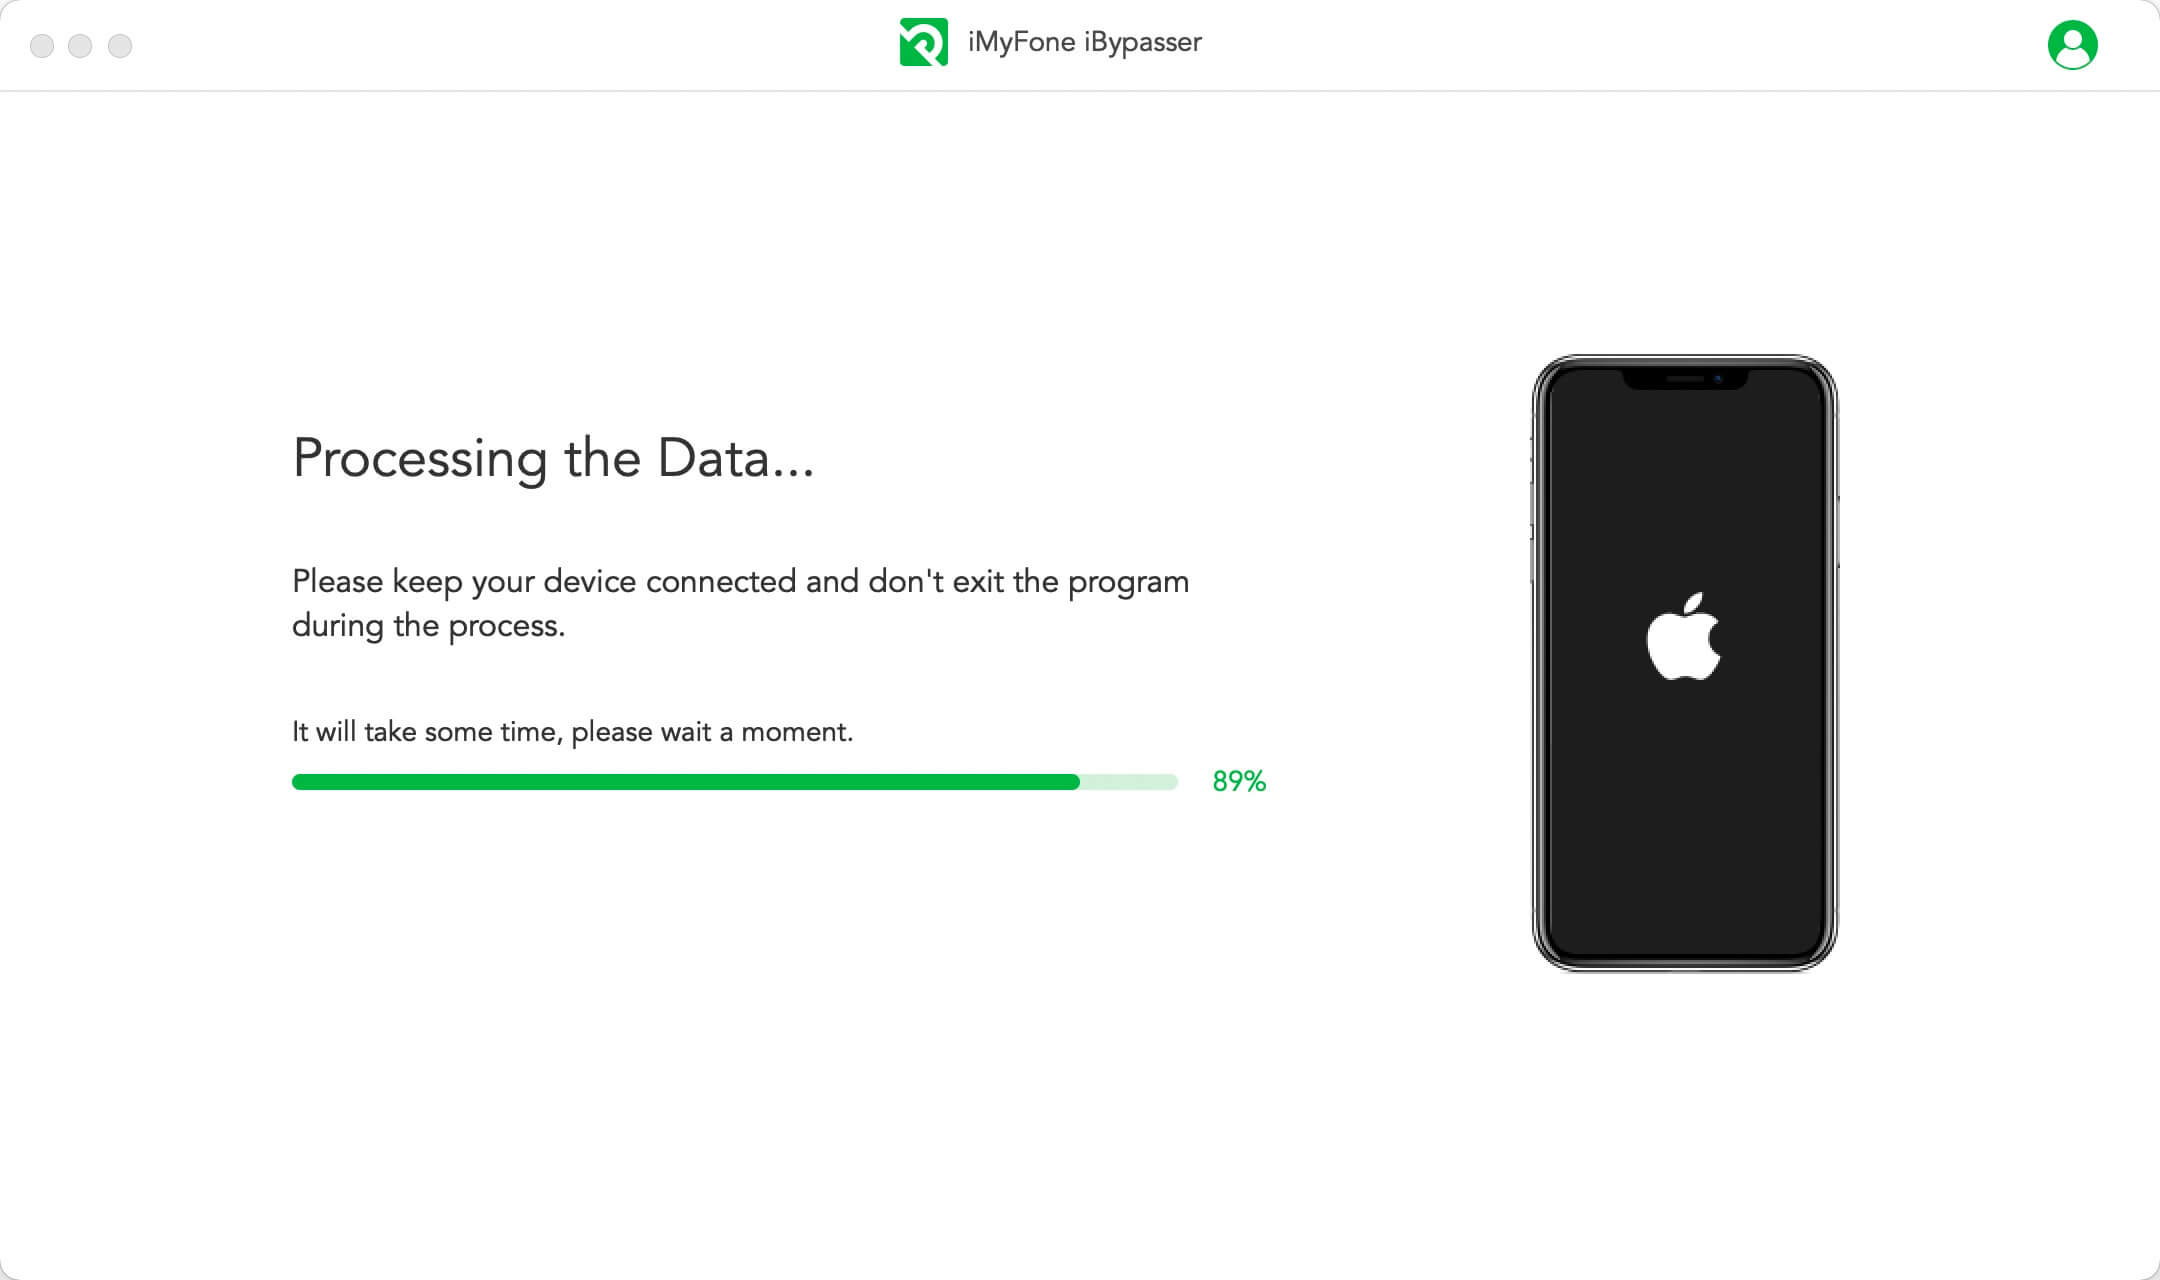
Step 3: Process the Data
iBypasser will start processing the important files on your device.
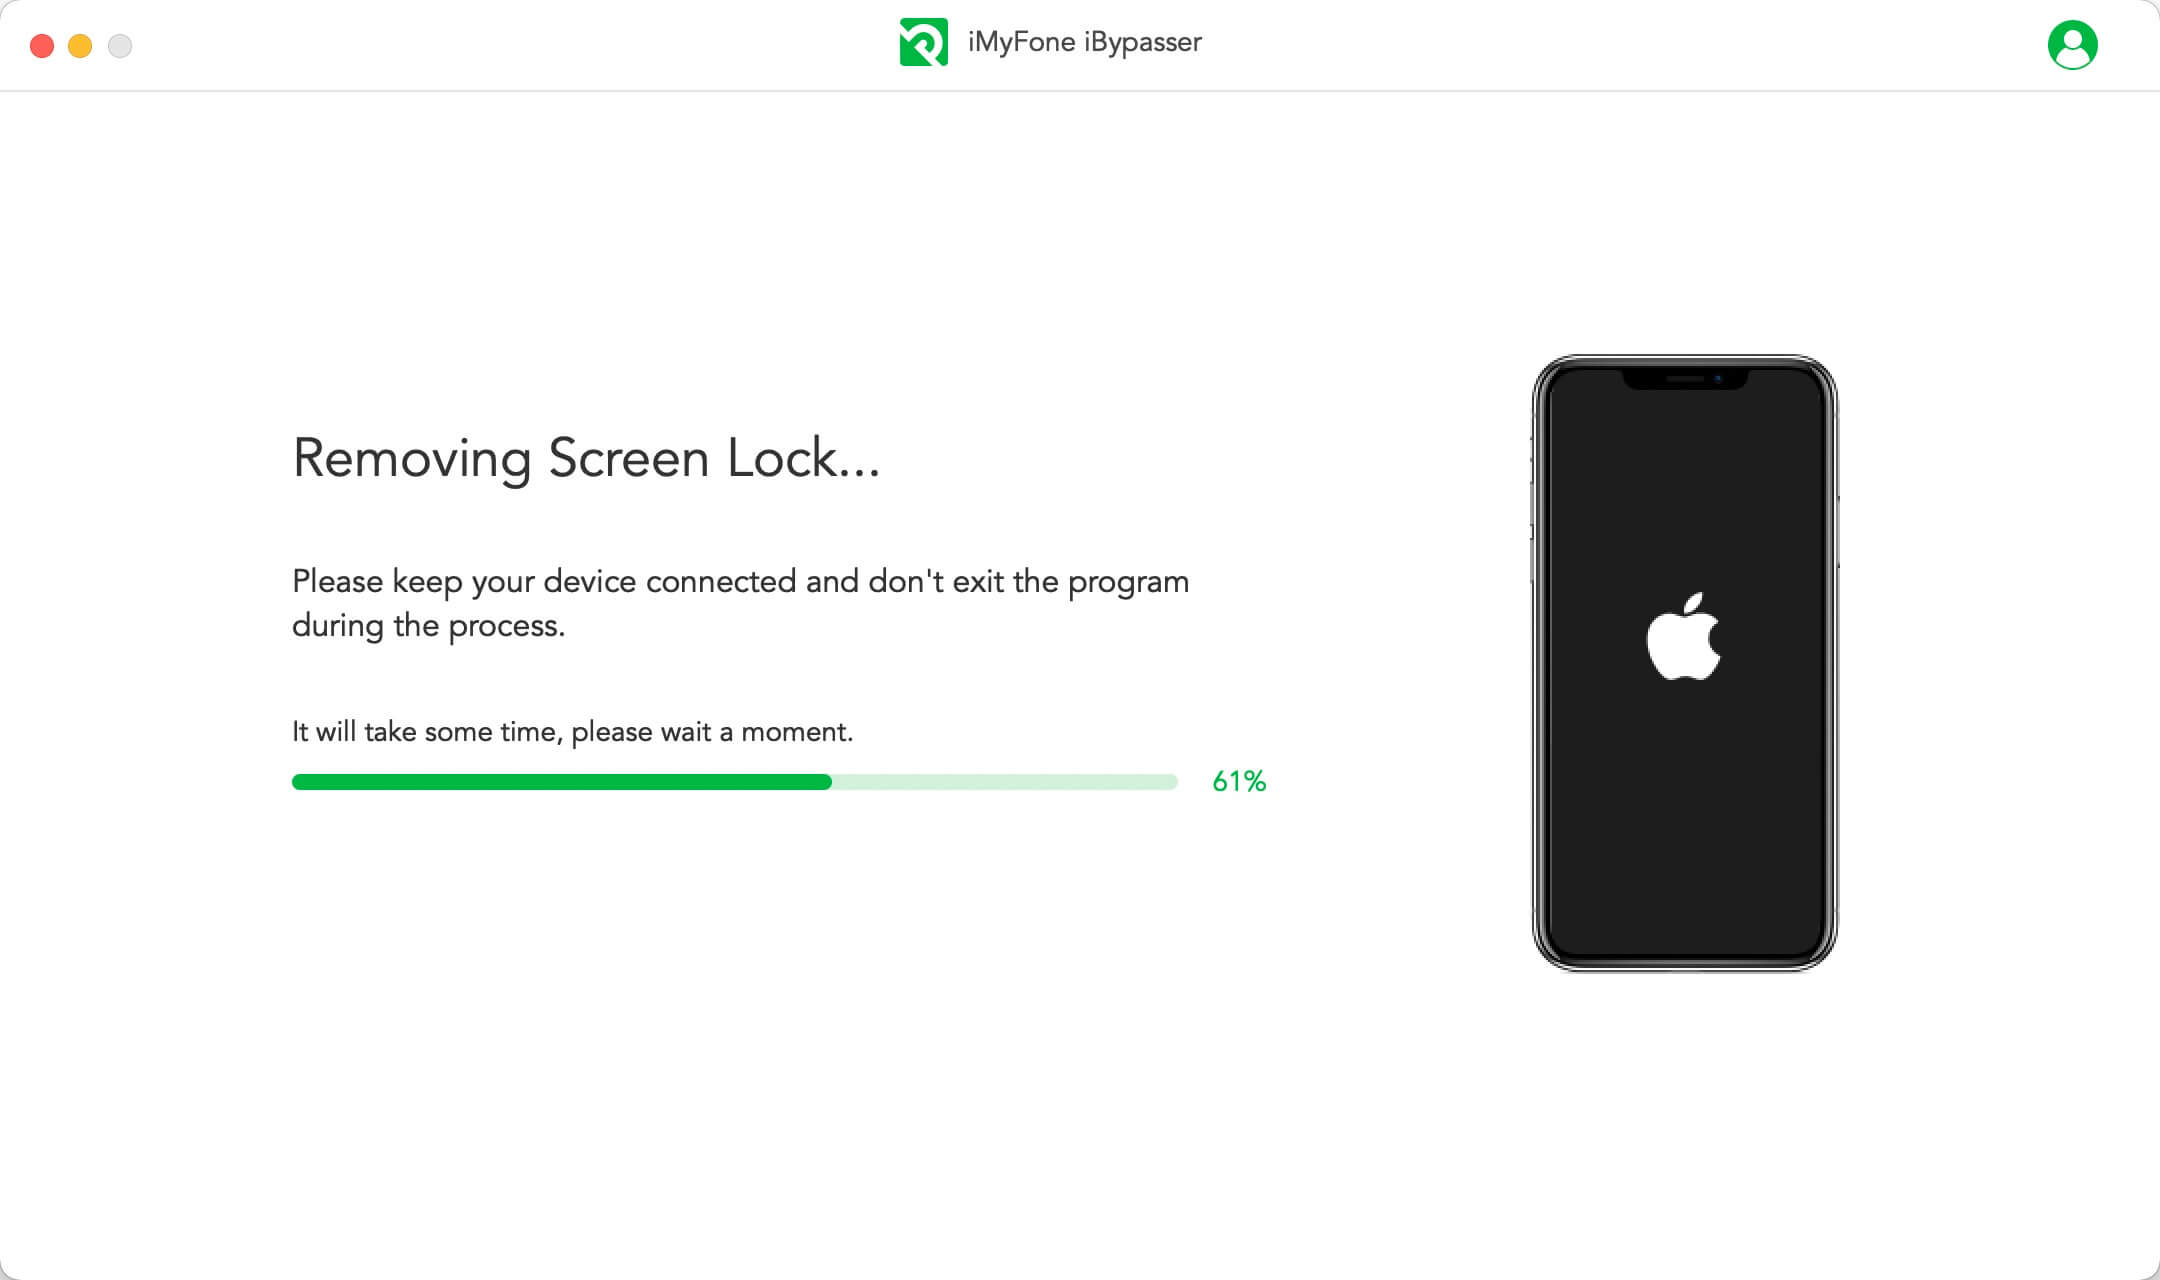
Step 4: Erase Your Device
When the data processing completes, click "Next" to proceed. The software will erase all the content and settings on your iOS device.
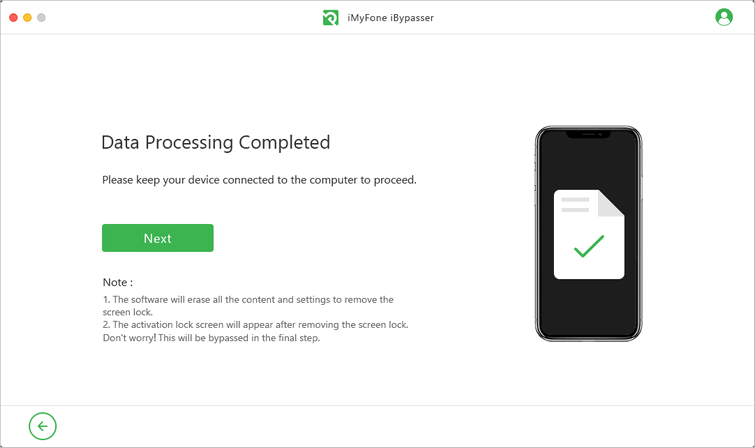
You'll see the activation lock screen on your device after the previous step. Don't worry and keep calm! Continue with the following steps and everything will be OK.
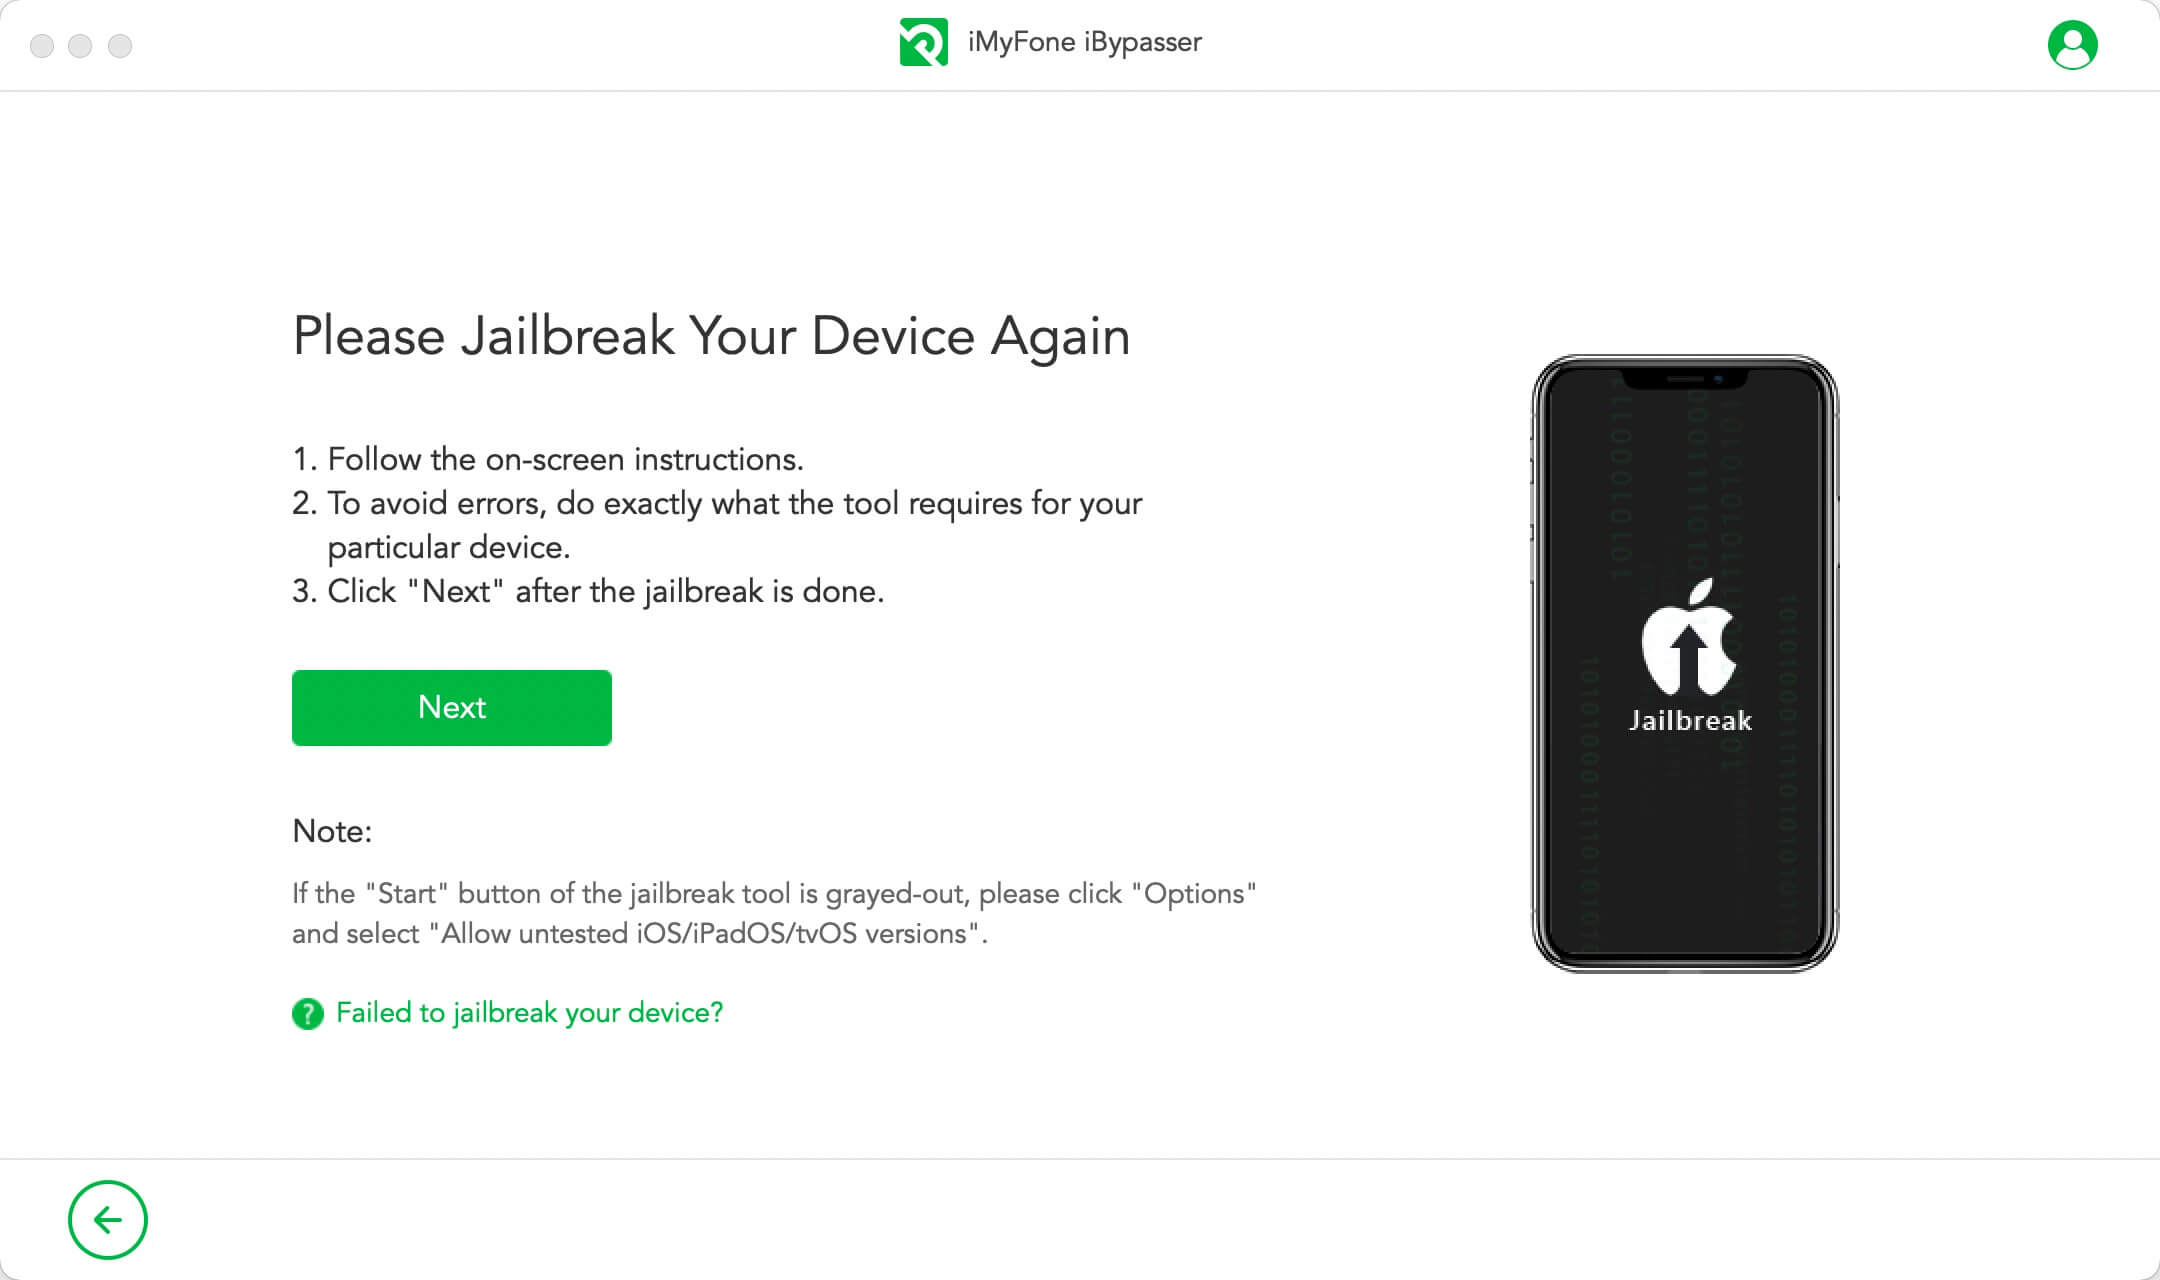
Step 5: Jailbreak Your Device Again
Do the same operations as in Step 2 to jailbreak your device again. Click "Next" when the jailbreaking process finishes.
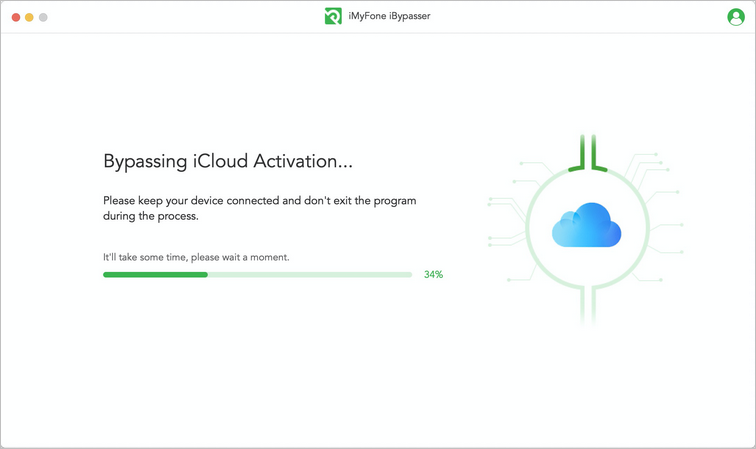
Step 6: Bypass iCloud Activation
Keep your device connected to your computer and iBypasser will start bypassing iCloud activation lock.
When the bypassing process is done, you can set up your device and sign in with a new Apple ID and use the device, including phone call, cellular and iCloud sync, etc.
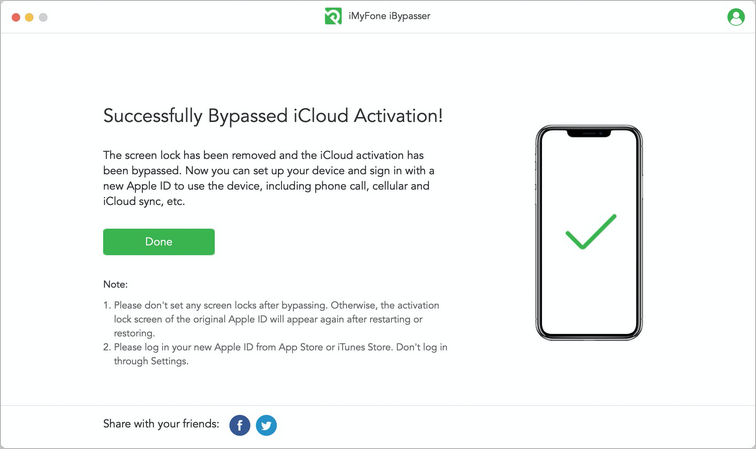
Note for Devices Running iOS 12.x:
Please don't set any screen locks after bypassing. Otherwise, the activation lock screen of the original Apple ID will appear again after restarting or restoring.
If your device gets stuck at the activation lock screen after restoring, please go to the "Bypass iCloud Activation Lock Screen" mode to bypass it. After bypassing, you can still use the call and cellular data function.
- Please log in your new Apple ID from App Store or iTunes Store. Don't log in through Settings.
Situation 2: If your iOS version is iOS 13.0 or above
For supported devices running iOS 13.0 and later versions, the solution is the same as the one provided in the "Turn off FMI" mode. When the whole process is done, you'll get a brand new device.
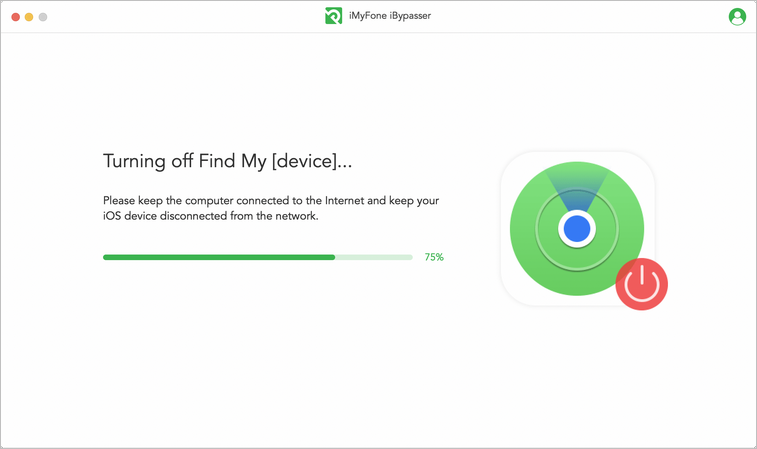
Step 3: Turn Off Find My [device]
After jailbreaking, iBypasser will start turning off Find My [device] for devices running iOS 13 or above versions.
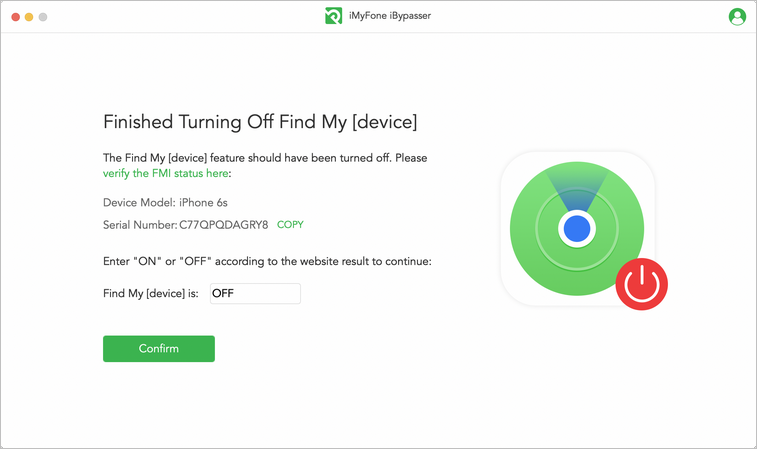
When the process of turning off completes, Find My [device]. Check the FMI status of your device and confirm the status by entering "ON" or "OFF", and then click "Confirm".
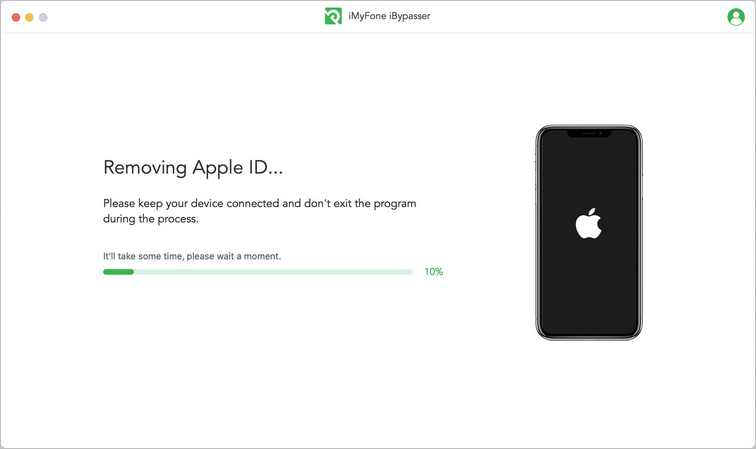
Step 4: Erase Your Device
To finally remove the screen lock and remove the Apple ID, iBypasser will automatically erase the content and settings on your device. Please keep your device connected and don’t exit the program during the process.
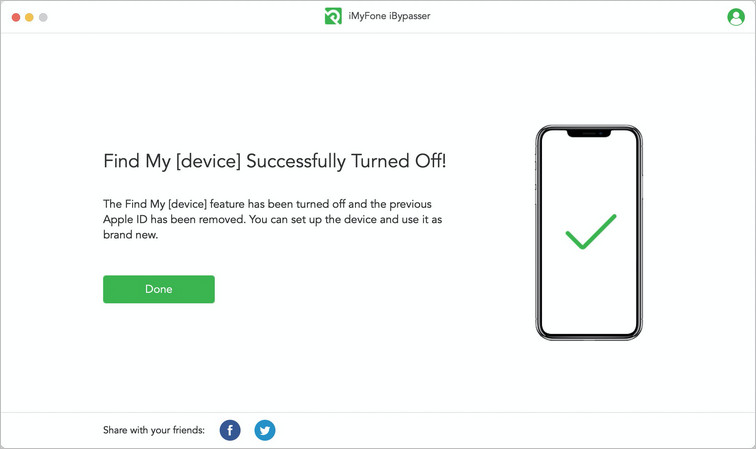
When the process completes, the Find My [device] feature has been turned off and the previous Apple ID has been removed. You can set up the device and use it as brand new.
Part 3. Turn Off Camera Sound
MUST READ:
-
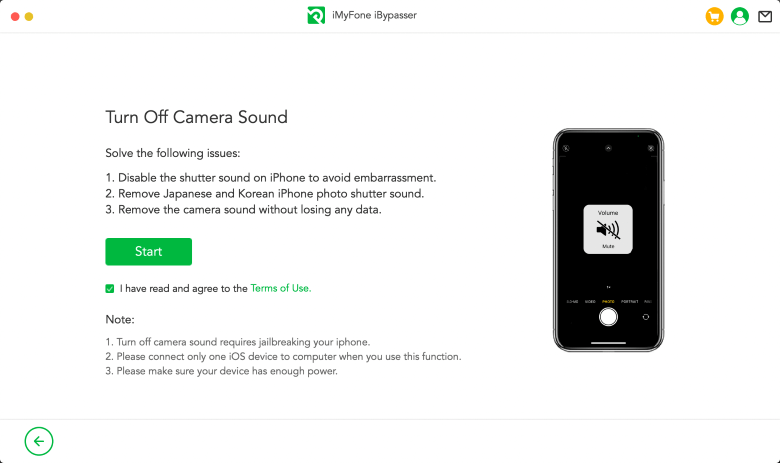
If you want to turn off the shutter sound of iPhone camera without muting the phone, please select the "Turn Off Camera Sound" mode.
Step 1: Launch iMyFone iBypasser
After successful installation, launch iBypasser and choose the "Turn Off Camera Sound" mode.

Read the explanations and notes, then click "Start".
Connect your device to the computer with a USB cable. If a popup window asking "Trust This Computer?" appears on your iPhone/iPad/iPod touch, please unlock your device screen and tap "Trust".
Step 2: Jailbreak Your Device
iBypasser requires jailbreak to turn off camera sound. And iBypasser will begin to download the suitable jailbreak package to your iOS device.
Click "Start Jailbreak" when the jailbreak package is successfully downloaded.
Follow instructions on the screen to put your device into DFU mode. Then wait for a while after the jailbreaking your device process is finished. Click "Next" to proceed.
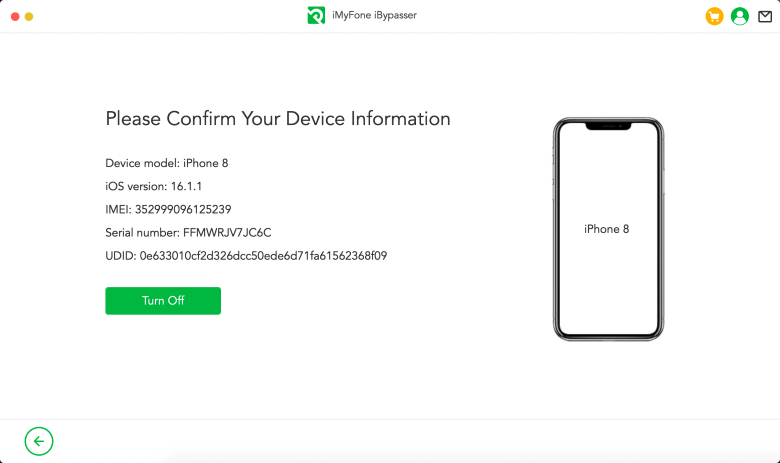
Step 3: Turn Off Camera Sound
Confirm your device information, then click "Turn off".
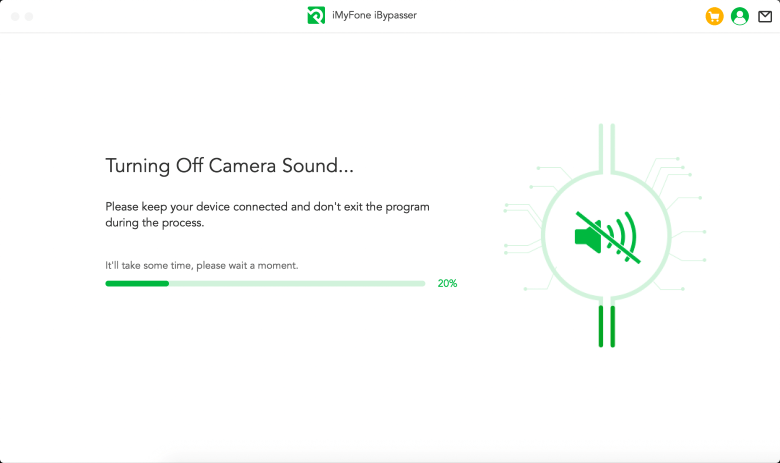
iMyFone iBypasser will start to turn off the camera sound, please wait patiently.
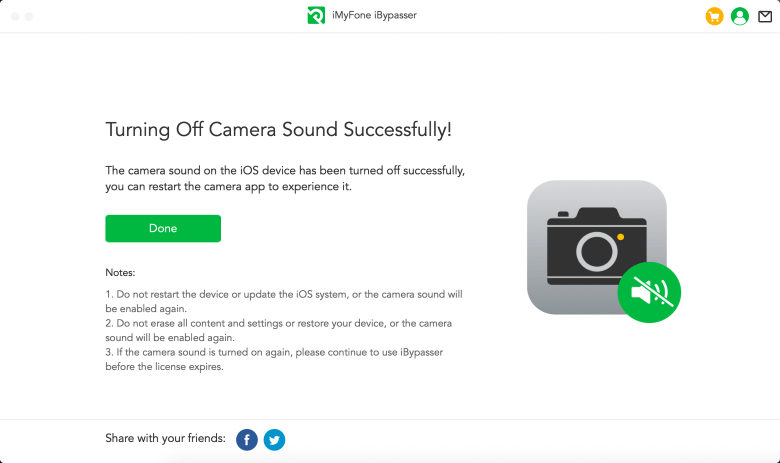
Now, the camera sound of your iPhone is successfully turned off, you can take photos without sound when you reopen the Camera app.
Part 4. Remove iPhone SIM Lock
Step 1: Launch iMyFone iBypasser
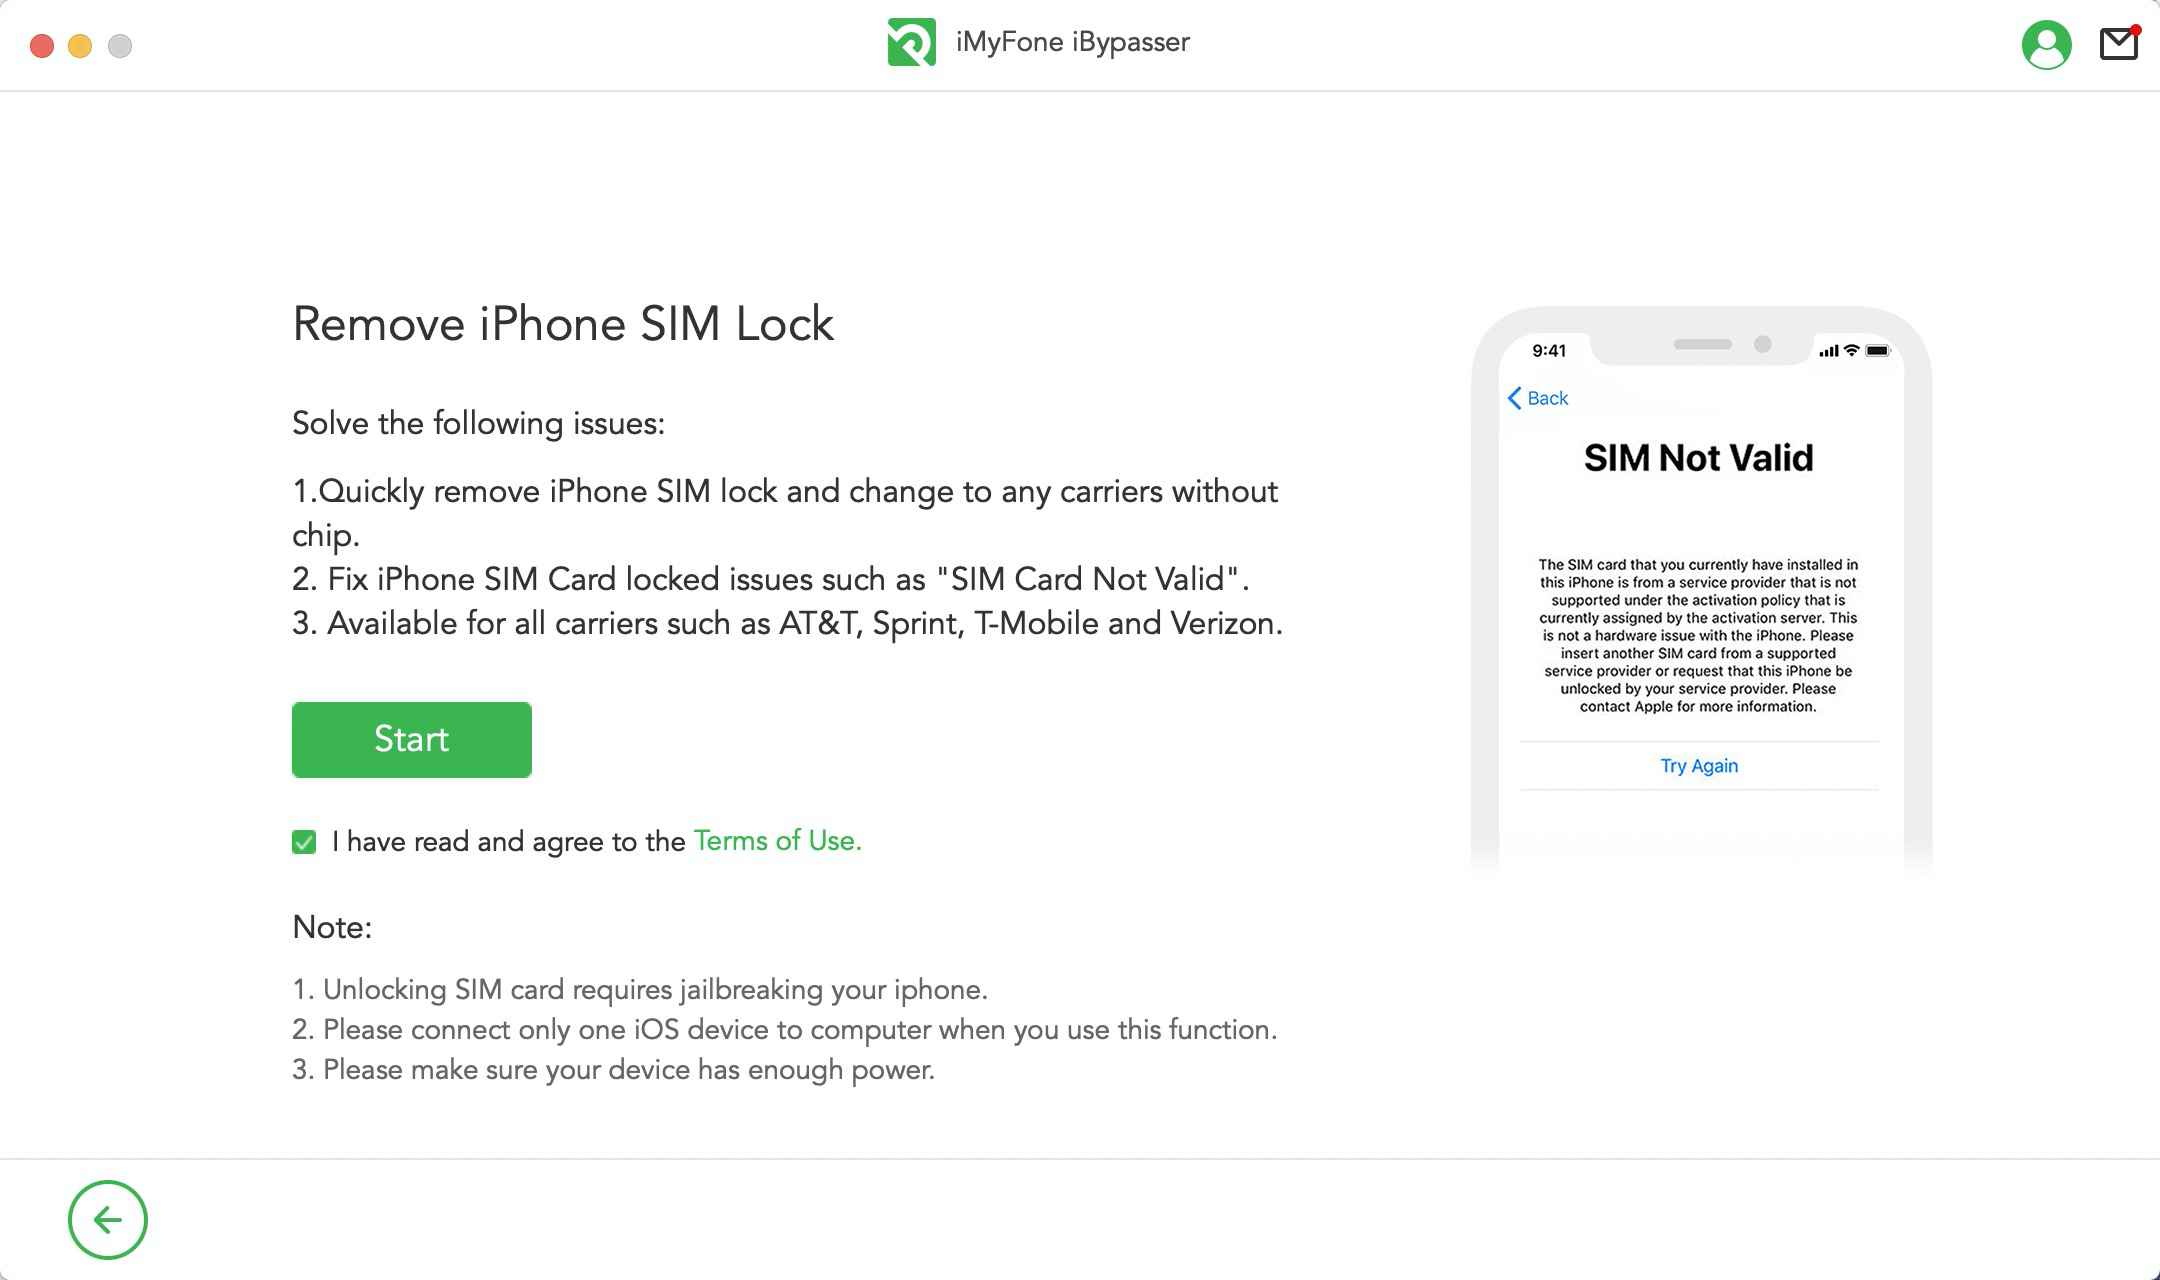
Download and install iMyFone iBypasser on your Mac computer. Open and choose "Remove iPhone SIM Lock" mode.

Read the explanations and notes and click "Start".
Connect your iDevice to PC with USB cable.
Step 2: Jailbreak Your iOS Device
iBypasser will start to download a right jailbreak package for your iOS device.
Click "Start Jailbreak" when the jailbreak package downloading process completes.
Follow the onscreen instructions to put your device into DFU mode. Then wait for a while until the program finishes jailbreaking your device. Click "Next" to proceed.
Step 3: Remove Your iPhone SIM Lock
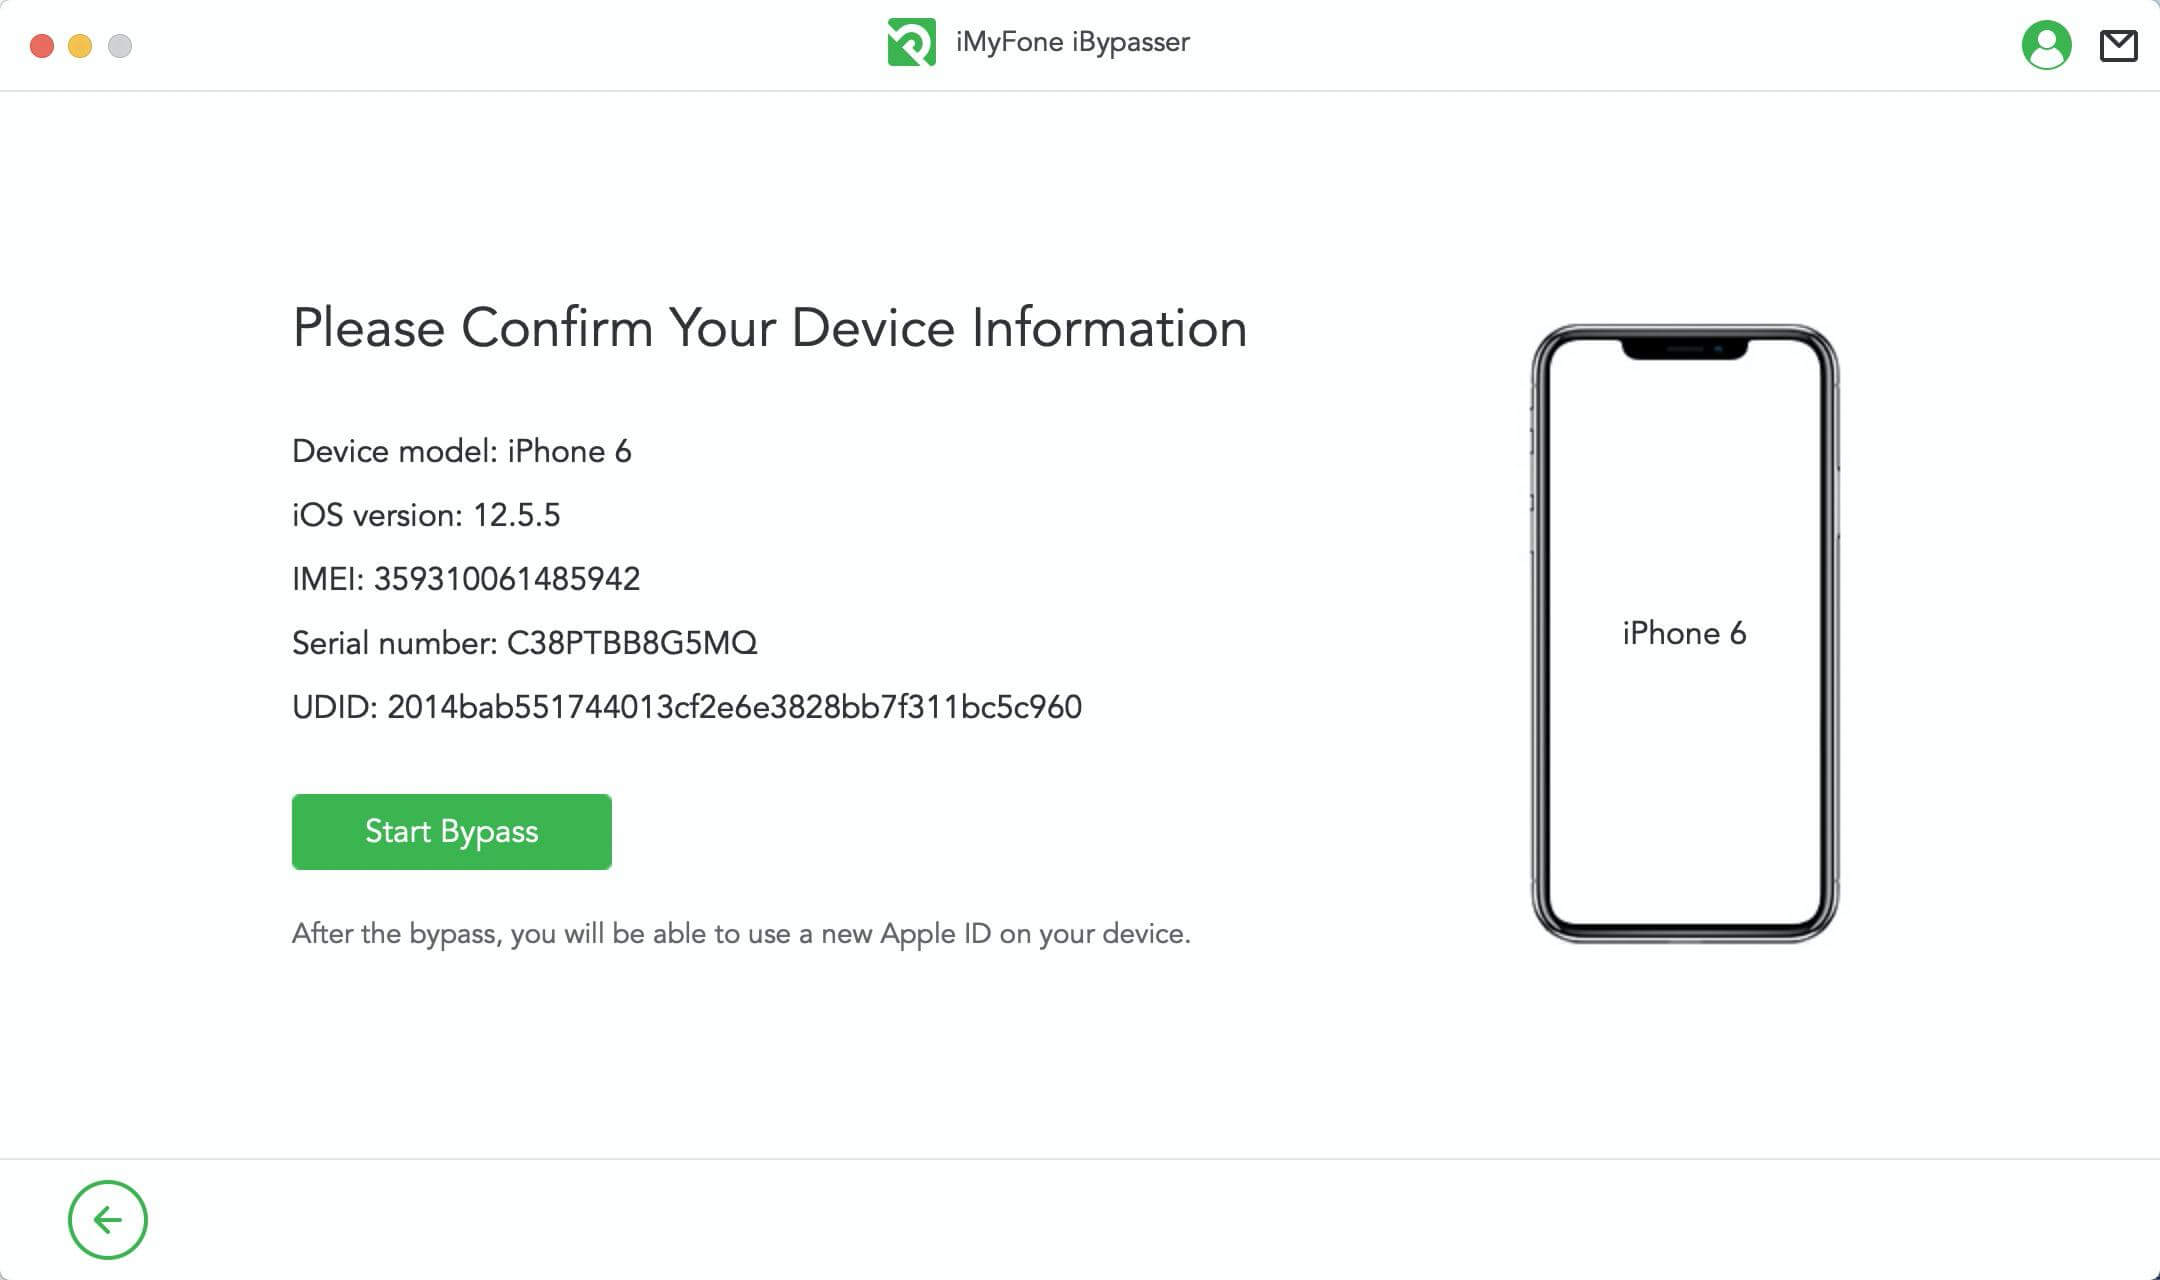
Comfirm your device's information, then click "Start Bypass".
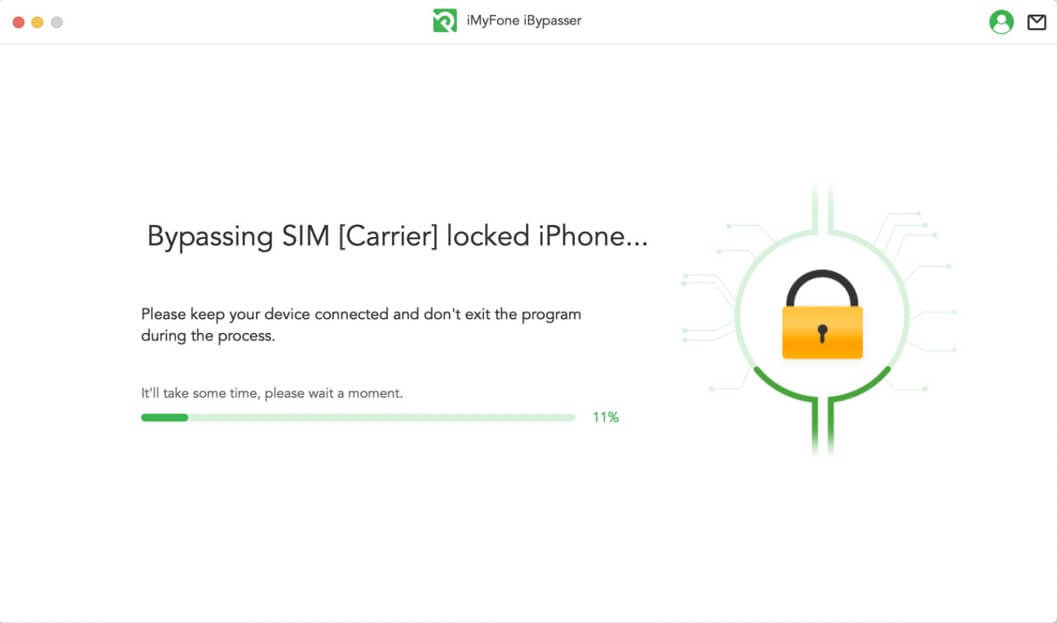
iMyFone iBypasser will start to remove the SIM lock, please wait patiently for the process.
Now, the SIM lock on your phone is removed successfully. Then, you can use a new SIM card on your phone.
