


User Guide of iMyFone Free HEIC Converter
HEIC, the iOS 11’s new image format is not compatible with Windows computer, Android phones and many other platforms. Luckily iMyFone HEIC Converter allows you to convert HEIC photos to JPGs or JPEGs, including the HEIC photos on iPhone and computer. With it, you can convert a single photo or convert photos in batch.
Part 1: Convert Single Photo
With iMyFone Free HEIC Converter, the HEIC photos will never be a problem for you. The “Convert Single Photo” function allows you to preview and convert a HEIC file.
Step 1: Download, install and launch iMyFone Free HEIC Converter on your computer. If you want to convert your iPhone/iPad/iPod HEIC photos, please connect your iDevice via a cable.
Step 2: Choose “Convert Single Photo” from the home interface by clicking “Start”.

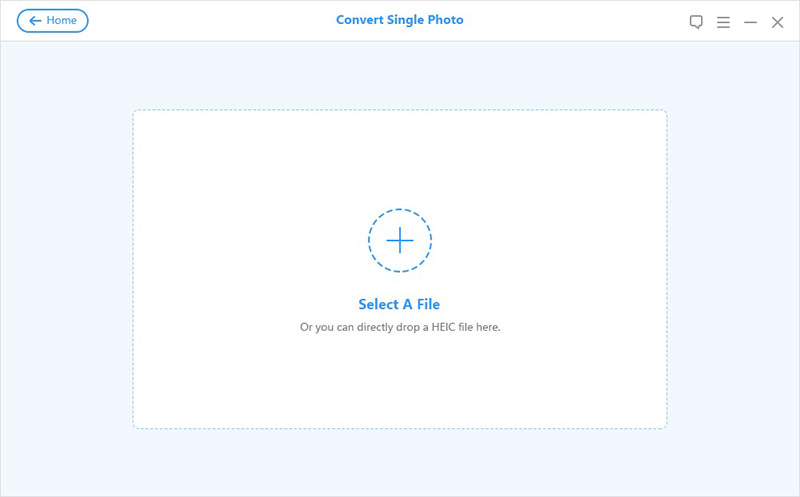
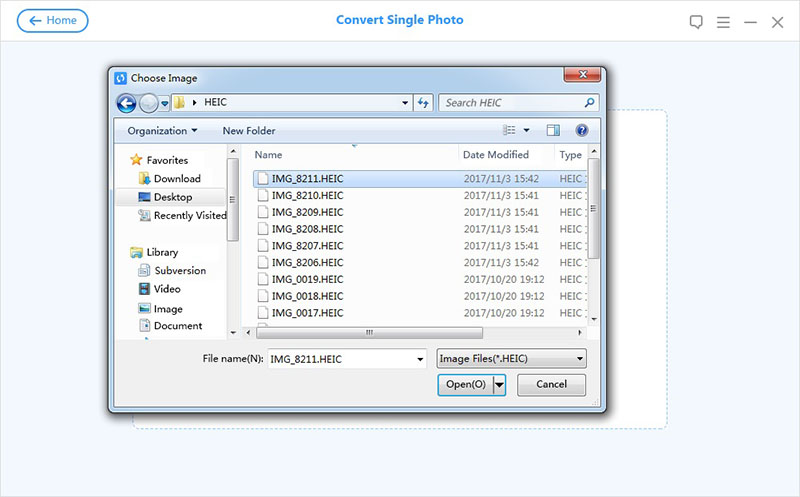
Step 3: After that, click “+” button above “Select A file”. Then select a HEIC file from your computer, or from your device by going to This PC\Device Name\Internal Storage\DCIM, on the pop-up window. (Or you can directly drop a HEIC file there).
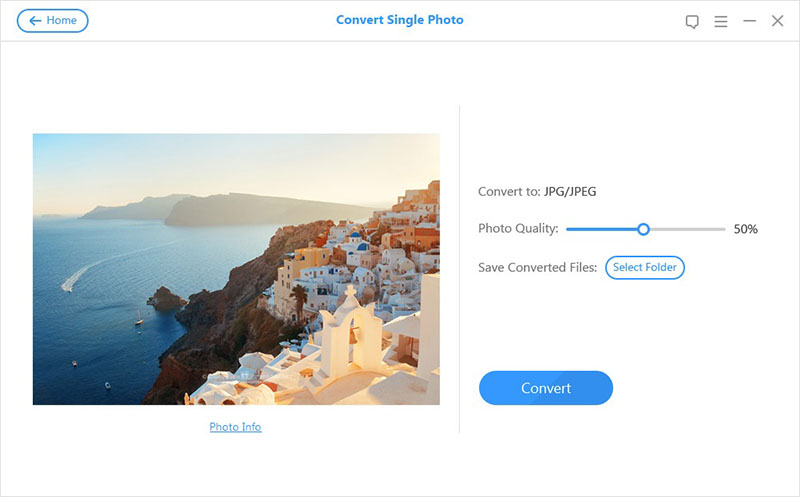
Step 4: Your HEIC photo will show up on the next interface. Adjust the conversion settings if needed and click “Convert” to start the process.
- Photo Quality: You can slide the button to the left or to the right, to adjust the converted photo quality.
- Select Folder: Don’t forget to choose a target folder for the converted photos. If you don’t select the folder, the converted photo will be saved on your desktop.
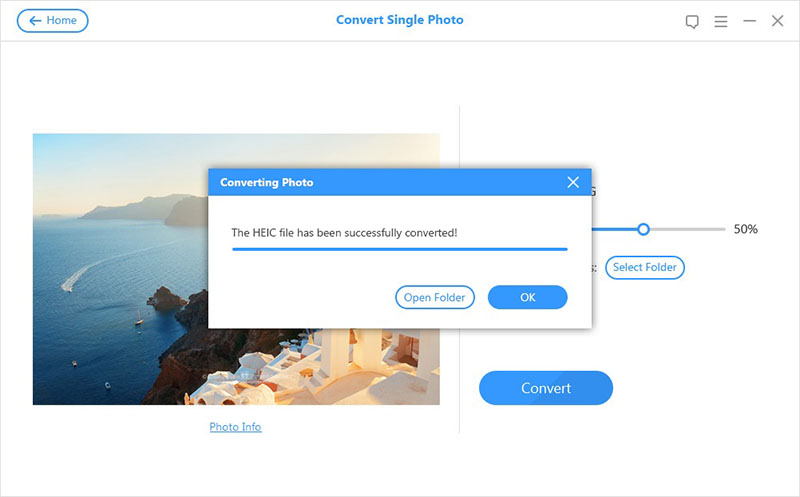
Step 5: When the process is completed, click “Open Folder” to view your JPG photo. If you want to convert the next one, tap “OK” and then “Home” button to go back to the selection interface to repeat the process.
Part 2: Convert Photos in Batch
When you have multiple HEIC photos that need converting, choose “Convert Photos in Batch” on the selection interface to convert them in simple steps.
Step 1: Download, install and launch iMyFone Free HEIC Converter on your computer. If you want to convert your iPhone/iPad/iPod HEIC photos, please connect your iDevice via a cable.
Step 2: Choose “Convert Photos in Batch” from the home interface by clicking “Start”.
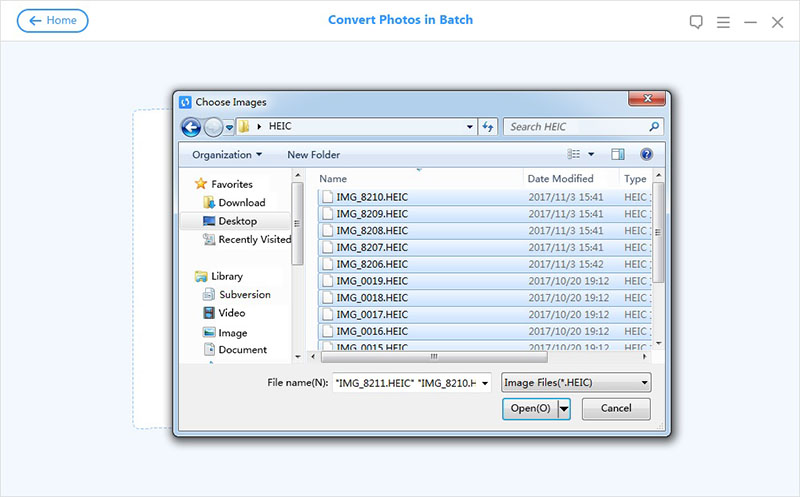
Step 3: After that, click “+” button above “Select Files”. Tap “Ctrl” or “Shift” key when selecting the HEIC file from your computer, or from your device by going to This PC\Device Name\Internal Storage\DCIM, on the pop-up window.(If you want to convert all the files, tap “Ctrl+A” to select all.) Then click “Open”. (or you can directly drop all HEIC files there).

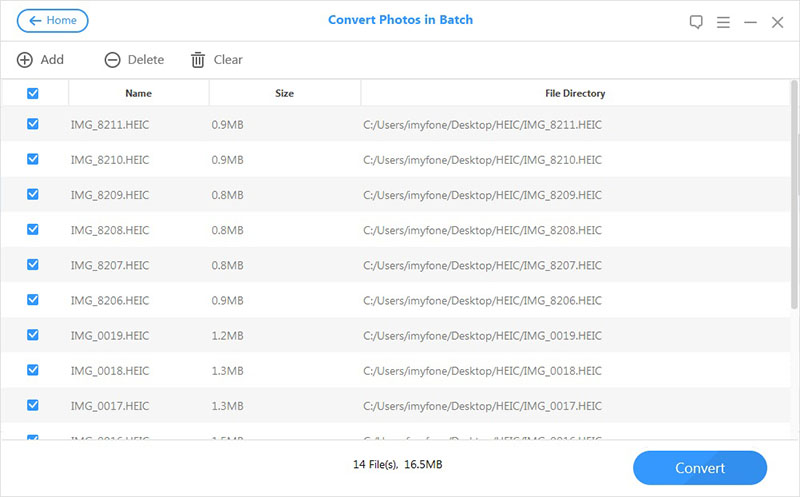
Step 4: Your HEIC photos will be listed on the next interface, select the files you want to convert and click “Convert” to convert the HEIC photos to JPG.
Note
- Add button: You can tap “Add” to add more HEIC files.
- Delete button: Select the files you don’t want to convert, tap “Delete” to delete them from the list.
- Clear button: Tap “Clear” to trash all the files in the list.
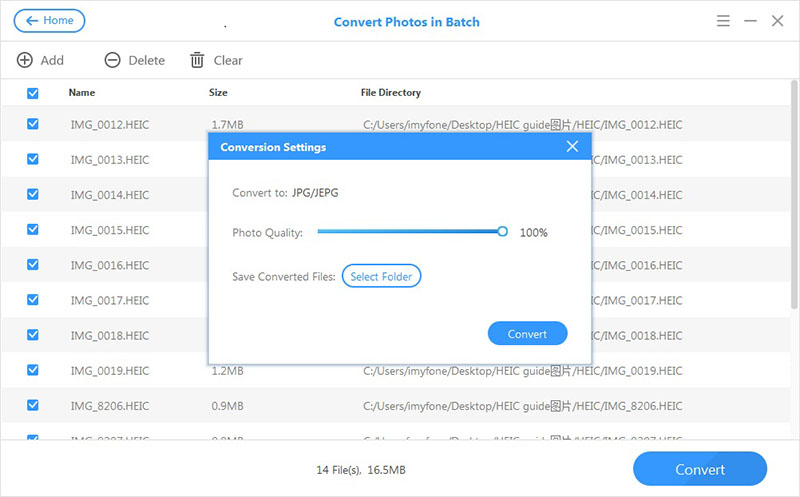
Step 5: A window will pop up for you to adjust the conversion settings. Change the conversion settings if needed and click “Convert” to start the process.
- Photo Quality: You can slide the button to the left or to the right, to adjust the converted photo quality.
- Select Folder: Don’t forget to choose a target folder for the converted photos. If you don’t select the folder, the converted photo will be saved on your desktop.
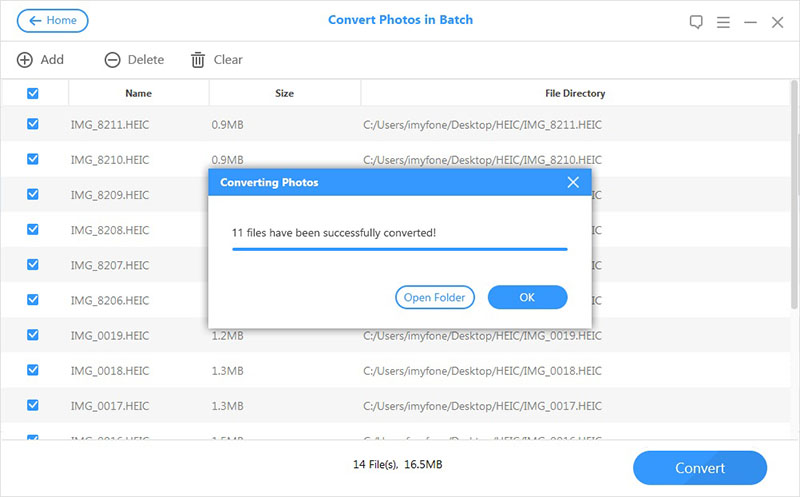
Step 6: When the process is completed, click “Open Folder” to view your JPG photos. If you want to convert other files, tap “OK” and add more HEIC files to convert.
Still Need Help?
Go to Support Center >