


 January 12, 2023
Your iPhone today can do just about anything. You can record important conversations, take a quick note of an inspiring idea and even record your music. The voice memos help us immensely in this respect. But once your device starts to fill up, you need to transfer some of it from your iPhone (no matter it is iOS 12, 13, or 14) to your PC.
But since Apple doesn't allow users to send data to another device or PC easily, you are bound to experience a few problems here. It doesn't, however, mean that it is impossible.
There are various ways you can to transfer voice memos from iPhone to the computer without iTunes. We are including 3 of these methods in the post: Using E-mail, using the Dropbox option and using an iPhone data extractor called iMyFone D-Back.
1. Get Voice Memos off iPhone Using E-mail
Step 1: On the voice memo app on your phone, you will see all your memo files. Tap on the one you need.
Step 2: Select the 'Share' button.
Step 3: From the list of options, select 'Mail'.
Step 4: Type in the e-mail id where you want to send the memo and click on 'Send'.
Step 5: Access the mail from your PC and download the file.

This way is only suggested when you need to get a small number of iPhone voice memos to computer as it requires repetitive operations. If there are many voice memos, you can take the following described method into consideration.
2. Get All Voice Memos Off iPhone via 3rd-Party Tool
You can also choose an iPhone data extractor to help you extract one or multiple voice memos from your iPhone to the computer. iMyFone D-Back is one of the most user-friendly and efficient software, which helps in transferring data on the iPhone to the computer, no matter existing or deleted.
iMyFone D-Back iPhone Data Recovery (compatible with iOS 14/13/12/11)
Key Features:
- It can export both current or lost voice memos from iPhone to a computer.
- It can extract voice memos from iTunes/iCloud backups if no files are found on your iPhone.
- You can transfer voice memos individually or in batch.
- Now fully compatible with the latest iOS 14/13 and iPhone11/ XS/XR/XS Max.
Steps to Get Voice Memos from Your iPhone to Computer without iTunes
Step 1: Connect your iPhone to your PC and launch the application. Once the program opens, select the 'Recover from iOS Device' option on the left-hand side. Click on the green 'Start' button.
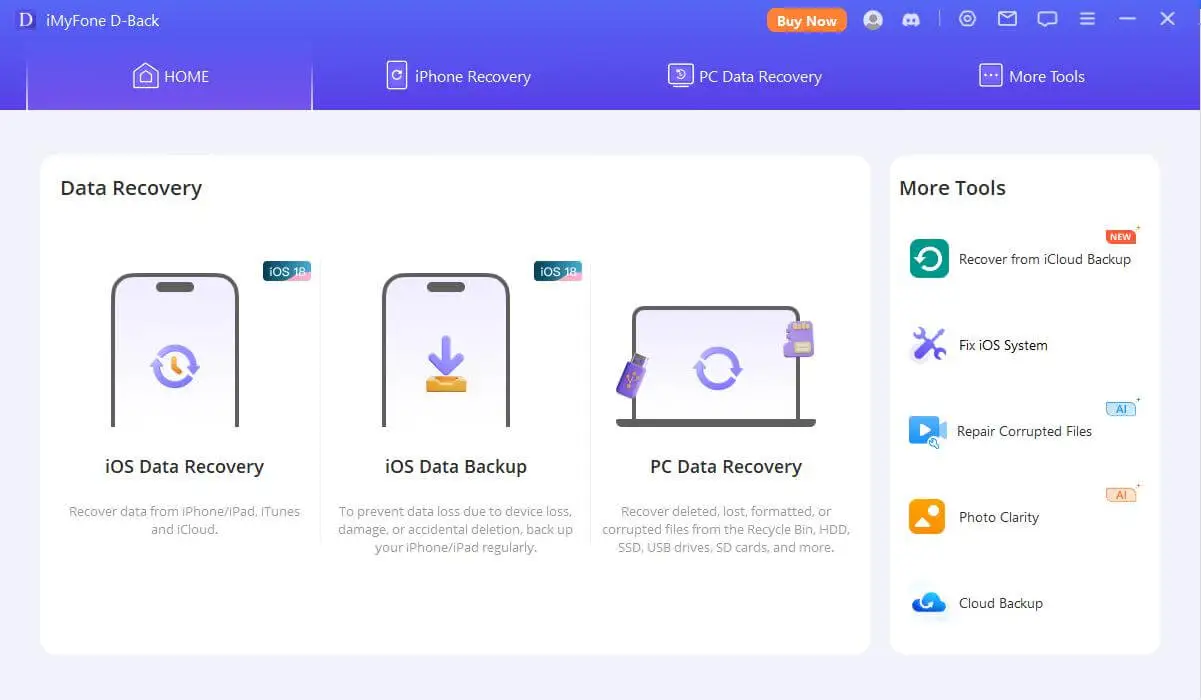
Step 2: On the next page, there will be a list of the file types you can restore. Select the 'Voice Memo' option and click on 'Next'.

Step 3: On the screen that appears, you will be able to see a list of all the memos. Tick the ones you want to transfer to your PC. Click on the 'Recover' button. A dialog box will come up. Specify the folder you wish your memo to be exported to. Your files will then be saved on your PC.

During the whole process, you do not need to use iTunes to get voice memos off the iPhone. You can also use iMyFone D-Back to transfer other important files like photos, messages and more. This software allow transferring up to 20+ types of files from your device/iTunes backup/iCloud backup to PC/Mac.
3. Get Voice Memos off iPhone Using Dropbox
Another feasible way is using Dropbox. Please make sure you have purchased the cloud storage from Dropbox and then follow the steps below.
Step 1: Open the Memo app on your iPhone and select the file you wish to transfer.
Step 2: From the options that appear, tap on 'Save to Dropbox'.
Step 3: If you wish to choose a different folder than the default one to save the file, tap on 'Choose a different folder' and then on 'Save'.
Step 4: Open your Dropbox on your PC and play it.

That's it. Among the solutions mentioned above, the first one is the easiest to operate. However, if you need to transfer voice memos in batch, it's recommended to try iMyFone D-Back.