Viber is a great way to communicate especially because you can send and receive other media such as Videos and Photos. In order to keep the videos, you receive on Viber safe, it may be prudent to save them to your iPhone and consequently get them backed up to iCloud automatically, if you have turned on iCloud backup.
In this article, we are going to share with you two solutions to keeping the Viber videos safe. One of them involves saving the viber videos to your iPhone and the other to your computer.
1 Save Videos from Viber to iPhone
To save videos from your Viber account to your iPhone, you need to enable the option both on Viber and on your iPhone. Here’s how to do it.
- From the Viber app, tap on “More” from the menu at the bottom
- Tap on “Settings > Media” and then switch on “Save to Gallery.”
- Now on your device’s settings app, tap “Privacy > Photos” and make sure that Viber is turned ON.
Now all your Viber videos will be automatically saved to your camera roll.
2 How to Save Viber Videos, Messages, Photos and Call History from iPhone to Computer
If you want to have a safe and reliable backup of not just the Viber videos but all the messages, call history and attachments from your Viber account, we have a solution that can help you easily achieve this. This solution is none other than iMyFone D-Back or iMyFone D-Back, one of the best and most reliable data recovery programs in the business. The following are some of its features.
iMyFone D-Back iPhone Data Recovery
- It is useful in the transfer of up to 22 different types of data including videos, photos, messages, call history, contacts and third-party app data such as Line, Viber and WeChat.
- It has a simple user-interface and is quite reliable.
- It can be used to extract data from an iCloud or iTunes backup file.
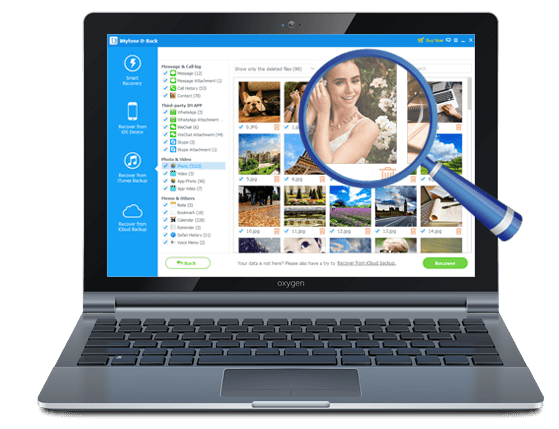
- It comes with a preview function that allows users to selectively recover or extract data.
Follow these simple steps to save your Viber Videos, messages, photos and even call history to your computer using iMyfone D-Back.
- Download and install iMyFone D-Back to your computer.
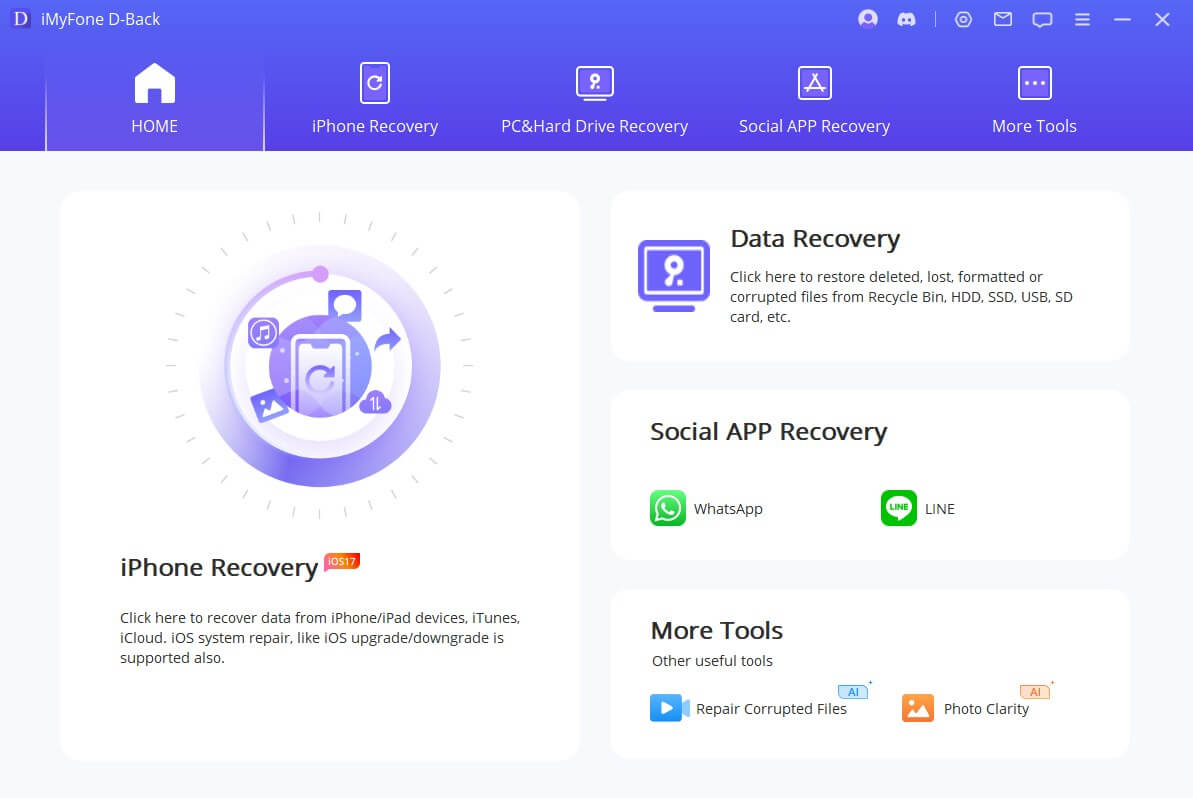
- Launch it and from the main window, select “Recover from iOS Device.” Click “Start”
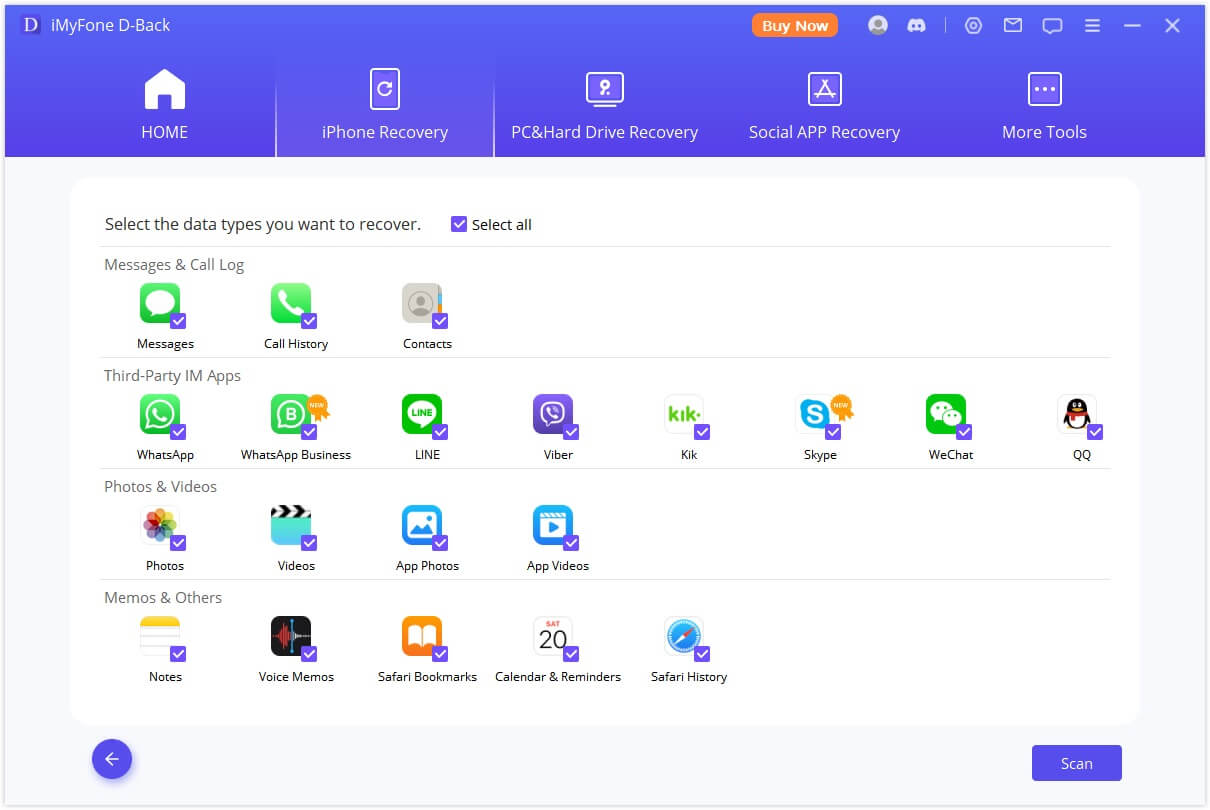
- From the next window, select “Viber.” from the list. Click “Next” to continue.

- Using USB cables, connect the iPhone to the computer.
- Once the program recognizes the device, click “Scan”.

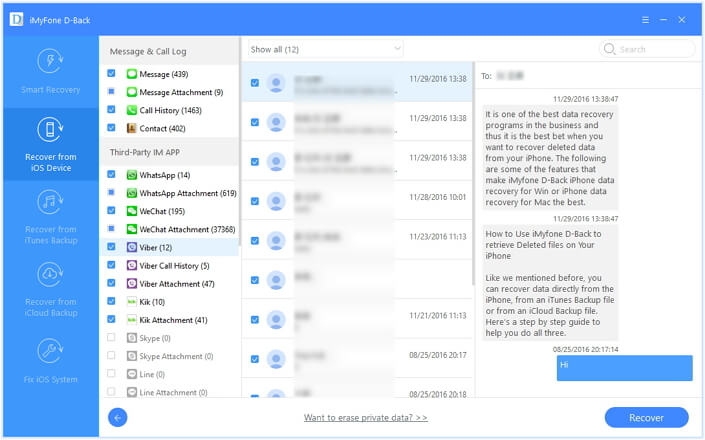
- When the scanning process is complete, all the Viber messages on that device will be displayed in the next window.
- Select the ones you want to save to your computer and click “Recover.”
- Choose a location on your computer to save them and you’re done.

The free trial version is available to preview all your Viber messages from your iPhone on the computer. Try it now!


 January 12, 2023
