


 June 3, 2025
Photos are one of the most important data on our phones. We capture our memorable moments and save them.
You are likely to lose these important files accidentally or deliberately, but don’t worry; we will guide you through transferring the files to your PC for the safe side. This article will teach you how to transfer photo files from Motorola to your PC effortlessly.
Part 1. How to Transfer Photo Files From Motorola To PC
There are numerous ways to transfer files from your Motorola device to your PC but finding the best way is quite challenging. Let’s see the most efficient ways to transfer the files.
1.1 Use D-Back For Android To Transfer Data From Motorola To Computer/Mac Via USB
Many tools work for data transfer, but some of them fail to transfer all files. It would be best to use legit software because you may have the chance of losing your important photos during the transfer process.
iMyFone D-Back is an extreme saver from critical losses.
It is smart software for file transfer and recovery. You can trust it because it assures the users of their security and data privacy.
It has a deep scanning feature to make sure that it does not lose any of your important files. It has a feature to preview the files before transferring. It recovers 11 types of data files, including contacts, Wi-Fi passwords, and even your messages also. It searches, filters, and analyzes your google data from its intelligent built-in viewer.
iMyFone D-Back supports all mobile phones and tablets, even broken ones.
The simple steps to transfer files from motorola to pc with iMyFone D-Back are as follows:
Step 1:
Please navigate to the iMyFone D-Back webpage and download it according to your current OS. Install it on your PC and follow the steps ahead.
Step 2:
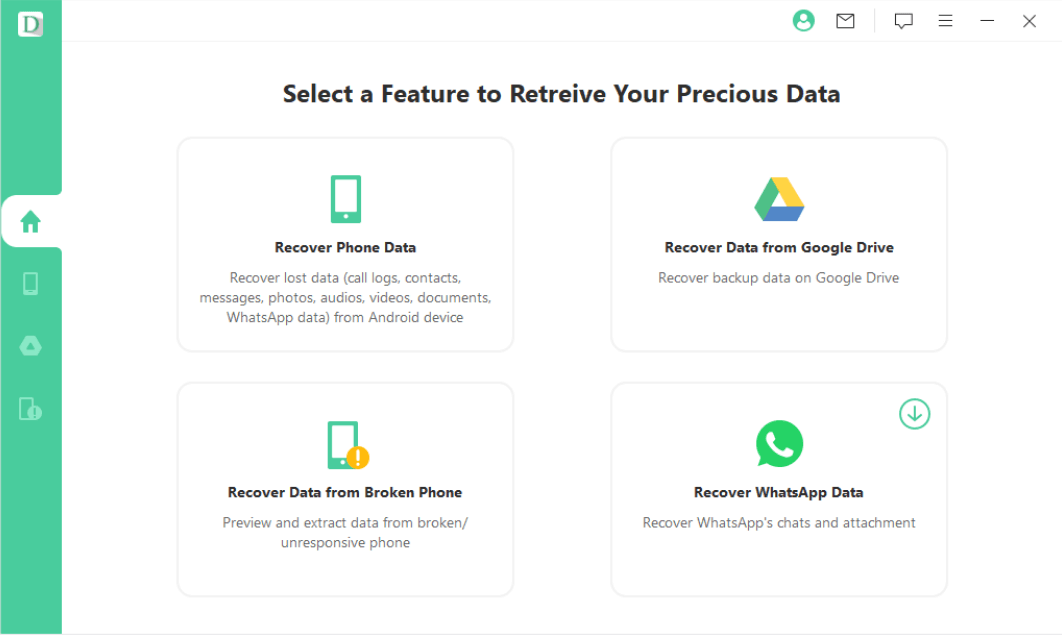
Open the software and click “Recover Phone data” to begin recovery. It will now ask you to enter your device model and name. Click “Next” after entering the device information.
Step 3:
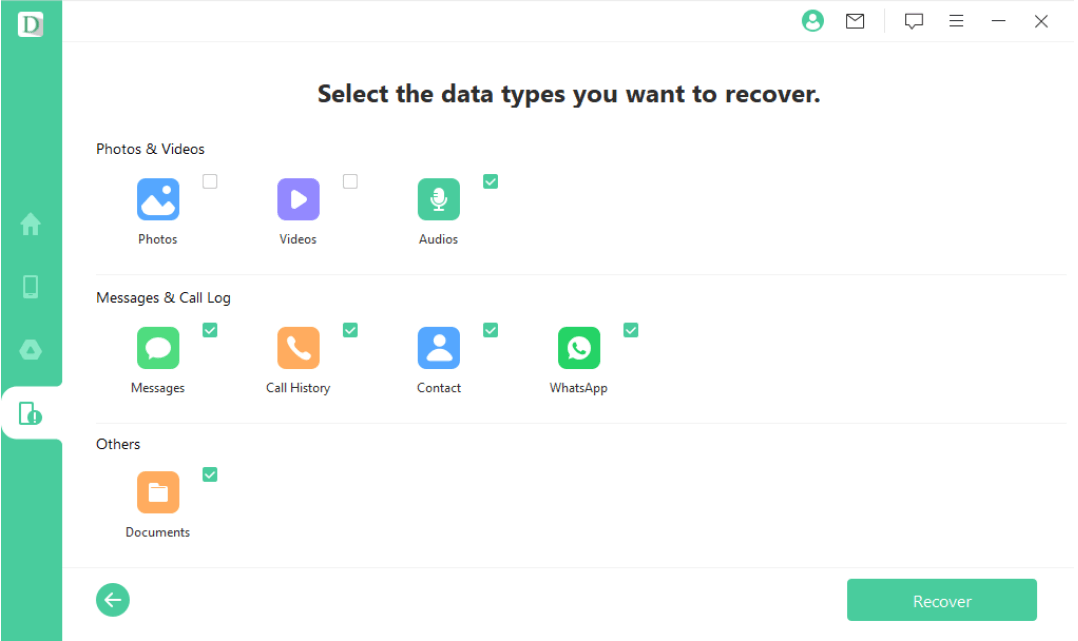
Connect your Motorola device via the original data cable for fast transferring. It will open a new window for the selection of file type. Select “Photos” and hit “Recover.”
Step 4:
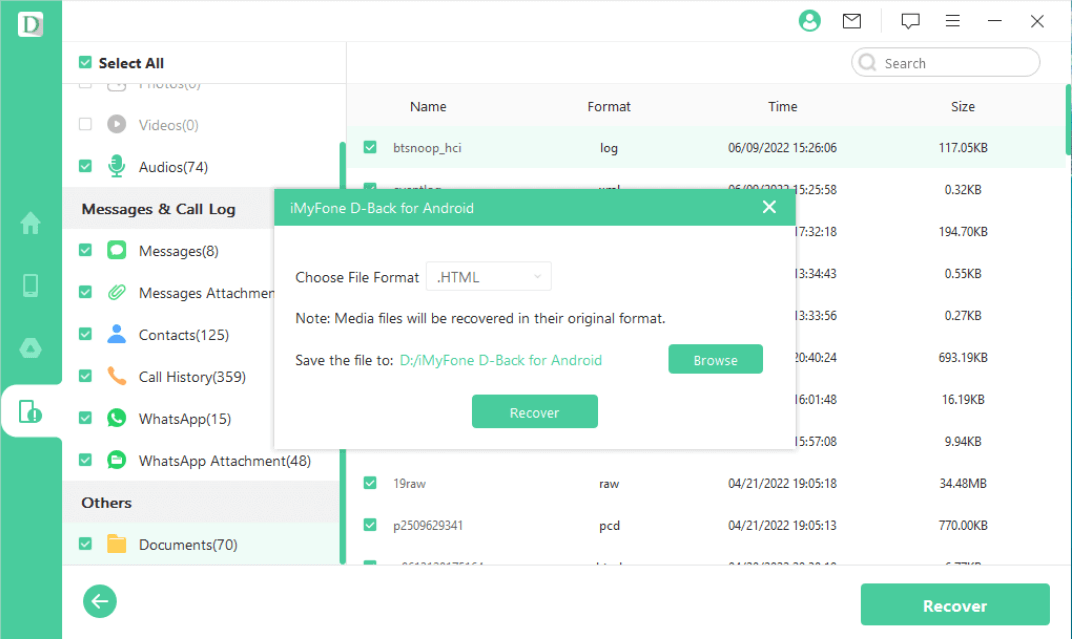
Select the photos which you want to transfer and hit “Recover.” It will open a new window. You must select the “File Type” and “File path” where you want to transfer the files on your PC. You can also search for the relevant files on the search bar at the top right corner of the screen.
Hit “Recover” again to start the transfer process, and it will take a few minutes to transfer, depending on the size of the photo files.
1.2 Transfer Files From Motorola To PC With Lenovo Moto Smart Assistant
Moto Smart Assistant is one of the quickest software for backup, recovery, and file transfer. You have to connect your PC via a stable internet connection for the transfer process. It can transfer almost all data in your phone, including SMS and contacts. It is the most advanced and helpful for Motorola users because of the rescue feature. Let’s start the file transfer process in a few steps.
Step 1:
Download Motorola Smart Assistant from the website on your PC and open it.
Step 2:
Allow the USB debugging option from your Motorola phone in developer settings. Now, connect your mobile via a data cable and wait a few minutes to establish a connection.
Step 3:
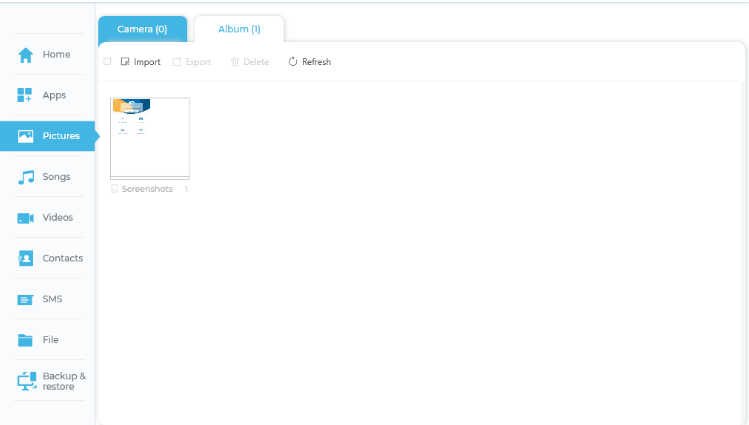
On the left-hand side, hit “Pictures” to select the pictures for the transfer process. It will show all the available images on your phone. Select the pictures and hit “Export” at the top of the screen.
Step 4:
In the last step, enter the destination on your computer and hit “Export” again to start the transfer process.
Part 2. How To Download Pictures From Motorola Phone To Computer With Google Photos?
Google Photos is the most used application to create and restore photos backup. It is the most straightforward application; you can transfer files without hassle. Before starting, make sure that you have uploaded the pictures to your Google Photos on your main account, and a stable internet connection is necessary.
The steps to download files from your Motorola phone to your PC are as follows:
Step 1:
Navigate to Google Photos on your PC and log in with the same account you have on your Motorola Device.
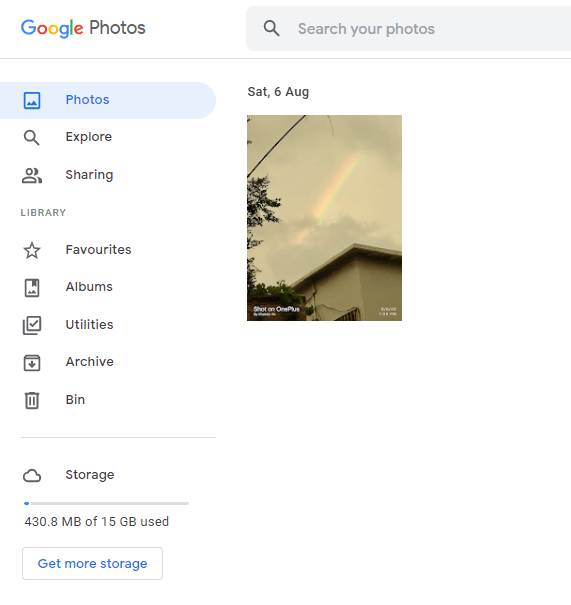
Click “Photos” on the left-hand side to open the uploaded images.
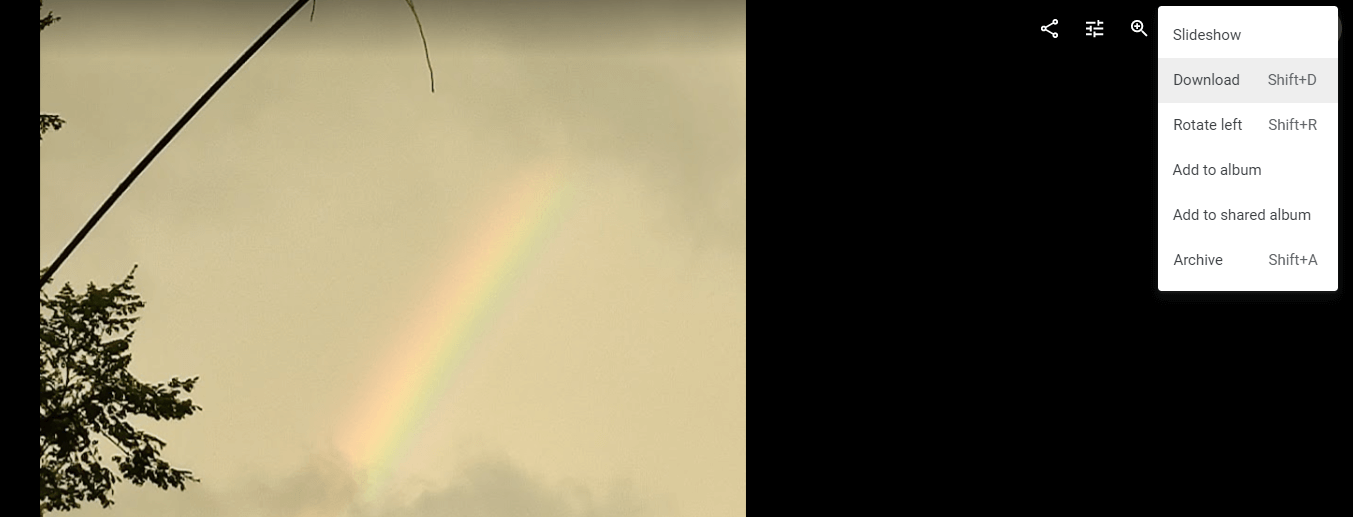
Step 3:
Open the photo you want to download and click the “More” icon on the right corner. It will open a dropdown menu; Click “Download” to export the files on your computer. You can also press Shift+D to download it directly.
Part3. FAQs About Transfer Data From Motorola To Pc/Mac?
3.1 How Can I Access Motorola Files From PC Without USB Debugging?
You can use iMyFone D-Back because it does not need USB debugging. You have to connect your mobile phone to your PC, and it will extract all your files within a minute.
3.2 Can You Transfer Files From Motorola Phone To PC Wirelessly Without USB Cable
Yes, you can transfer files without a USB cable, but you need a stable internet connection. Use Moto Smart assistant and connect your mobile and PC to the same Wi-Fi. Hit “Go To Wi-Fi Connect” and start the file transfer process.
Conclusion
Your important photos are our priority, and you will never lose a single one. You can use the methods we have discussed in this article to transfer photos from Motorola to PC. The best and easiest way is to use iMyFone D-Back. It has multiple modes of file transfer and recovery processes. It will do the job quickly and transfer almost everything from Motorola to your PC.