


 March 29, 2023
EaseUS Data Recovery is a popular data recovery software that can be used for recovering deleted data, and you can recover the data from a formatted drive. In addition, it’s a great way of recovering files from the deleted or lost partition. Millions of people prefer the software.
However, many users have complained about EaseUS Data Recovery stuck on recovering, and if you are in the same, let’s see how you can resume and complete the data recovery!

Part 1. Why Does EaseUS Data Recovery Stuck On Recovering?
When it comes down to EaseUS Data Recovery, it usually gets stuck when the disk is so big that the software needs more time to scan it. However, EaseUS Data Recovery stuck on recovering issues that also occur when the hard drive is corrupt.
1.1. The Reason For EaseUS Data Recovery Stuck
If you are trying to recover the data, but EaseUS Data Recovery crashes, or EaseUS Data Recovery building directory stuck issue happens, it is because of the following reasons:
- It is likely that something is wrong with the hard drive that you are trying to scan.
- If you put the laptop on power-saving mode, it can also cause a slowdown.
- If there is a virus in your hard drive, it will affect the process and can delay your scanning process.
These are some common issues that users are facing. But, don’t worry, below we’ve mentioned some easy solutions to help you resolve these issues.
1.2. How to Fix the Problem that EaseUS Data Recovery Stuck on Recovering
Contrary to usual belief, it’s pretty convenient to fix the software that’s stuck in recovery mode is pretty convenient. There are two methods that you can try, such;
Method 1 – RAW Files
With this method, you need to disable the RAW files and locate the config.dat file in the software's installation path. When a new window opens, set the parameter to 0, save the settings, and exit the software. Then, reopen it, and it won’t get stuck in the recovery mode.
Method 2 – Force Quit
If changing the configuration is too complicated for you, it’s recommended that you force quit the EaseUS. For this purpose, you’ve to open the task manager, choose EaseUS Data Recovery from the list, and tap on the “end task” button. Once the software is closed, disconnect and reconnect the hard drive that you want to recover, and it will be recovered smoothly.
Part 2. Better Alternative for EaseUS – iMyFone D-Back
If EaseUS is not your cup of tea or the stuck issue isn’t resolved, there is nothing better than the iMyFone D-Back. It’s an apt choice for people who want to recover the hard drive’s data back into the PC, be it Windows or Mac (yes, the software works on both operating systems). Some additional features include;
- Recovered deleted files from the SD cards, cameras, USB drives, and hard drives.
- Supports more than 1000 file formats, ranging from documents to photos and videos to archives. You can easily restore any file type you want.
- Previews the recoverable data before conducting the final recovery. You don’t have to restore the complete data. You can preview the required data and restore the selected one.
- A file filter option for locating the lost files based on the date and file type. This option can help you filter the required file type.
- Top-notch encryption standards to ensure your data isn’t released to third parties.
The features are exceptional, and it has a speedy recovery process. So, if you want to recover the hard drive, we have the guide for you!
First, you must download the iMyFone D-Back on your PC. Once downloaded, install the software by right-clicking the file and following the on-screen prompts.
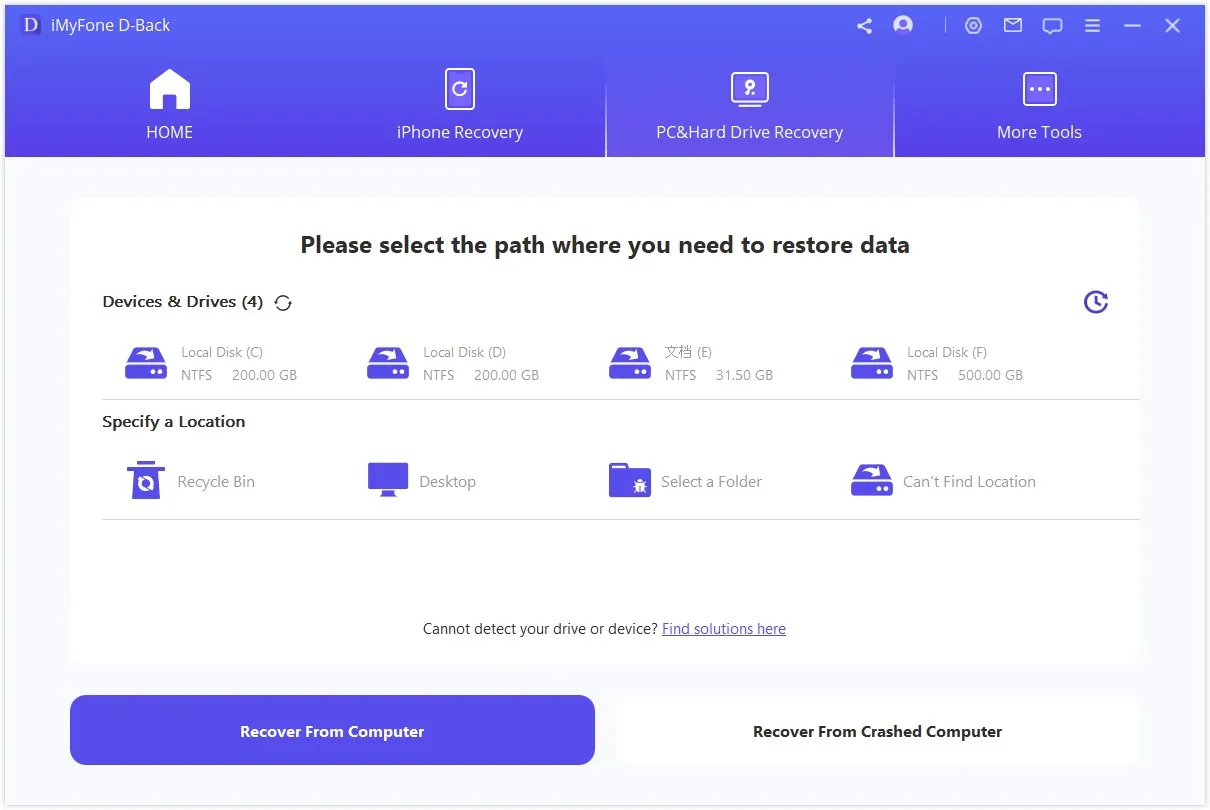
Step 1: When the app has been installed, just open it and choose desktop or hard drive from the available options.
Step 2: Then, the iMyFone D-Back will start the scanning process, and you can monitor the scanning process through a progress bar on the top. You can also use the pause button to pause the scanning process.

Step 3: When the scanning process is complete, the available files will be listed on the screen, so go through the files to select them and press the recovery button.

Part 3. FAQs
Above, we’ve mentioned the reasons why EaseUS data recovery gets stuck during the scanning process and why the iMyFone D-Back Hard Drive Recover Expert is the best option to opt for. There could be some more questions that will be unanswered. Let’s discuss them below.
1 Why does EaseUS data recovery take so long?
The recovery software takes so long to complete the data recovery process when the hard drive is too big to be scanned in seconds. In addition, it’s better that you don’t enable the power-saving mode.
2 Does EaseUS data recovery work?
Yes, EaseUS Data Recovery works well, but the recovery speed issues have been the biggest concern of the users. For this reason, it’s better to opt for the iMyFone D-Back.
Conclusion
If you have lost some critical files, it’s essential to select reliable data recovery software is essential. While EaseUS Data Recovery is a great choice, iMyFone D-Back is even better since it promises the fastest recovery process.
The fast scanning algorithm can scan your hard drive in a few minutes. Further, you can complete the entire process in three easy steps. If you’re not tech-savvy, you can still use it and get your data back!