Most people think that if they’ve lost the passcode on their device and the device somehow becomes locked, they’ve equally lost all the data on the device. This is true to some extent but there is something you can do to get your photos back if your iPad is disabled. This article will explore the different ways on how to recover photos from disabled iPad no matter with or without backup.
Note
It is, however, worth noting that if you hadn’t backed up some or all of the lost photos before you forgot your passcode, there is very little you can do to save the photos. You have to erase the iPad to gain access to it and this will erase all your data and settings. But you can still have a try: Connect your iPad to the computer and check if your computer and iTunes can detect your iPad to make a backup urgently.
- Part 1: 2 Common Ways to Recover Photos from Locked iPad
- Way 1. Erase iPad and recover photos on a locked iPad via iTunes
- Way 2. How to Get Pictures Off a Disabled iPad via iCloud
- Part 2: The Most Handy Ways to Recover Photos from Locked iPad

- Way 3. How to Recover Photos from Disabled iPad via iTunes Using D-Back
- Way 4. Selectively Recover Photos from Locked iPad via iCloud
- Part 3: Some Useful Tips
2 Common Ways to Recover Photos from Locked iPad
Way 1. Erase iPad and recover photos on a locked iPad via iTunes
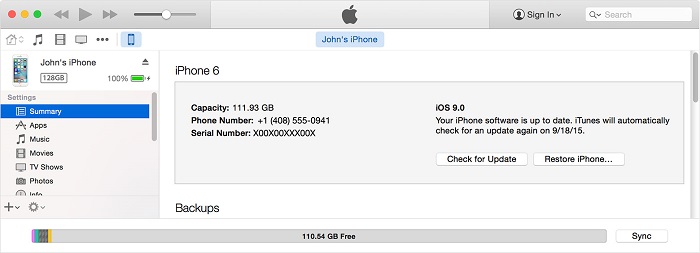
If you had synced your device with iTunes, you can restore the device to get your photos back. Here’s how to do it.
Step 1.Connect the iPad to your computer and launch iTunes. If a passcode is requested, try using another computer you’ve synced with or recovery mode.
Step 2.Wait for iTunes to sync your device and then click on “Restore iPad.” Follow the prompts on the setup screen on your device and choose “Restore from iTunes Backup.”
Step 3.Choose the most relevant backup to restore the device.
Note
It may take quite a long time to recover photos from iTunes.
Way 2. How to Get Pictures Off a Disabled iPad via iCloud
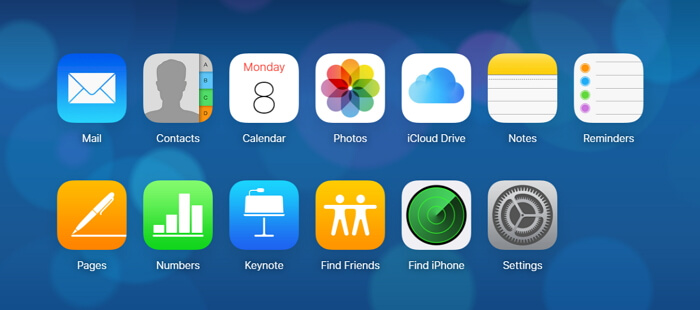
If you had set up Find my iPhone, you can easily use iCloud to erase and then restore the iPad even if you don’t have a passcode. Follow these simple steps to do it.
Step 1.from any other device go to https://www.icloud.com/find and then sign in using your Apple ID.
Step 2.Click on “All Devices” at the top of the window and then choose the device you want to erase, in this case, the locked iPad.
Step 3.Click “Erase iPad” to erase the device as well as its passcode. You can then choose to restore the device from a backup or set up as new.
Note
It requires you to log in to your iCloud account with the iCloud password.
The Most Handy Ways to Recover Photos from Locked iPad
Way 3. How to Recover Photos from Disabled iPad via iTunes Using D-Back
The above method will work very well to get your data back but you will not be able to only recover photos. To do that, you need the services of iMyfone D-Back iPad data recovery (compatible with iOS 11) which can help you recover lost photos selectively from an iTunes backup file.
Key Features:
- Capable of recovering/extracting photos from locked or damaged iPad.
- Allows you to selectively choose the specific photos to recover.
- High success rate of recovery, very easy to use.
- You can preview the deleted photos before recovery.
- It supports almost all iOS devices including iPad Air, iPad mini, iPad Pro, iPad and all iOS versions including iOS 13/12.
Follow these simple steps to do it.
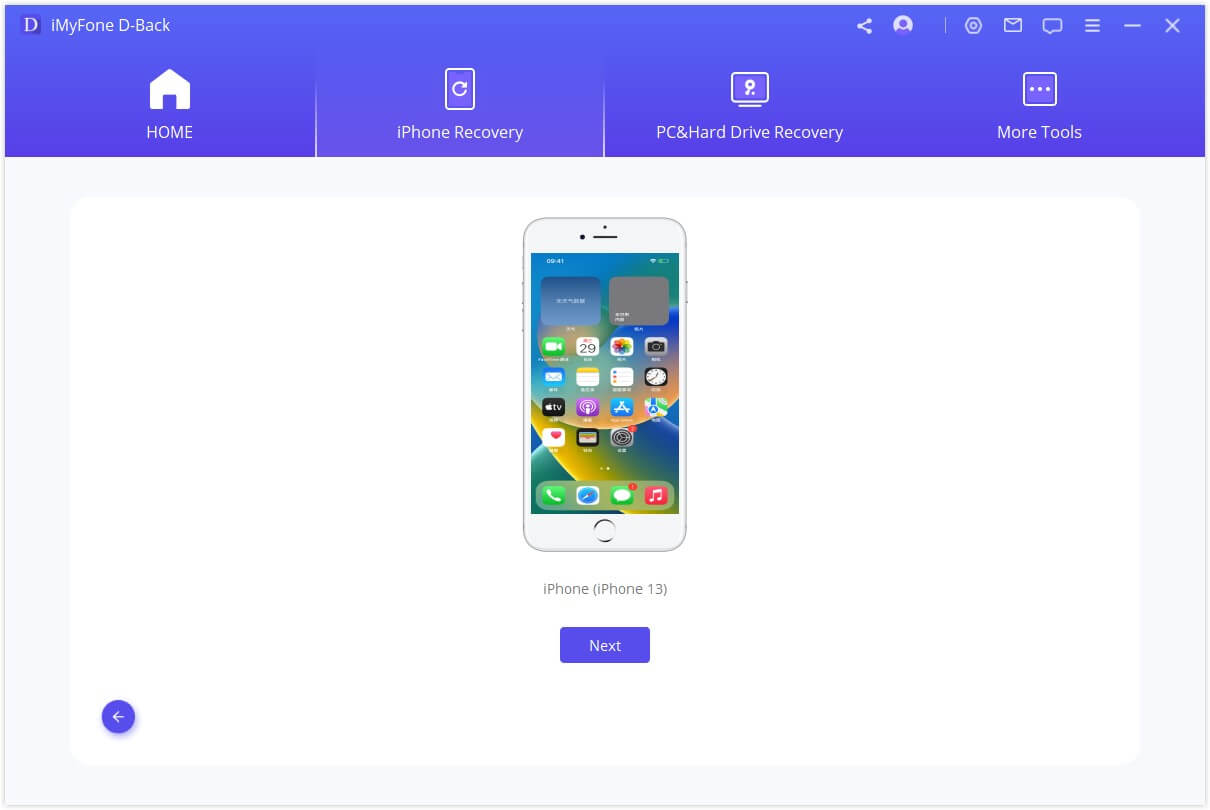
Step 1.Begin by downloading and installing the program to your computer. From the main window of the program, choose “Recover from iTunes Backup” and click “Start” to continue. In the next window, select “Photos” as the type of file you wish to recover and then click “Next.”
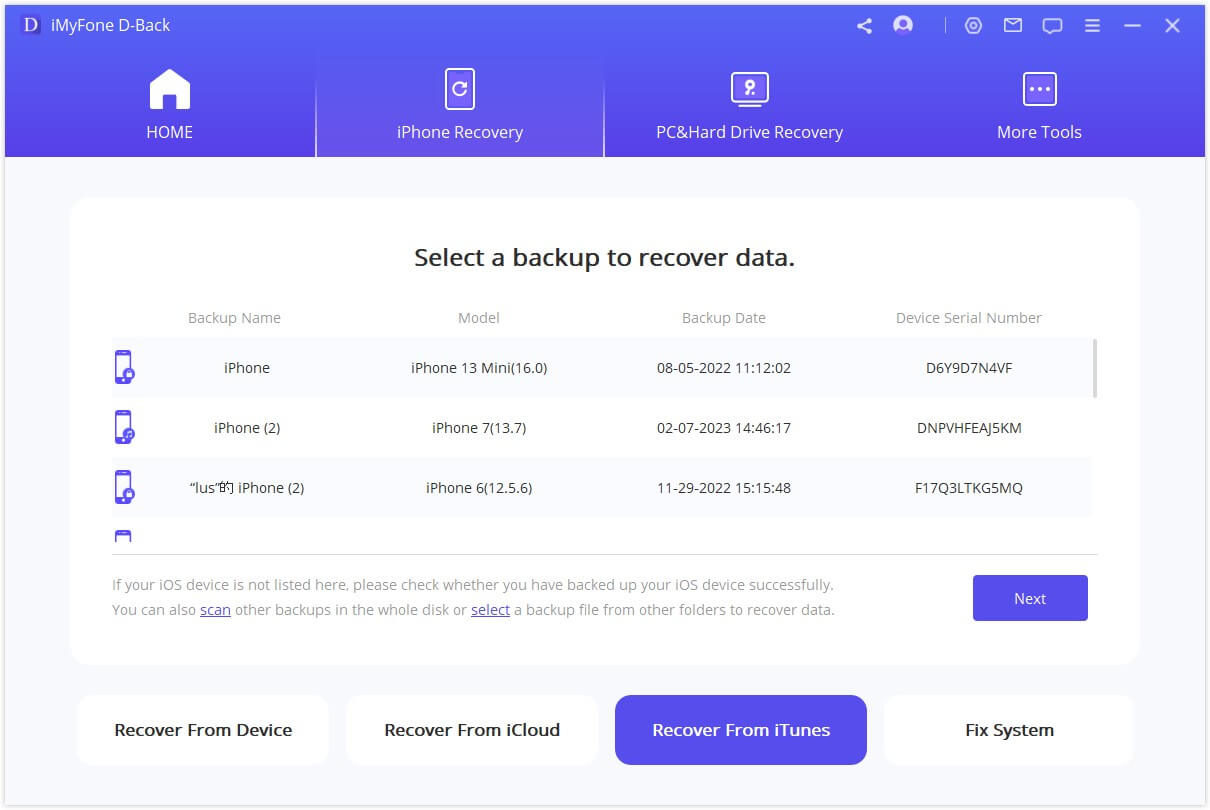
Step 2.The program will detect all of the iTunes backup files on that computer. Select the one that contains the photos you wish to recover and then click “Scan” to allow the program to scan the backup file for your missing photos.
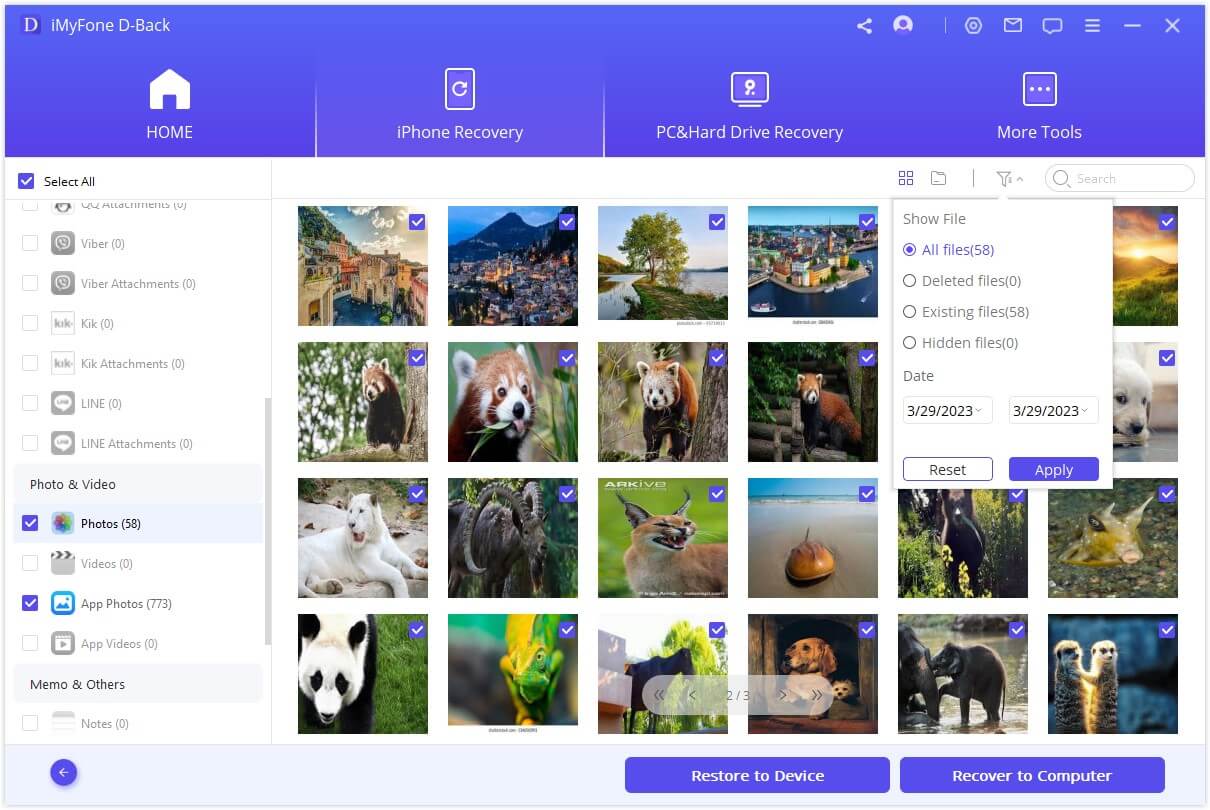
Step 3.In the next window, select the photos you wish to recover and then click “Recover” to save them.
Way 4. Selectively Recover Photos from Locked iPad via iCloud
Using iMyfone D-Back iPad data recovery (compatible with iOS 11) you can access the iCloud backup and only select the photos you wish to recover as opposed to recovering all the data on the backup file. Follow these simple steps to do it.
Step 1.Launch the program on your computer and then select “Recover from iCloud” and then click “Start.”

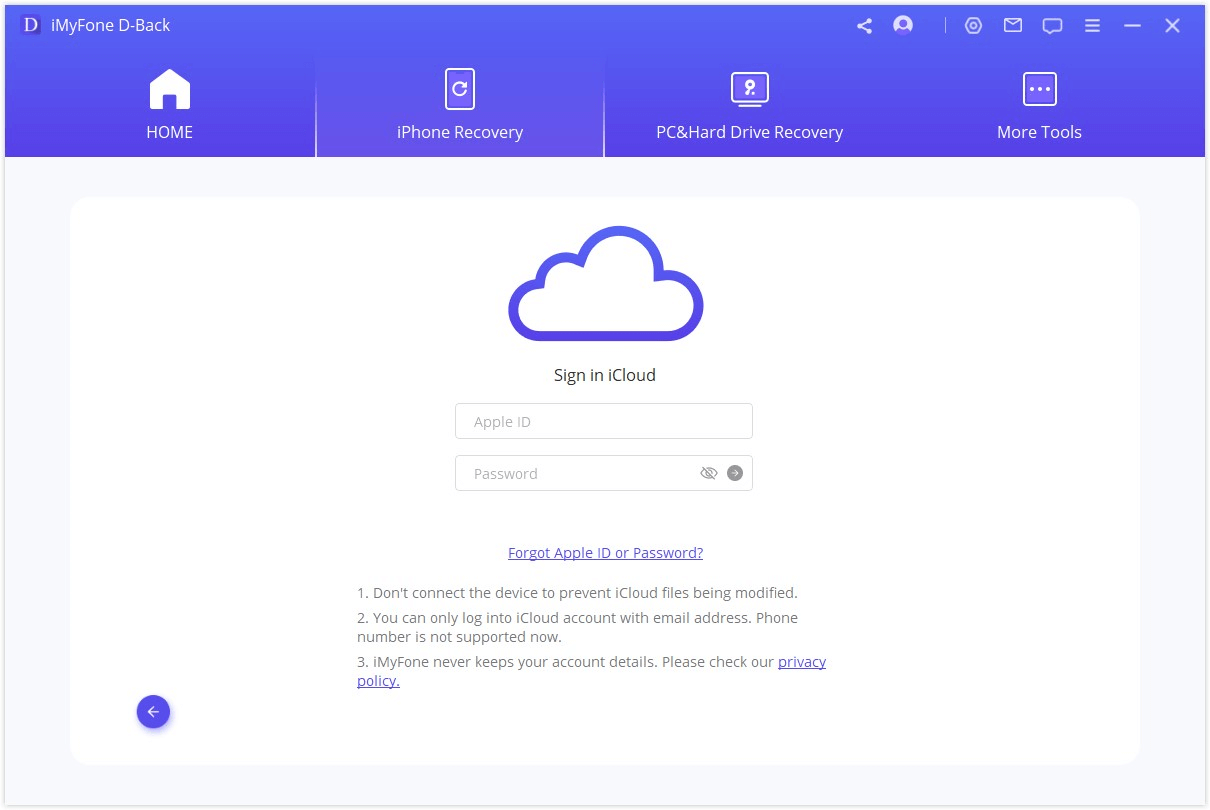
Step 2.Sign in to your iCloud account, and select "Photos" click “Scan” to allow the program to scan the backup file.
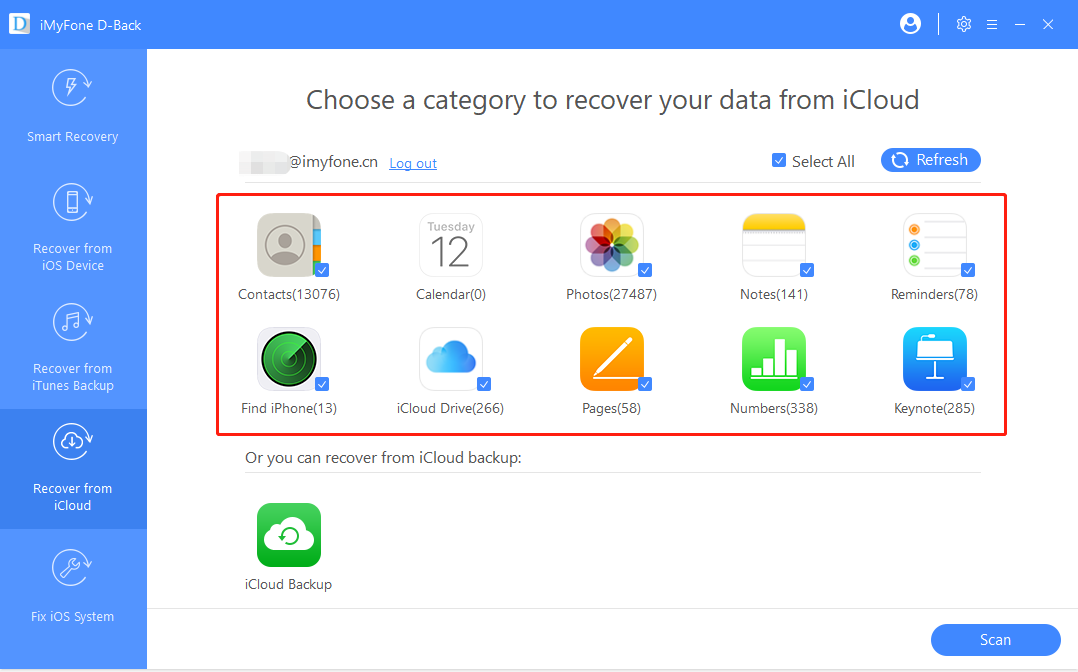
Step 3.After completing the scan, click on the photos you want to recover and click “Recover.”

If you had never synced your iPad with iTunes or set up Find my iPhone, you will need to use recovery mode to restore the iPad. This will erase the device completely as well as the passcode.
Some Useful Tips
Sometimes it's easy to forget the password since there are so many stuffs need to remember. So the best way to avoid lossing the password again is write it down and store it in a safe place.
In addition, keep in mind that always back up your photos and data regularly through iCloud or iTunes. In this way, the possibility of successful photo/data recovery would be increased.
Here are the steps to enable the automatic daily sync function of iCloud:
- Make sure that the iCloud backup has been activated: Check it by going to Settings > iCloud > Backup.
- Make sure your iPad is turned on, connect your phone to Wi-Fi network.
- Check if there's enough available storage in iCloud to back up.
Bottom Line
Losing the memorable photos could be huge disaster, if none of the official recovery methods are helpful to your situation, try iMyFone D-Back photo/data recovery software, you can freely preview the recoverable photos before the recovery. Hope this article can help to solve your issue.


 January 12, 2023
