


How to Host a Website in 5 Easy Steps
Category: Web Design

8 mins read
So you have an idea for a website and are ready to make it a reality. That's great! Hosting a website may sound complicated, but it doesn't have to be. In this guide, I'll walk you through the basic steps on how to host a website. Before you know it, your website will be live on the internet for the whole world to see. So roll up your sleeves, get ready to learn, and let's dive into how to host your first website!
In this article:
Part 1. What Is Website Hosting
So what exactly is website hosting? Website hosting means uploading the files, images, and other content that make up your website to a special type of internet server, called a web host. Your website's files and data are stored on the web host's internet servers, allowing anyone with an internet connection to access your site.
In simple terms, web hosting lets the world see and use your website. Without hosting, your site would just be files saved on your local computer. No one but you would be able to view or navigate the site. Hosting takes your website online and makes it accessible 24/7 to visitors anywhere.
When you sign up for website hosting, you're giving your site its own space on the hosting company's internet servers, also called hosting servers. Their servers are optimized to keep websites running smoothly and fast. As the website owner, you get access to a control panel that lets you upload files, install website platforms like WordPress, set up email accounts, and make other administrative changes to your site.
Most hosting companies offer multiple service options based on the complexity and traffic needs of your site. The three most common types of web hosting are:
- Shared hosting: You share a server with other sites. Best for small personal sites and blogs. Cheapest but most limited.
- VPS hosting: You have your own partitioned server space. Good for small businesses and ecommerce stores. More control and flexibility than shared hosting at a lower cost than dedicated hosting.
- Dedicated hosting: You have your own entire server. Best for large enterprise websites and web applications. Most powerful but also most expensive option. Complete control over your hosting environment.
For a basic website, shared hosting is typically a low-cost, beginner-friendly option. Your site still gets the features and security of a professional web host but at a fraction of the cost of a dedicated server. VPS and dedicated hosting are better for higher traffic and large ecommerce websites, but for starting out, shared hosting is perfect.
Part 2. Why Do You Need Web Hosting
So now that you know what website hosting is, you're probably wondering why exactly you need it. There are a few key reasons why web hosting is essential if you want to have an online presence:
- Accessibility: Without hosting, your website would not be accessible to people online. Web hosting publishes your site on the internet, making it available for anyone to find and visit 24 hours a day, 7 days a week.
- Professional presence: A professionally hosted website helps establish your brand's credibility and authority. If your site is sporadically offline or slow to load, visitors may perceive your business as unreliable or amateur. Reliable web hosting gives your brand a polished, reputable presence.
- Email services: Most web hosts provide email accounts, like yourname@yourdomain.com, along with your hosting plan. Branded email addresses help you look more professional when communicating with customers, clients, and partners.
- Storage space: Web hosting includes hard drive storage for your website files, images, videos, and other data. Without ample storage space, your site could run slowly for visitors or even go offline completely if the storage limits are exceeded. Managed web hosts offer plenty of disk space for an average website.
- Technical support: Reputable web hosting companies also provide IT support to help you with any issues in launching, maintaining, or managing your website. Their technical support teams can help with things like setting up your hosting account, installing updates, security patches, and more.
If you want to start a personal blog, promote your business, sell products or services online, hosting your own self-designed website is the way to make it possible. While free website building platforms like Wix and Weebly are useful for very small sites, their options are limited. Web hosting gives you full control and flexibility over a customized website tailored to your needs.
Part 3. How to Host a Website
1. Choose a Web Host
The first step to hosting your website is selecting a web hosting company. There are hundreds of hosts out there, so it can feel overwhelming. But don't worry—you really only need to consider a few of the top web hosting providers. Some of the biggest and most reputable are:
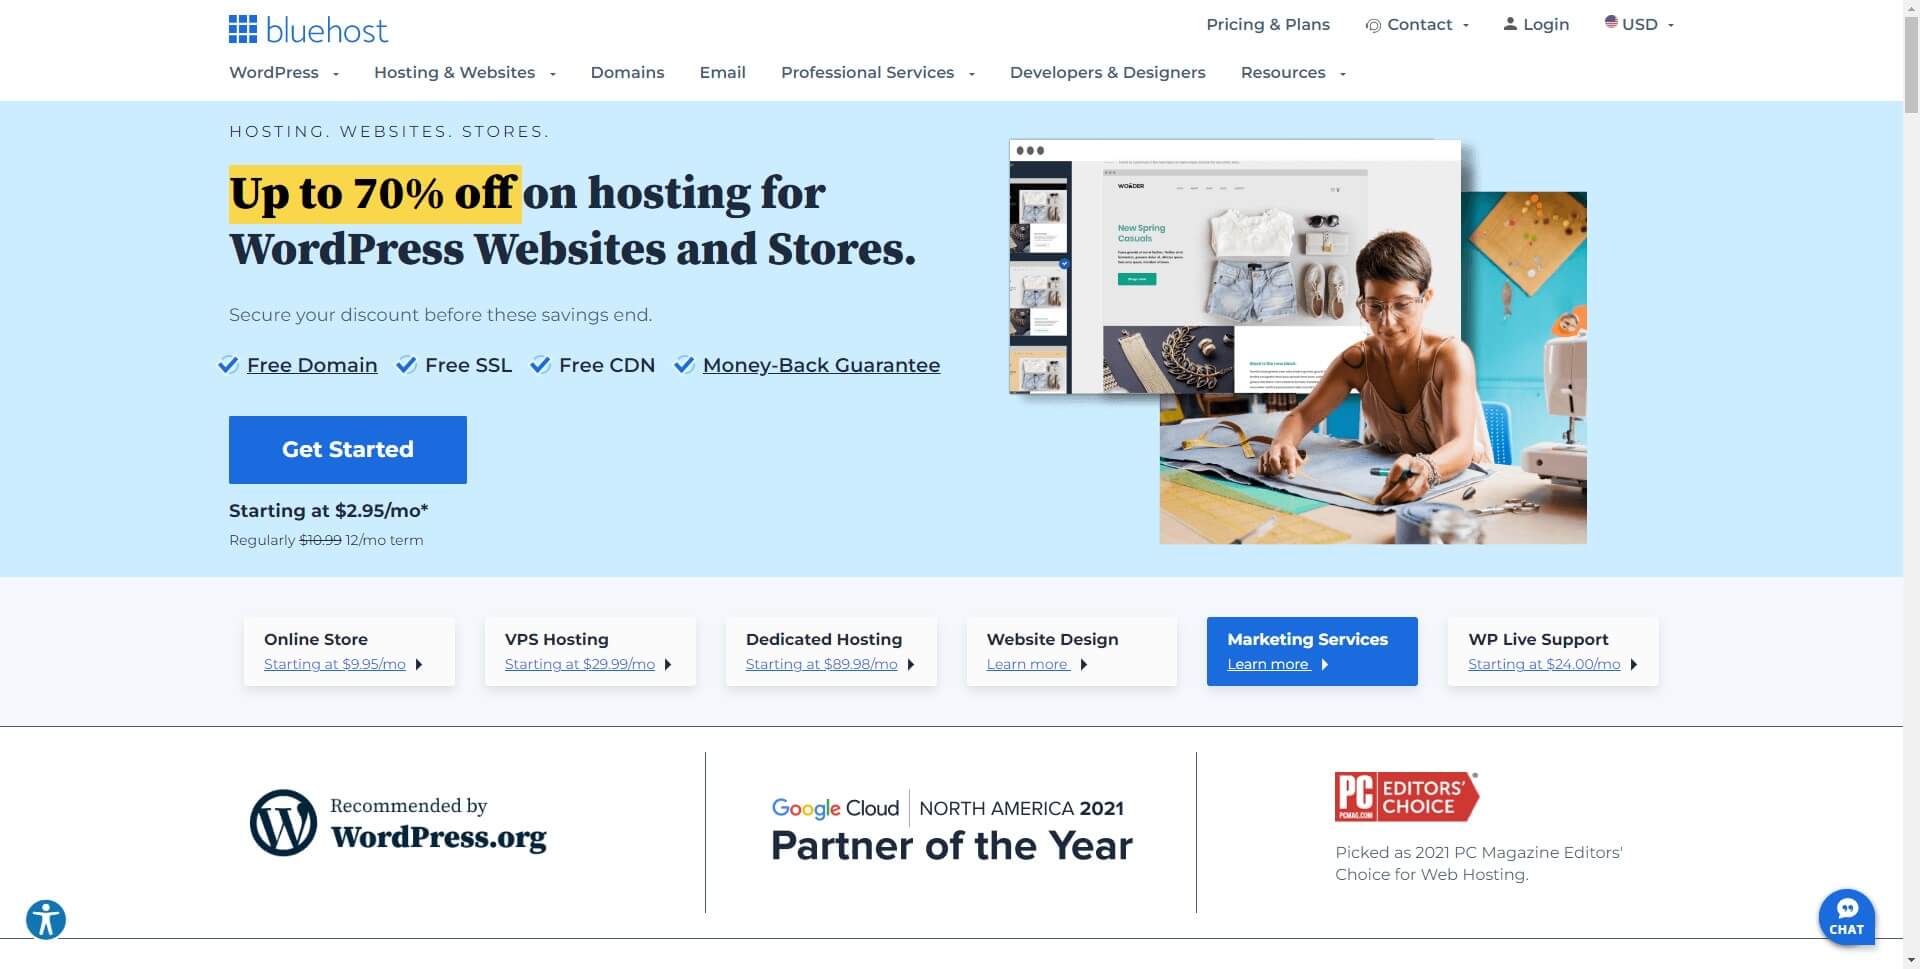
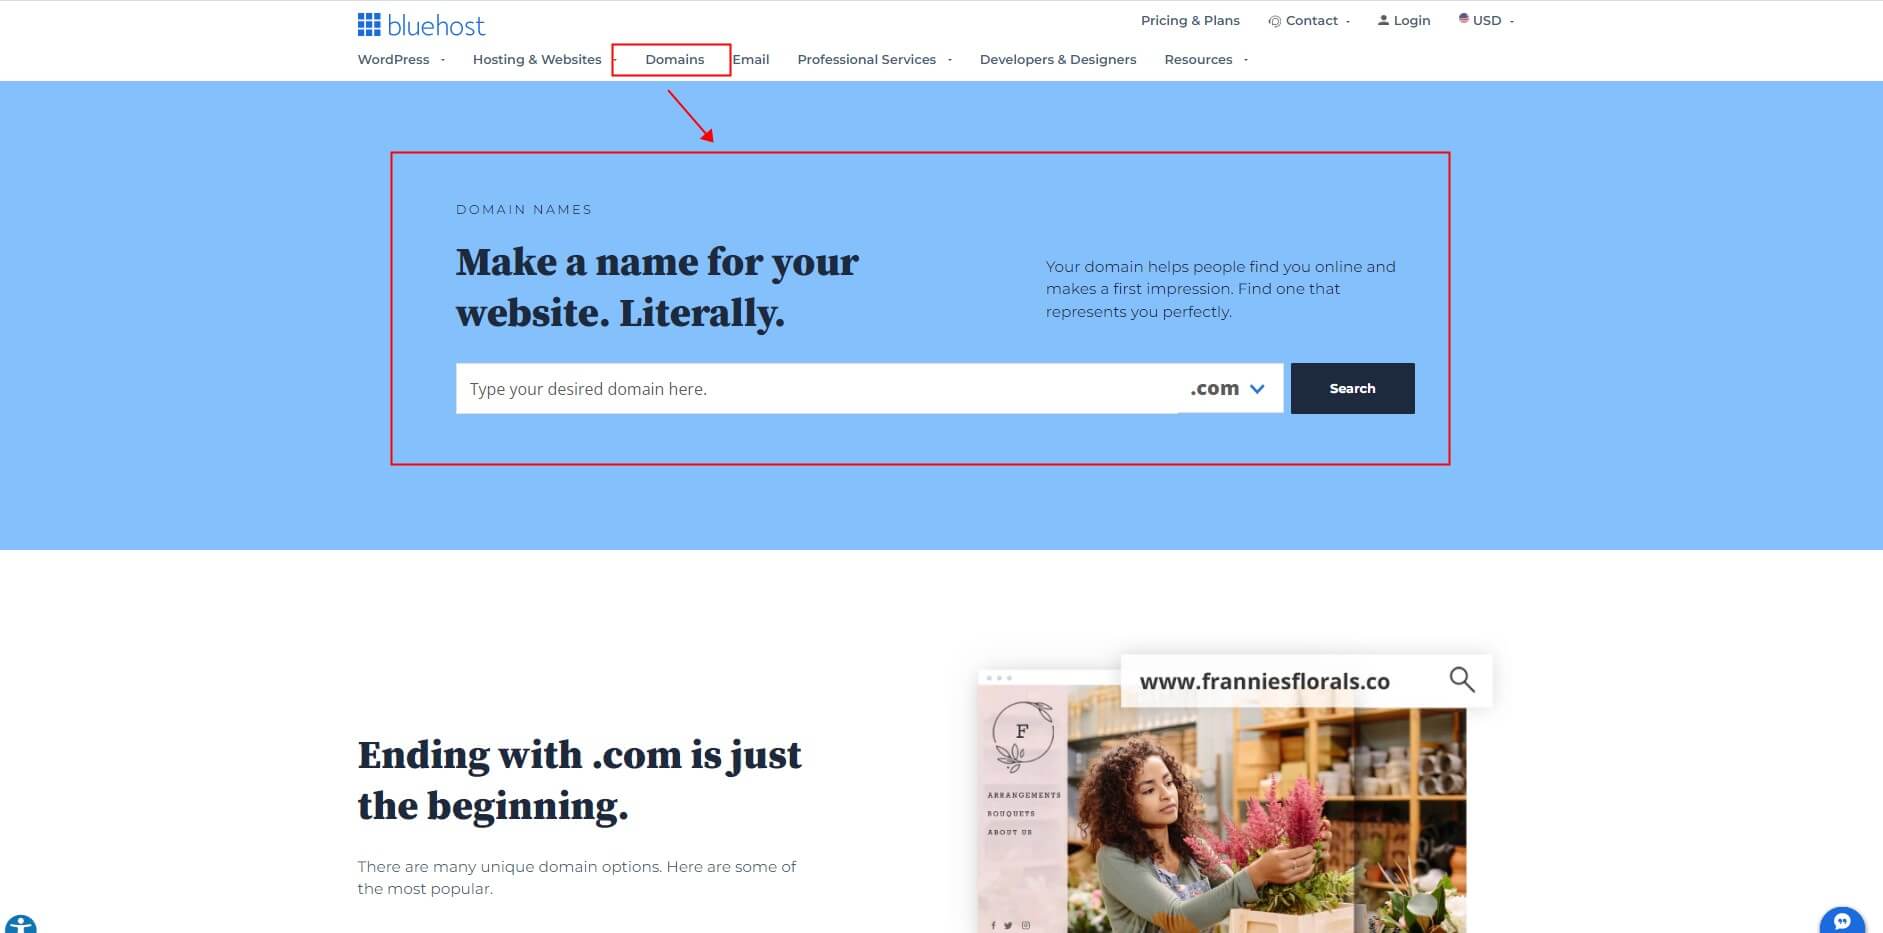
- Bluehost - One of the largest web hosts, especially for WordPress sites. Affordable and beginner-friendly, with lots of useful features.
- HostGator - A popular web host with budget-friendly pricing. Lots of options for both simple and more advanced sites. Solid uptimes and good customer service.
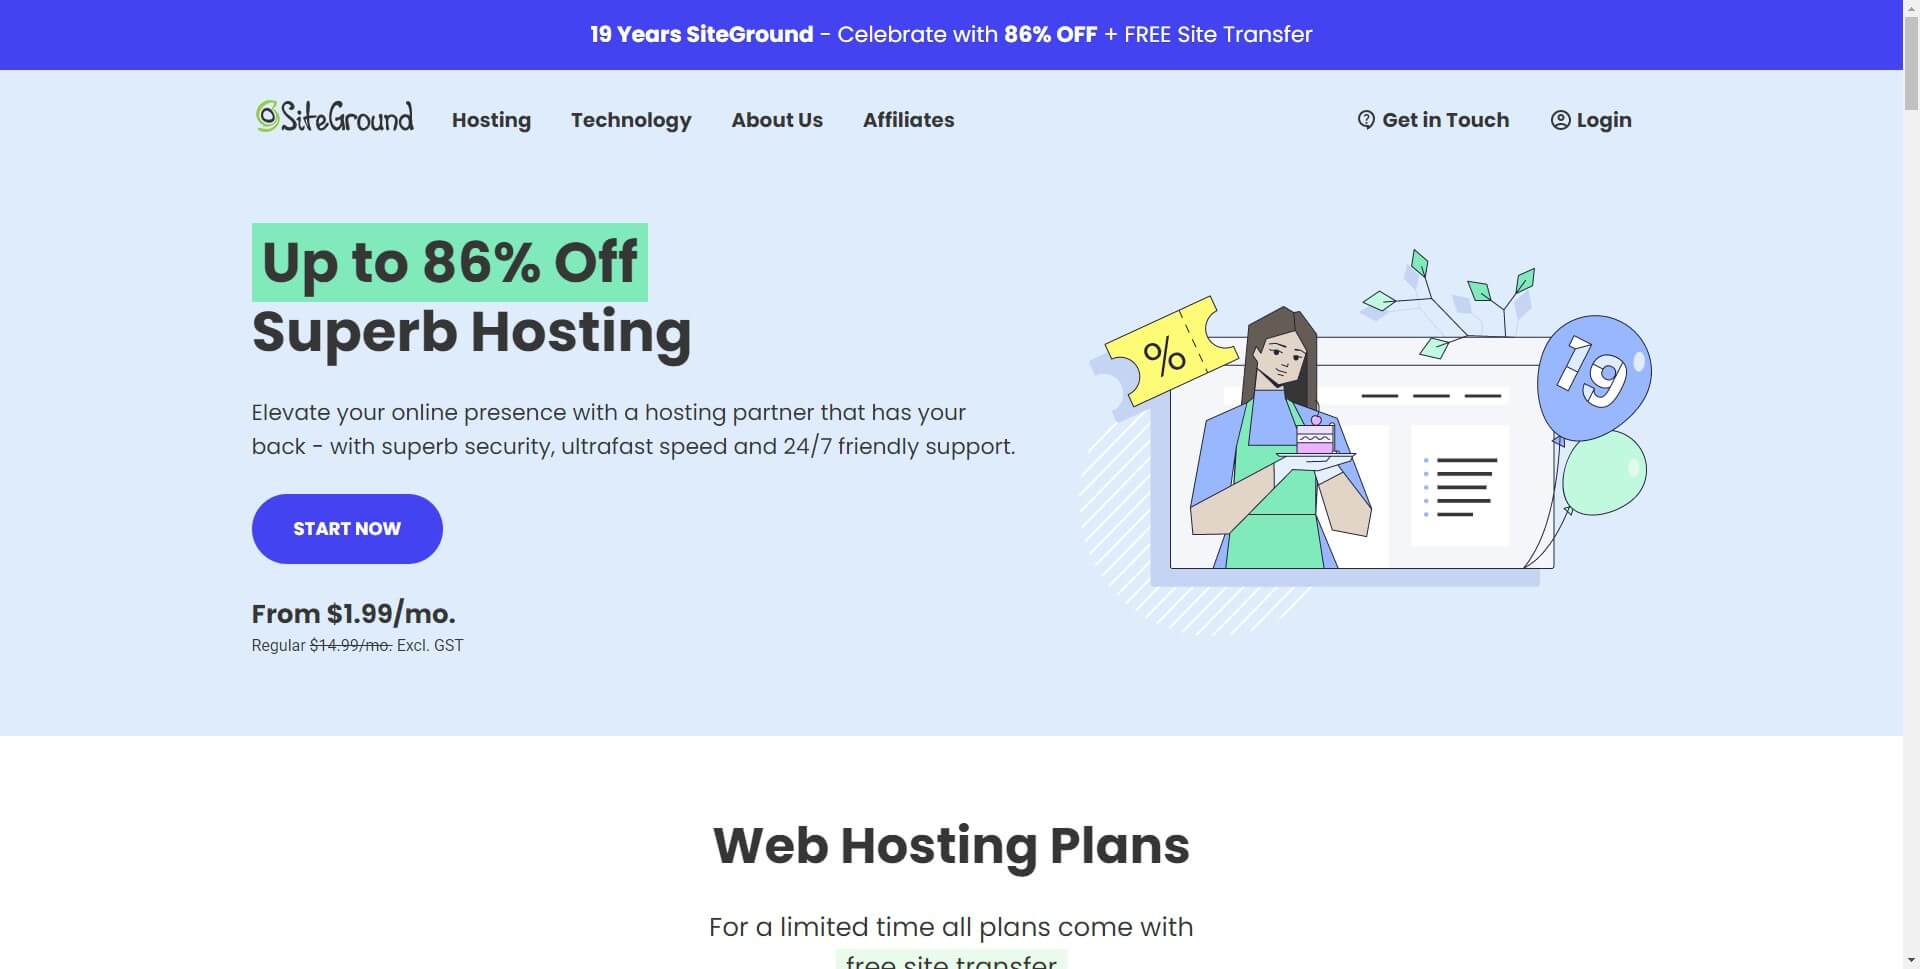
- SiteGround - A highly-rated web host, especially for faster website speeds. Prices are slightly higher but with better performance. Helpful for new webmasters learning the ropes.
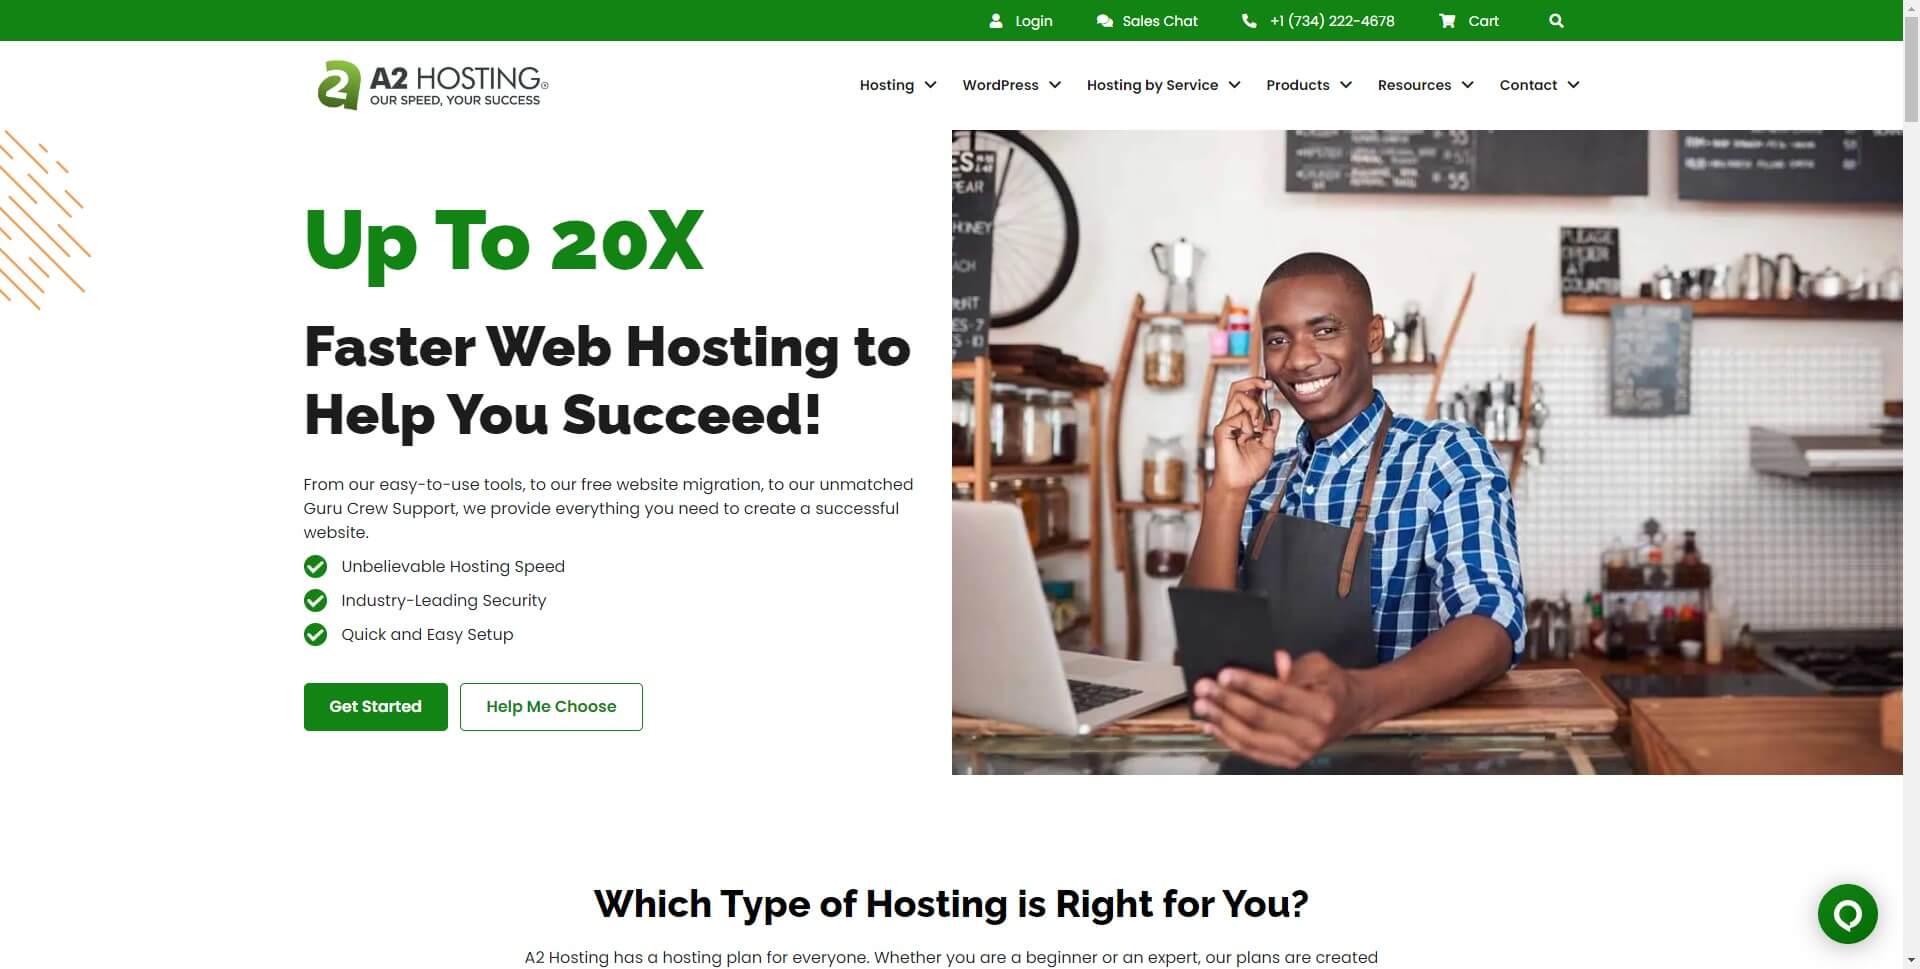
- A2 Hosting - Another respected web host with fast servers and solid security features. Competitive pricing with unlimited storage and bandwidth.
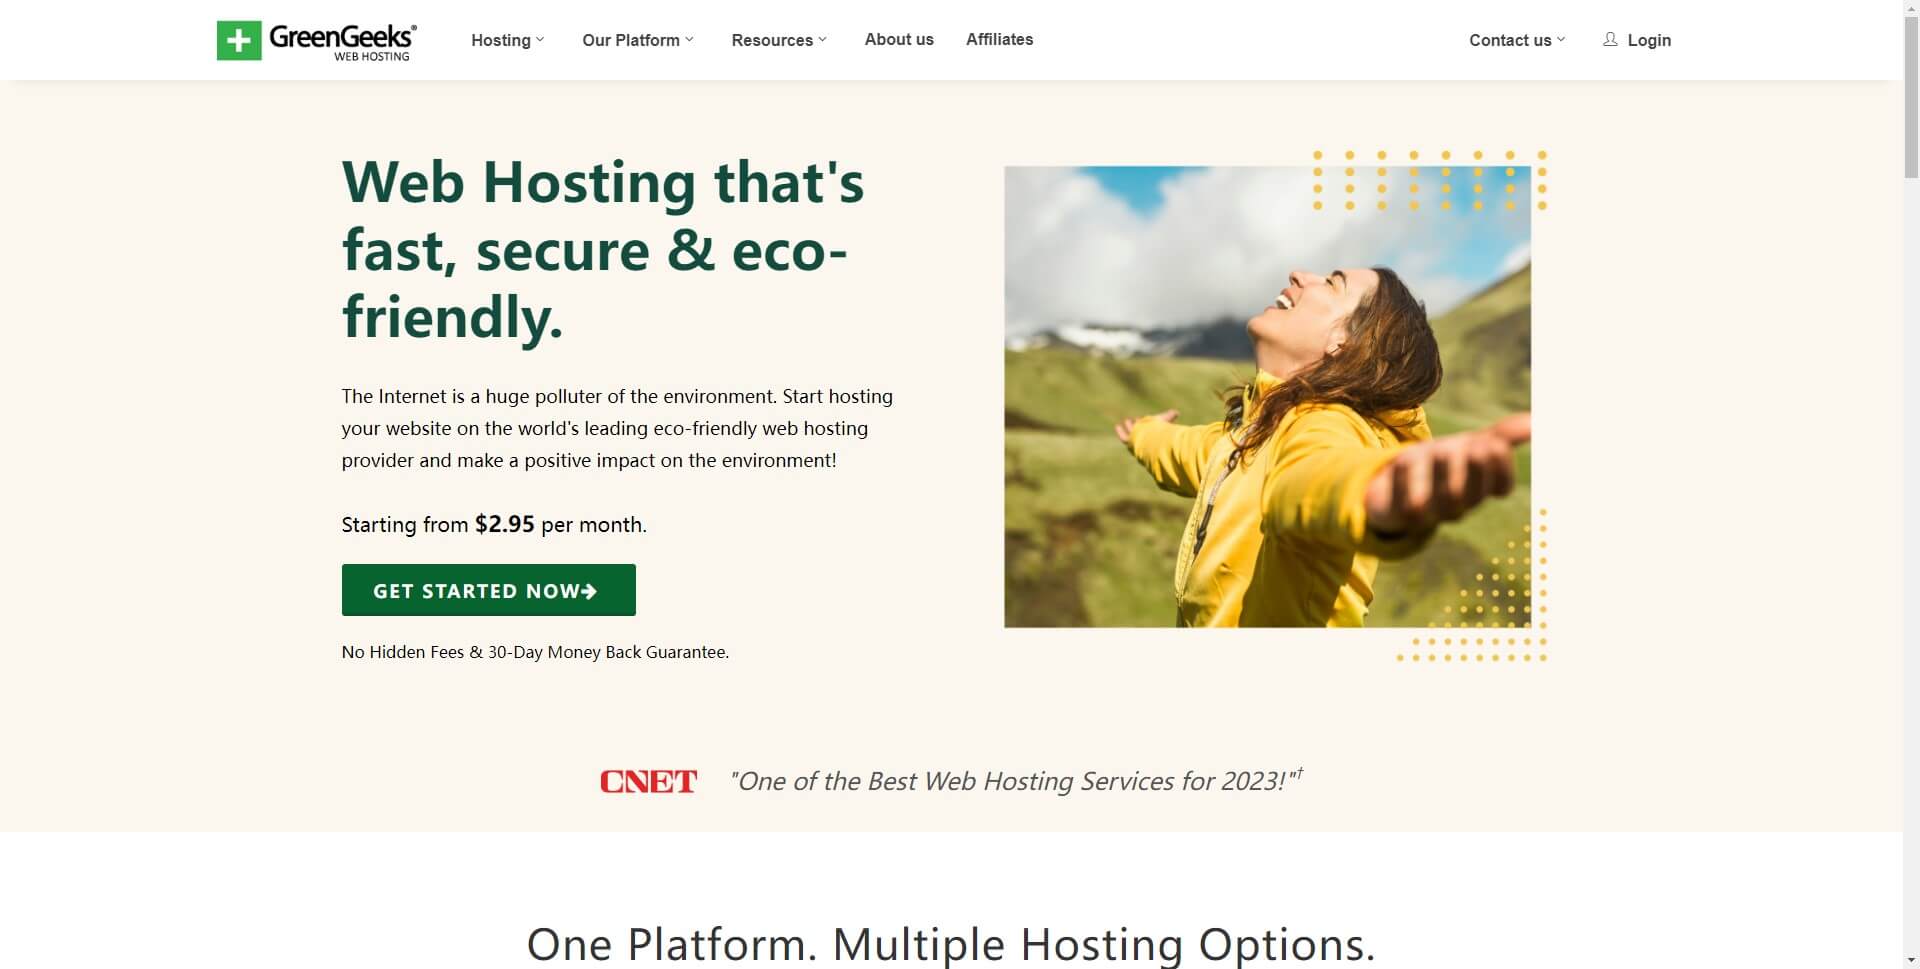
- GreenGeeks - An eco-friendly web host running on renewable energy sources. Reliable service with good uptime and support. Plans from basic to high-performance.

When comparing web hosts, look at their prices, hosting types (shared, VPS, dedicated), ease of use, customer service, and any special features. For a starter site, focus on hosts with simple but customizable shared hosting plans, a user-friendly control panel, and knowledgeable support teams.
Once you choose a host that fits your needs, you can sign up right on their website. The signup process usually only takes a few minutes. You'll choose a hosting package, create an account, and enter basic contact/billing details. Your hosting provider will then send you an email with next steps to access your account, set up your website, and get started building your site!
2. Register a Domain Name
Once you've chosen a web host, the next step is to register your own domain name, like yourwebsite.com. Your domain name is your website's unique web address on the internet. Visitors will enter your domain name into their browser's address bar to find your site.
You register domain names through third-party registrars like:
- Hover - A reputable domain name registrar with good customer support. They offer domain extensions like .com, .net, .org at competitive prices.
- Namecheap - A popular domain registrar with affordable domain names and web hosting. They frequently have promotions and coupon codes for even lower prices.
- Bluehost (your web host) - Most web hosting companies also offer domain name registration as an add-on. Registering your domain name and web hosting together in one place can be more convenient.
So how do you choose and register your domain name? Here are the basic steps:
- Come up with some domain name options that match your website name or business. Check that options are available by entering them into a registrar's search box.
- Decide on an extension like .com, .net, .org. or .Com is typically the most standard and professional for businesses. Other options like .co or .io also work well for some sites.
- Once you find an available domain you like, review the pricing to register it. Domains can range from under $10 to over $50 per year depending on the extension.
- Create an account with the domain registrar and enter your billing details for purchase and renewal fees.
- The domain registration process will prompt you to enter your chosen domain name for registration. Double check everything looks exactly right before completing the registration.
- Within 24 hours, your domain should become active. You can then log into your hosting account to "point" your domain name to your web host, allowing visitors to find your website when they type your custom domain.
3. Set Up Your Website
Now comes the fun part—actually building your website! With your web hosting and domain name ready to go, it's time to choose a website builder platform and create your site. There are a few options for building a website:
- Site builders: User-friendly tools with premade templates, like Wix, Weebly, and Squarespace. Simply drag and drop elements to create a basic site. Easy to use but less flexibility. Good for small personal websites.
- CMS (Content Management Systems): Platforms like WordPress that provide more control over design and features. You can choose themes and plugins to build an attractive, functional site. More complex but open to all skill levels. Great for blogs, businesses, and online stores.
- Hiring a web designer: Have a professional web designer handle building your site for maximum quality and customization. Provide your vision and content, and they do the creation, development, and optimization. Most expensive option, usually starting around $3,000-$5,000 or more.
- Coding your own site: For experienced web developers, custom coding a website using HTML, CSS, and other languages provides the most control and personalization. Complicated and time-consuming for non-coders though. Only practical for those with web development skills.
For beginners, we recommend using either a simplified site builder tool like Wix or Squarepace or a user-friendly CMS like WordPress.org. They have simple drag and drop templates to get started, while still giving you options to create a customized site that reflects your brand.
With your platform chosen, you can now start designing your homepage and additional pages, writing compelling content, adding images and other media, setting up features like a blog page or online store, optimizing for mobile devices, and ultimately, publishing your new website live to the world!
4. Add Content and Go Live!
With your website platform selected and initial design set up, it's time to start adding content and customize the details. Here are some tips for creating a compelling site:
- Write interesting page descriptions and blog posts. Share information that would genuinely help or inspire your visitors.
- Include visually engaging photos and images. Choose graphics that grab attention and give a sense of your brand style.
- Organize your site intuitively with an easy-to-navigate menu. Group related content and be sure all pages are well linked together.
- Provide an "About" page telling your story or background. An "About" page helps forge personal connections and establishes trust.
- Include calls-to-action like "Subscribe" or "Contact Us" buttons to encourage visitor engagement.
- Prominently display contact information and social media links so people can easily follow you elsewhere online.
- Optimizing for mobile-users is a must. Ensure your site works well on smartphones and tablets in addition to desktops.
- Do thorough testing to identify any broken links or other issues before launching. Get feedback from friends or family on their experience navigating your site.
Once your content is added, website published, and all tests passed, it's time to officially launch your site live to the world! Click "Publish" or "Launch Site" in your website builder or CMS platform. Within 24-48 hours, your domain name will direct visitors to your hosted website.
Congratulations, your website is now live and open for business, blogging, sharing your passion, or whatever other goals led you to create the site! Maintain your hosting and domain to keep your online presence going strong.
5. Promote and Maintain Your Website
With your website now live, it's time to start promoting it and keeping it updated. Here are some keys to promoting and maintaining your site:
Promotion:- Share your website link on all your social media platforms like Facebook, Twitter, LinkedIn, and Instagram. Engage your followers by posting updates, images, and content from your new site.
- Submit your website to free business directories and listings like Yelp, Chamber of Commerce, and TripAdvisor (if relevant). This helps boost your visibility in local searches.
- Start guest blogging on other websites in your industry. Use guest posts to build quality backlinks to your site while also sharing your content with new audiences.
- Prominently link to your new website in your email email signature, business cards, letterhead, and anywhere else it makes sense.
- Tell friends and family about your new website launch and ask them to share it on their social networks too. Word-of-mouth promotion goes a long way.
Maintenance:
- Regularly check that all links, images, plugins, and other technical elements on your site are functioning properly with no broken pages or 404 errors.
- Keep posting useful content like blog posts, photos, events, news, and resources—give people a reason to come back to your site. Aim for 2-4 posts per month at minimum.
- Check statistics through your web host or a service like Google Analytics to see how people are finding your site and which content is most popular. Look for trends to guide improvements.
- Search for your website's name and domain to find any reviews or mentions elsewhere on the web. Make sure all listings and named references to your site are accurate and positive. Respond to any negative reviews promptly and helpfully.
- Renew your web hosting and domain name subscriptions each year to avoid any interruptions in your website access or availability.
Consider doing a redesign when your site starts to look outdated. Update visuals, layouts, and content to keep it looking fresh and modern.
Conclusion:
In summary, hosting your own website is easier than ever and within reach for anyone with an idea or business to share with the world. By choosing an affordable web host, registering your own custom domain name, and building a site using simple tools suited to your needs, you can have a professional online presence in no time. If you've always wanted to start your own blog, portfolio, or ecommerce store, now is the time—you've got the knowledge and skills to host your own stunning website! The internet is waiting for what you have to offer. Build your website today and open it up to new possibilities.