


How to Start a WordPress Blog in 6 Simple Steps
Category: Web Design

7 mins read
Blogging is a great way to share your thoughts, ideas, and experiences with the world. With the rise of WordPress, it has become easier than ever to start a blog. WordPress is a free and open-source content management system that powers over 40% of all websites on the internet. In this article, we'll show you how to start a WordPress blog from scratch, even if you have no prior experience.
In this article:
Part 1: What is WordPress?
WordPress is a free and open-source content management system (CMS) that enables users to create and manage websites and blogs with ease. It provides users with a user-friendly interface and a variety of customizable templates and plugins that can be used to enhance the functionality of their website or blog. WordPress is known for its flexibility and is used by a variety of websites, from personal blogs to e-commerce websites.
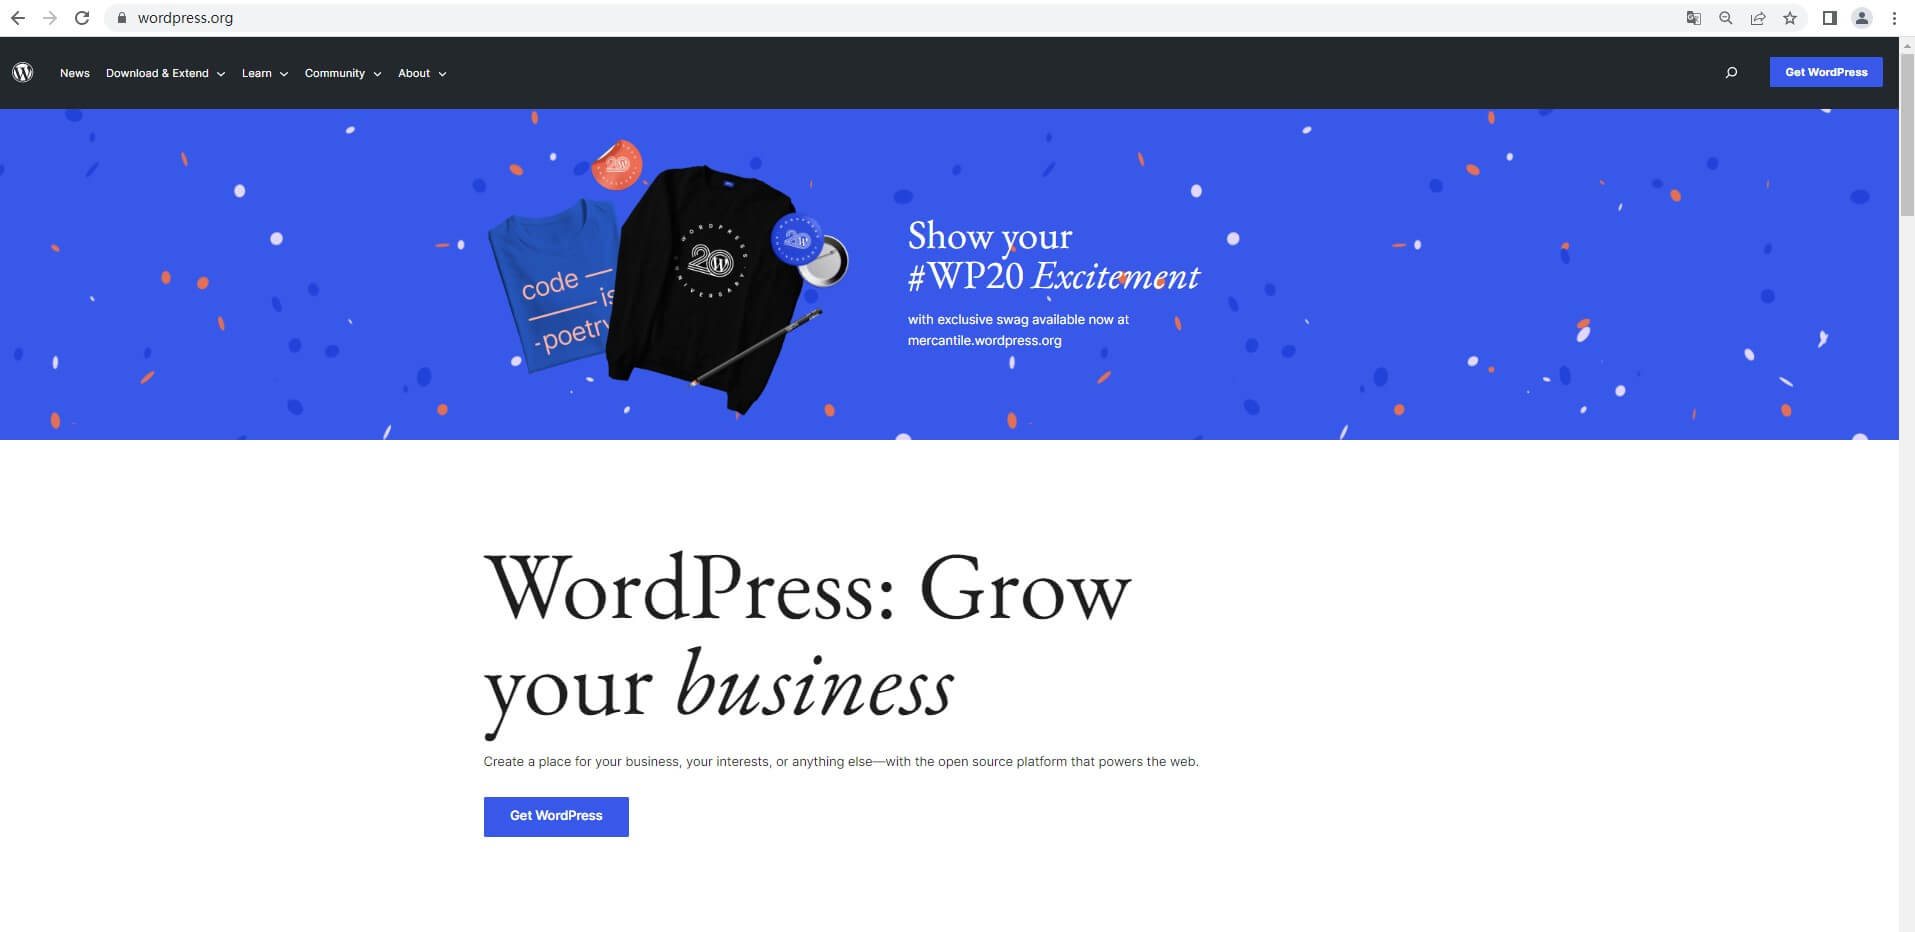
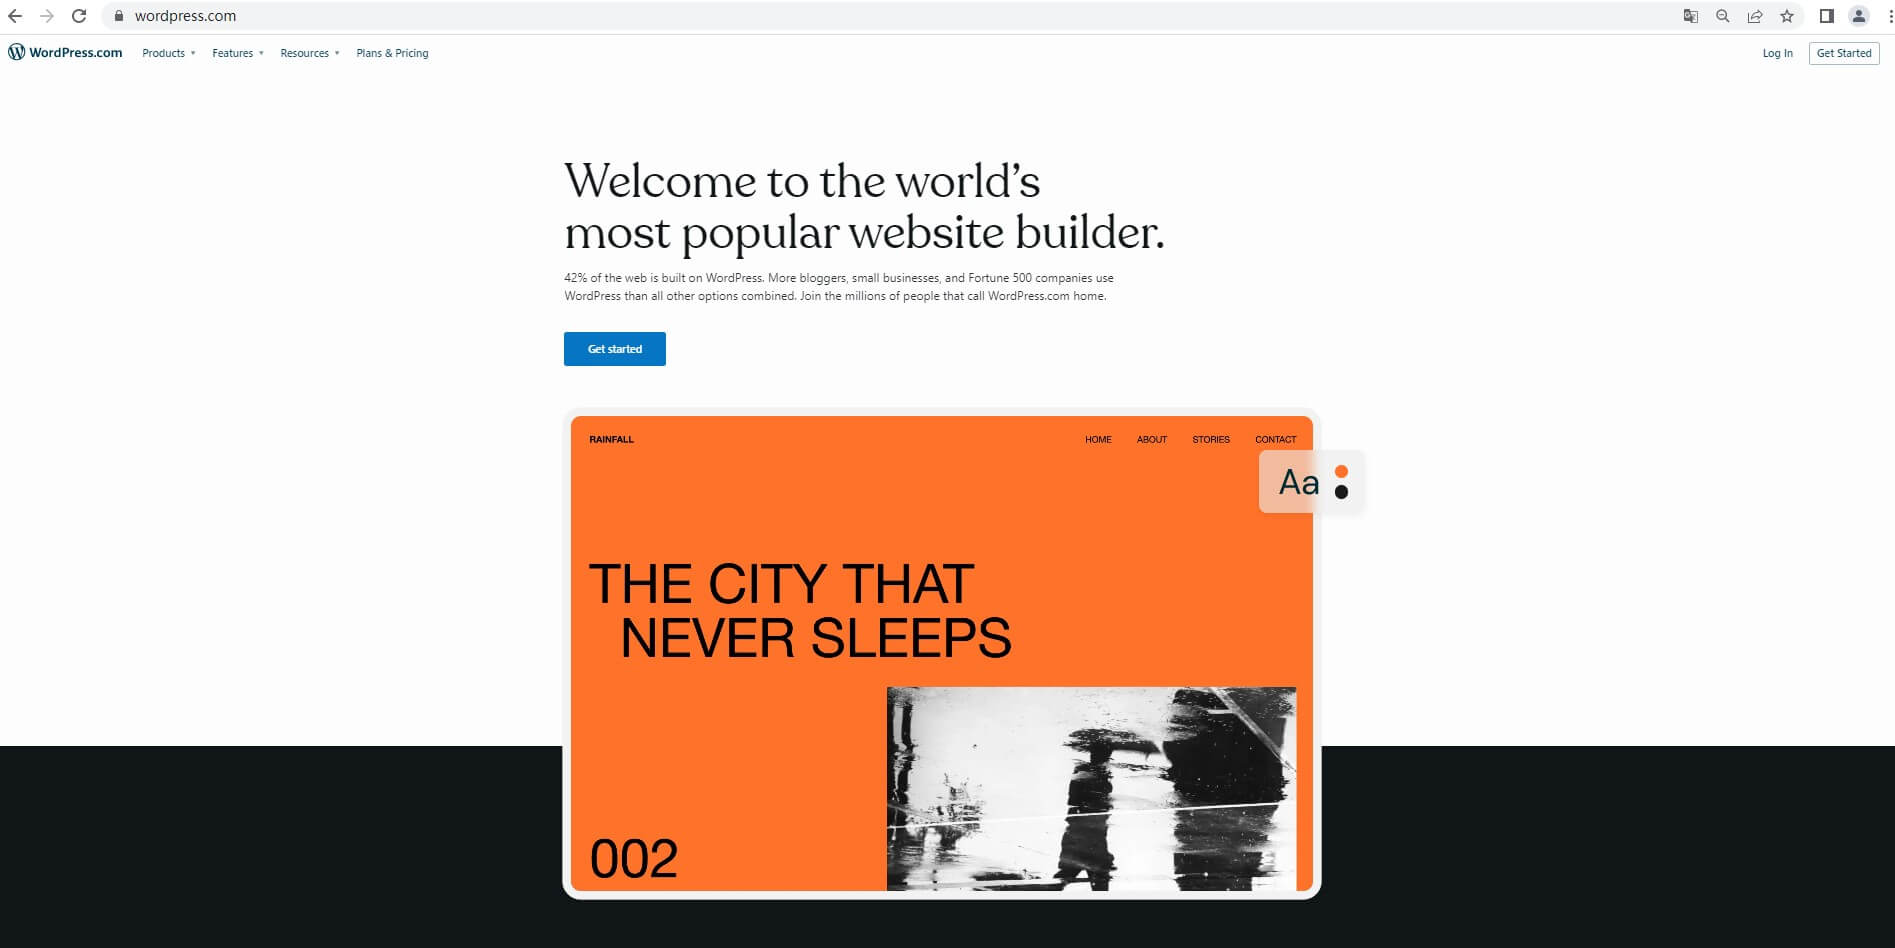
There are two versions of WordPress available for users: WordPress.com and WordPress.org. WordPress.com is a hosting service that provides users with a limited set of features and customization options. It is a simple and easy-to-use option for those who want to start a blog quickly and without any technical knowledge. On the other hand, WordPress.org is a self-hosted version of WordPress that provides users with complete control over their website or blog. It requires users to have their own domain name and hosting service, but provides them with unlimited customization options and the ability to use any plugin or theme they desire. Ultimately, the choice between WordPress.com and WordPress.org depends on the user's needs and technical expertise. If you don’t want to spend a heck of a lot of money on web hosting, WordPress.com may be right for you. But if you want to invest in high-quality website, WordPress.org is better.
Part 2: Steps to start a WordPress blog
1. Choose a domain name and hosting provider
The first step in starting your WordPress blog is to choose a domain name and hosting provider. Your domain name is your blog's address on the web, so it's important to choose a name that is memorable, easy to spell, and reflects the topic of your blog. Your hosting provider is the company that will host your blog's files and make it accessible to visitors. When choosing a hosting provider, look for one that offers reliable service, good customer support, and affordable pricing. In this way, we highly recommend Bluehost which is also recommended by WordPress. Once you have a clear idea of your blog's topic and target audience, it's time to choose a domain name and hosting provider. To get started, head over to Bluehost.com, which is one of the most popular and reliable hosting providers out there.
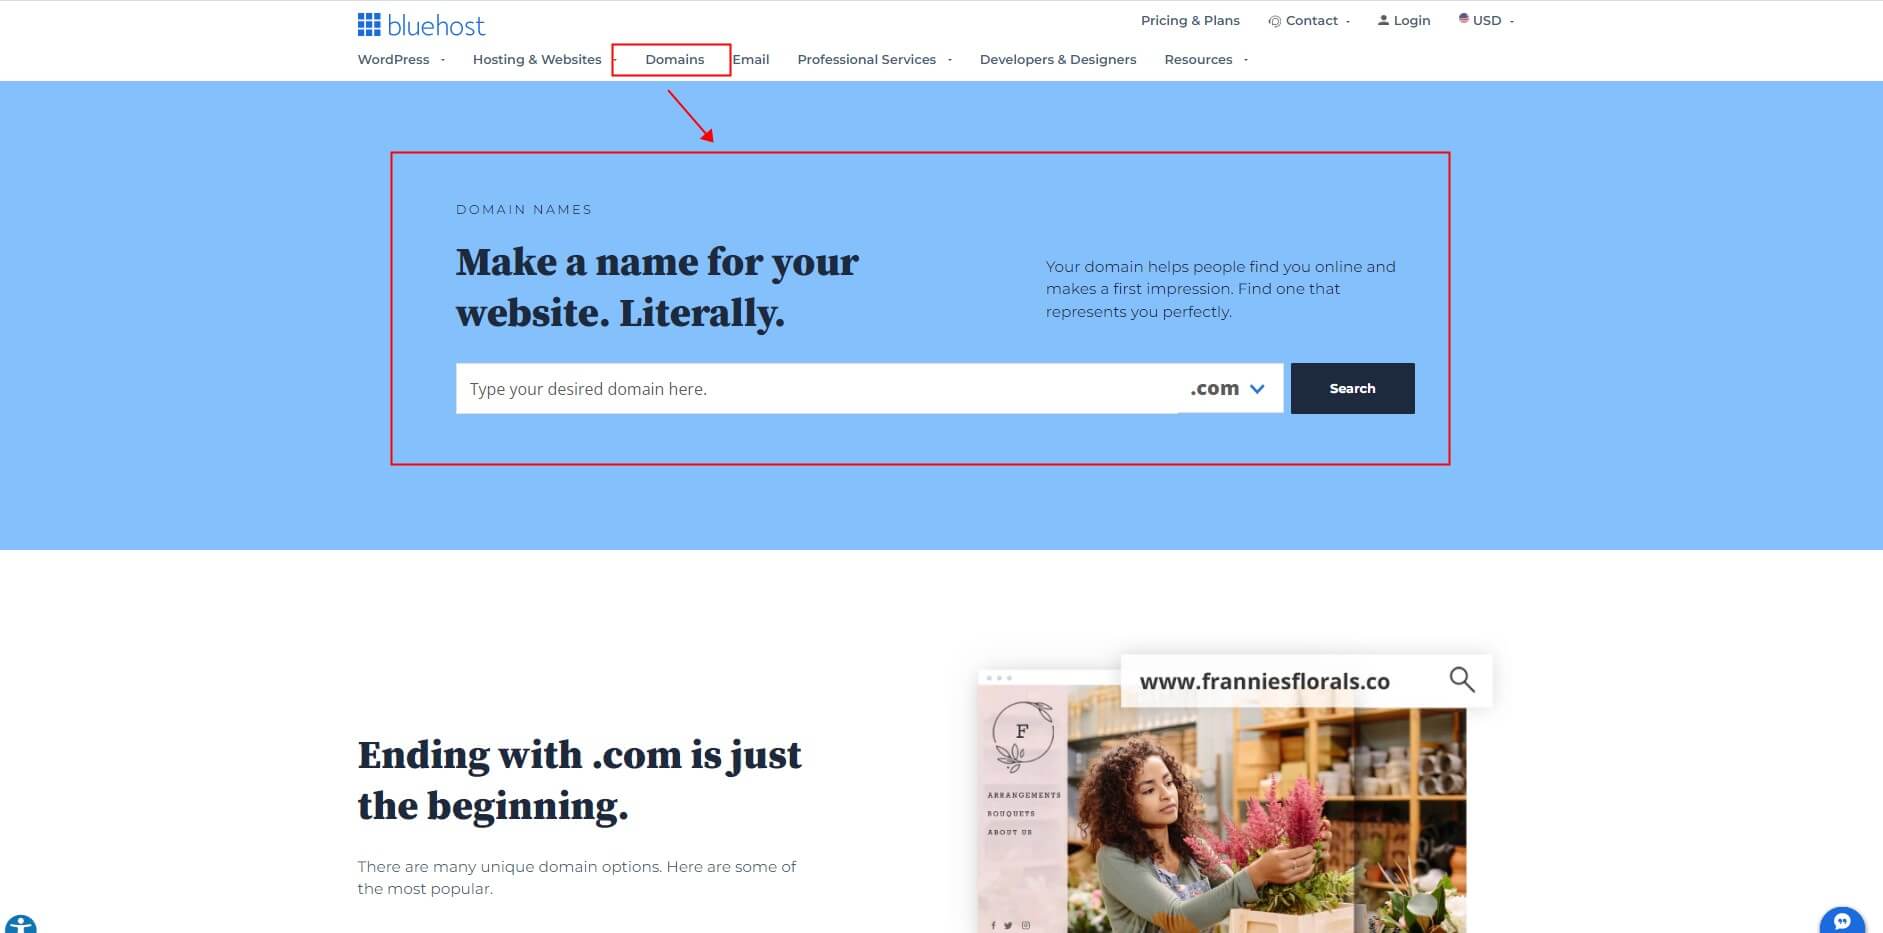
- Choose a Domain Name:
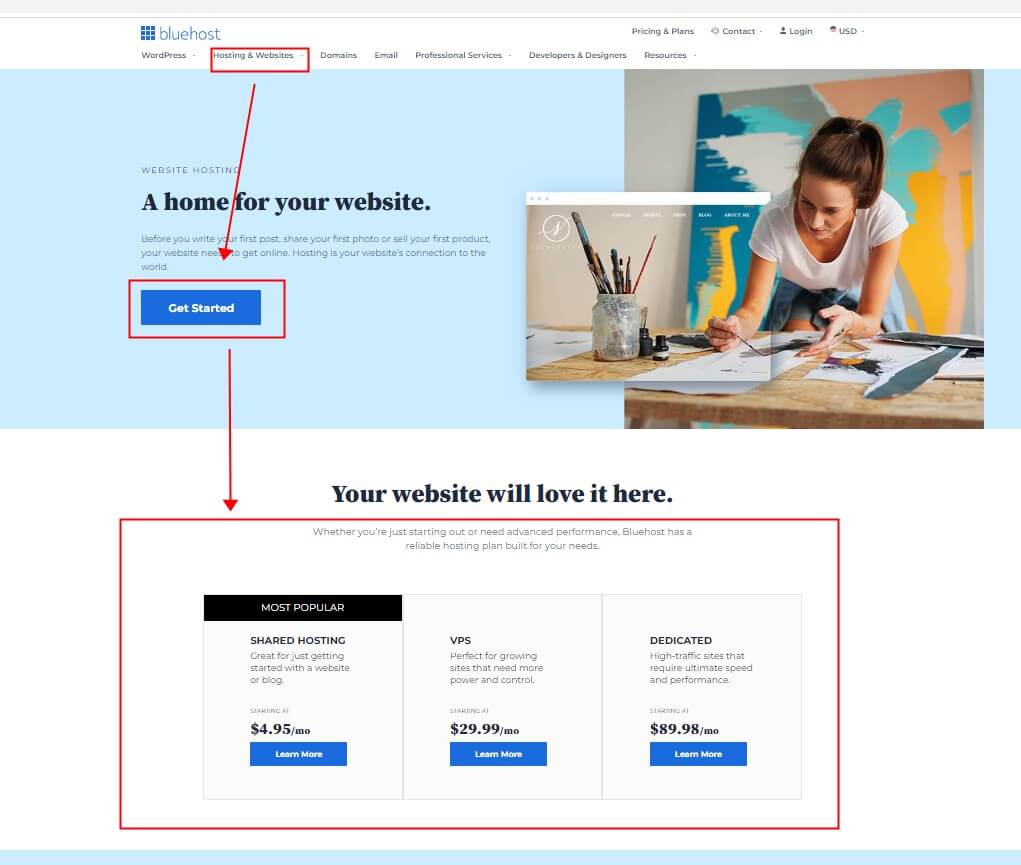
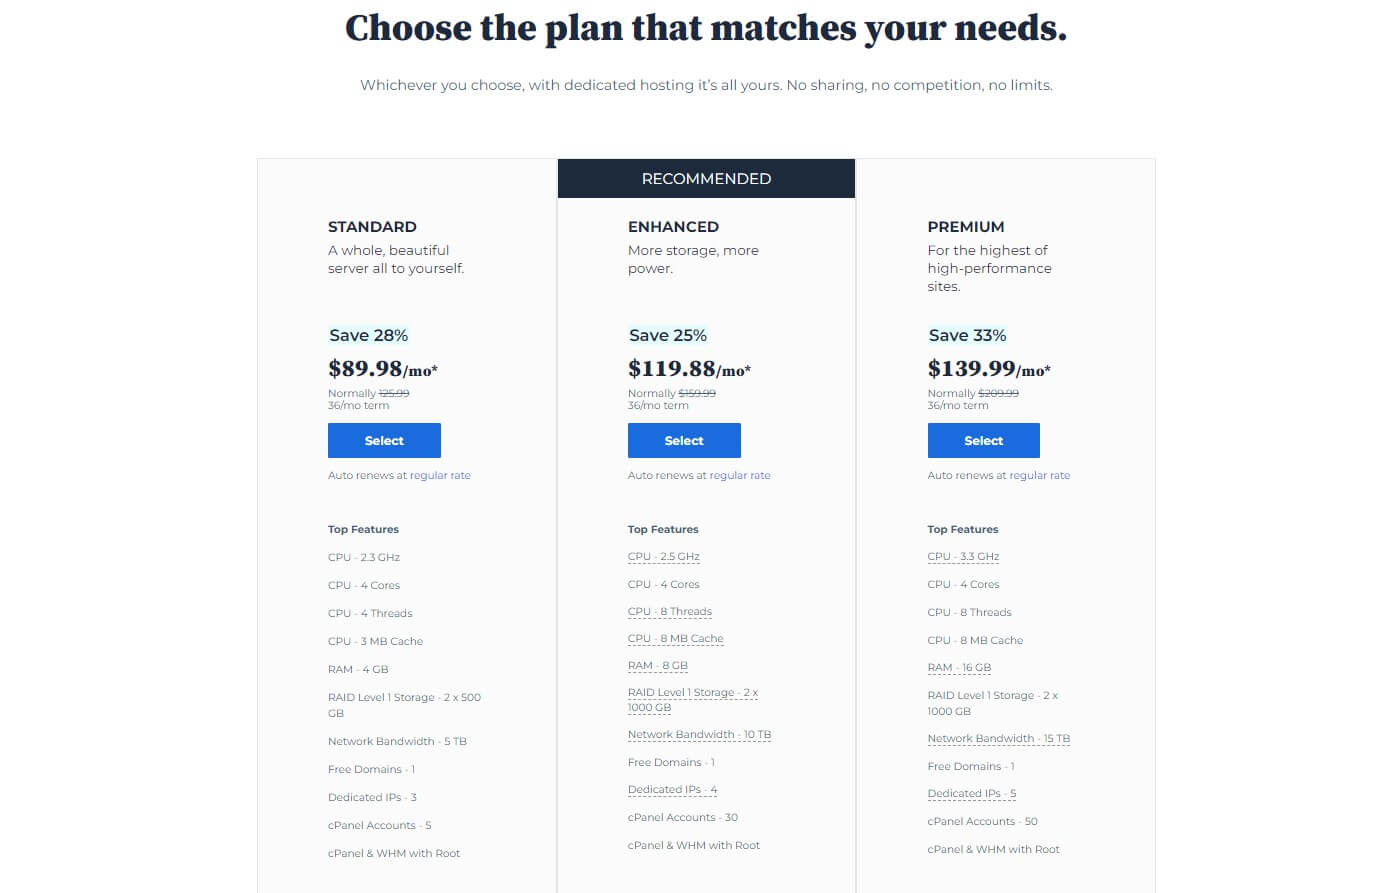
- Select a Hosting Plan:
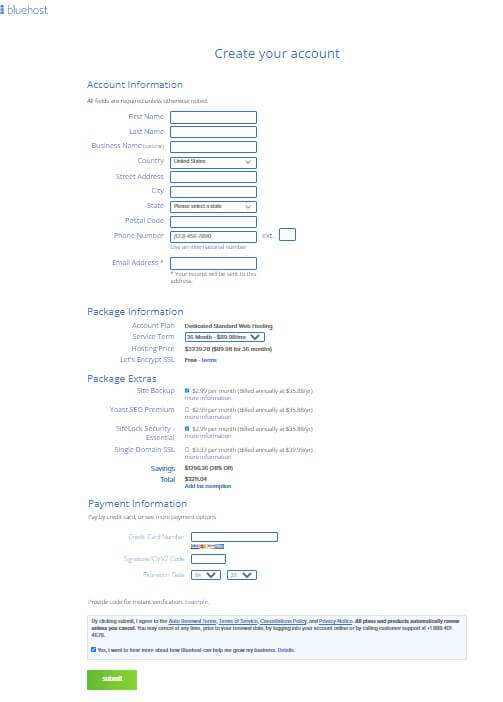
- Enter Your Account Information:
On the Bluehost website, you'll find a search bar to check whether your desired domain name is available or not. Enter the name you have in mind and see if it's available. If it's taken, try variations or use a domain name generator tool for inspiration. Once you have found the perfect name, click "Next" to proceed.
Bluehost offers various hosting plans, including shared, VPS, and dedicated hosting. For beginners, the shared hosting plan is an excellent choice as it's affordable and easy to set up. Click on "Select" under the plan that suits your needs, and you will be redirected to the next page.
On this page, you will be asked to provide your account information, including your name, address, and email address. Choose the package duration that you prefer, and then enter your payment details to complete the purchase.
However, there are also other WordPress-supported hosting service providers that you might consider. Some of the top competitors to Bluehost include SiteGround, WP Engine, and DreamHost. SiteGround offers similar pricing plans to Bluehost, but they are known for their exceptional customer service and fast website speeds. WP Engine is a premium WordPress hosting service that offers top-of-the-line features such as automatic backups, staging environments, and advanced security. Finally, DreamHost is another affordable hosting provider that is known for their unlimited bandwidth and storage options.
Ultimately, when choosing a hosting provider for your WordPress blog, it's important to consider your specific needs and budget. While Bluehost is a great option for beginners and those on a tight budget, other hosting providers like SiteGround, WP Engine, and DreamHost might be better suited for bloggers who need more advanced features and support. Whatever hosting provider you choose, make sure to do your research and read reviews to ensure you're getting the best possible service for your blog.
2. Install WordPress on your hosting account
Once you have chosen your domain name and hosting provider, and completed your purchase, you will be redirected to the Bluehost dashboard. From here, you can install WordPress, which is the platform on which your blog will run. Here are the specific steps to download WordPress onto the Bluehost dashboard:
- Log in to your Bluehost account and navigate to your dashboard.
- Click on the "My Sites" tab, then click the "Create Site" button.
- Enter your site's name and tagline, and choose whether you want to use the www prefix or not.
- Select your domain name from the drop-down menu and click "Next."
- Choose your desired WordPress version and click "Next."
- Enter your site's title, admin username, and password, and click "Next."
- Bluehost will now install WordPress for you automatically. This process should take only a few minutes.
You can also install WordPress manually by downloading the software from the WordPress website and following the installation instructions. Once the installation is complete, you will be taken to your WordPress dashboard and log in to your WordPress dashboard by visiting your domain name followed by "/wp-admin." For example, if your domain name is "myblog.com," you can log in by going to "myblog.com/wp-admin.". Here, you can customize your site's design and settings, create new posts and pages, and manage your content.
3. Choose a WordPress theme that fits your blog's style and goals
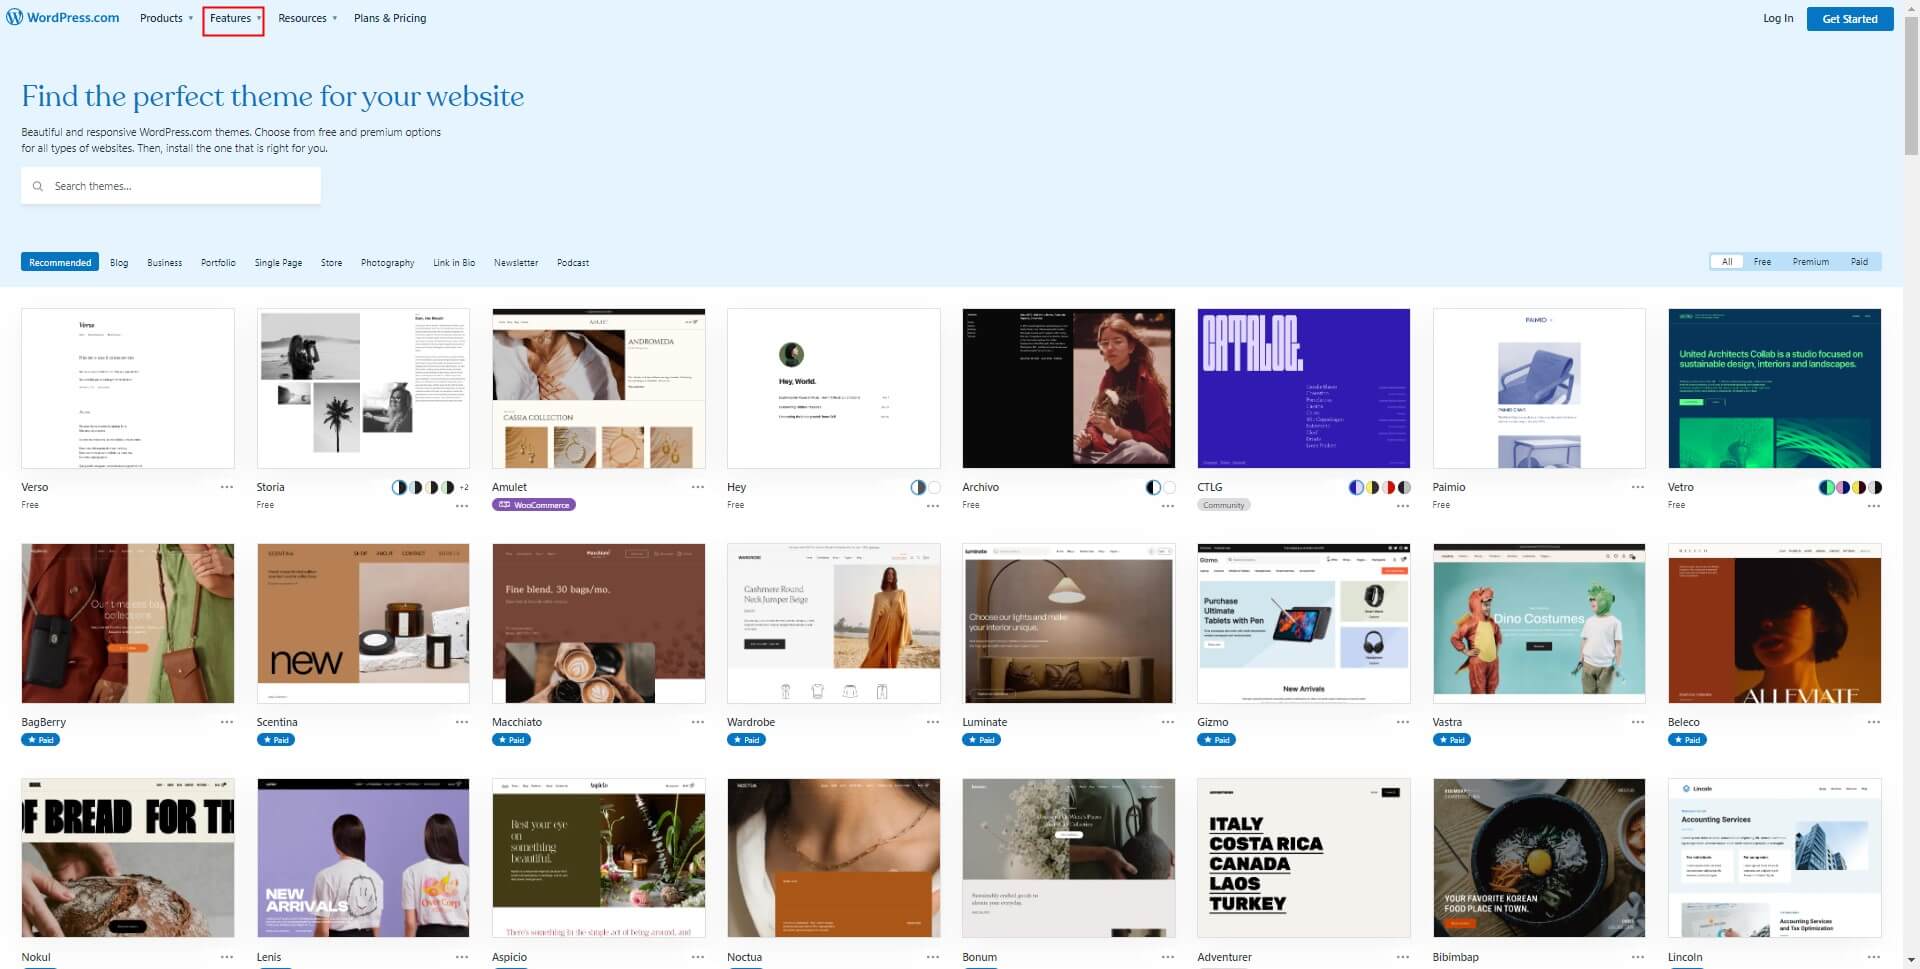
Your WordPress theme is the design template that will give your blog its look and feel. There are thousands of free and premium WordPress themes available, so take the time to choose one that fits your blog's style and goals. One way to do this is to navigate to the "Features" tab in your WordPress dashboard, then click on "WordPress Themes." From there, you can search for various themes by name. Once you've found it, simply click "Install" and then "Activate" to set it up on your site.
Another option is to manually install the theme through other tools. One of the most popular tools is the ThemeForest marketplace, which offers a wide range of premium themes for various niches and purposes. You can filter themes by category, features, ratings, and price to find the perfect match for your blog.
Besides, if you want to create a custom theme for your blog, you can use a drag-and-drop page builder like Elementor or Beaver Builder. These tools allow you to design your blog visually without writing any code, and they offer a wide range of templates, widgets, and modules to help you create a unique and professional-looking blog.
By choosing a great theme and customizing it with the right tools, you'll be well on your way to creating a beautiful and functional WordPress blog.
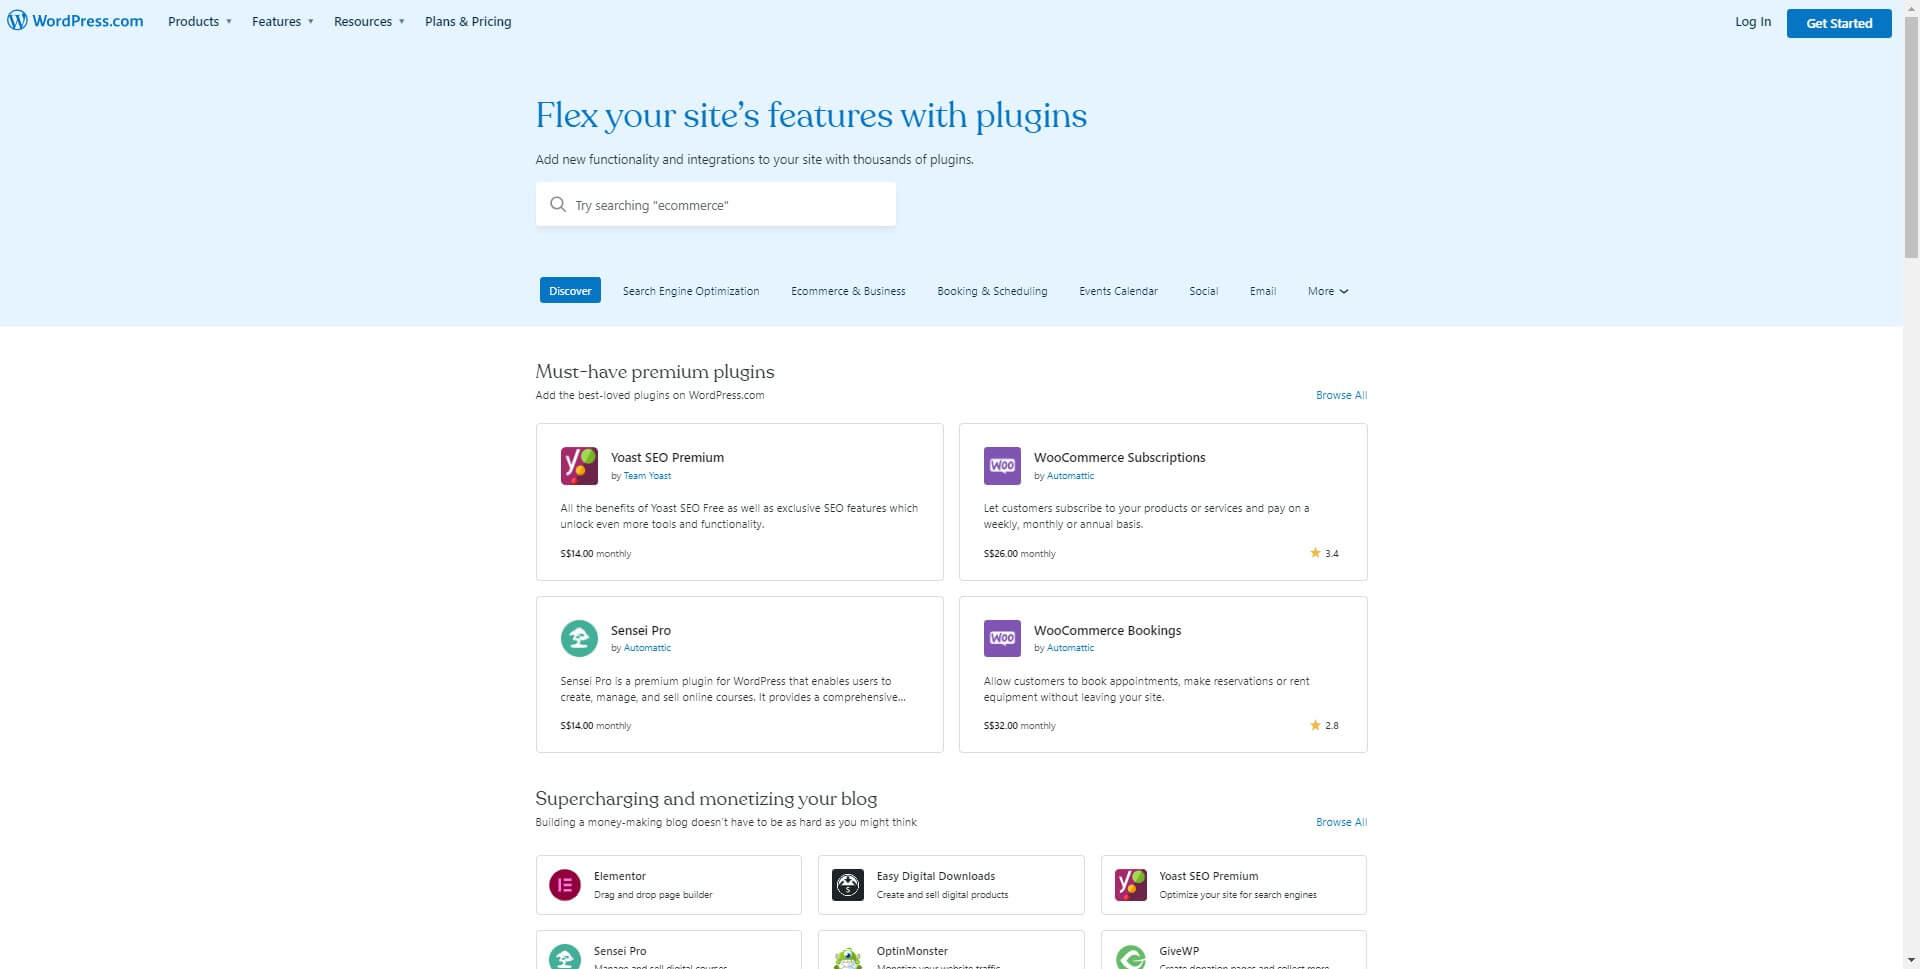
4. Install essential WordPress plugins to add functionality to your blog
Plugins are like apps for your WordPress blog, adding functionality and features that aren't included in the core WordPress software. Some essential plugins you may want to install include a backup plugin to protect your content, a caching plugin to speed up your site, and a social media plugin to make it easy for readers to share your content:
- Install a backup plugin: A backup plugin is crucial because it protects your content from loss or damage. In case of a technical issue or a cyber attack, a backup plugin can help you restore your blog's content and prevent you from losing all your hard work. Some popular backup plugins include UpdraftPlus, Jetpack Backup, and BackupBuddy.
- Install a caching plugin: A caching plugin can speed up your site by storing a static version of your site's pages and posts. This makes it easier for your site to load quickly, which can help improve user experience and search engine rankings. Some popular caching plugins include WP Super Cache, W3 Total Cache, and WP Rocket.
- Install a social media plugin: A social media plugin can help you increase your blog's visibility and make it easy for readers to share your content on social media. This can help you grow your blog's audience and improve your engagement with readers. Some popular social media plugins include Social Warfare, Monarch, and Jetpack Sharing.
5. Create essential pages like About, Contact, and Privacy Policy
Once you have installed your theme and plugins, it's time to create some essential pages for your blog.
- About Page: The About page is where you can tell your readers about yourself and your blog. To create an About page in WordPress, go to your dashboard and select Pages > Add New. Then, add a title such as "About Me" or "About [Your Blog Name]" and start writing your content. Be sure to include information about who you are, why you started your blog, and what topics you'll cover. You can also add photos, videos, or links to other relevant pages on your site.
- Contact Page: The Contact page makes it easy for readers to get in touch with you. To create a Contact page in WordPress, go to your dashboard and select Pages > Add New. Then, add a title such as "Contact Me" or "Get in Touch" and use a contact form plugin to add a form to your page. You can also include your email address or social media links if you prefer. Be sure to test the form to make sure it's working properly.
- Privacy Policy Page: The Privacy Policy page is required by law in many countries and outlines how you collect and use your visitors' data. To create a Privacy Policy page in WordPress, you can use a plugin such as WP Legal Pages or Auto Terms of Service and Privacy Policy. These plugins provide pre-written templates that you can customize to fit your site's specific needs. Once you've created your Privacy Policy page, be sure to add a link to it in your site's footer or navigation menu so that it's easily accessible to visitors.
6. Start creating content and promoting your blog on social media
With your WordPress blog up and running, it's time to start creating content and promoting it on social media. To create engaging content, start by identifying your target audience and their interests. This will help you develop topics that are relevant and interesting to your readers.
When creating content, make sure to focus on quality over quantity. Avoid stuffing your posts with irrelevant information or fluff. Instead, provide valuable insights and information that your readers can't find elsewhere. This will help build your credibility and authority within your niche.
Once you have your content ready, it's time to promote it on social media. Use platforms like Twitter, Facebook, and Instagram to reach a wider audience and build your following. Be sure to tailor your posts to each platform, using hashtags and eye-catching visuals to make your content stand out.
Additionally, engage with your followers by responding to comments and questions, and encourage them to share your content with their networks. This will help you build a loyal following and increase your website's visibility.
Conclusion:
Starting a WordPress blog may seem daunting at first, but with the right guidance, anyone can do it. In this article, we've outlined the essential steps to help you start a WordPress blog from scratch. With a bit of patience and perseverance, you can create a successful blog that reaches a wide audience and helps you achieve your goals.