Mirror & Control Your Phone Screen on PC/Mac
Cast iOS/Android on Windows/Mac
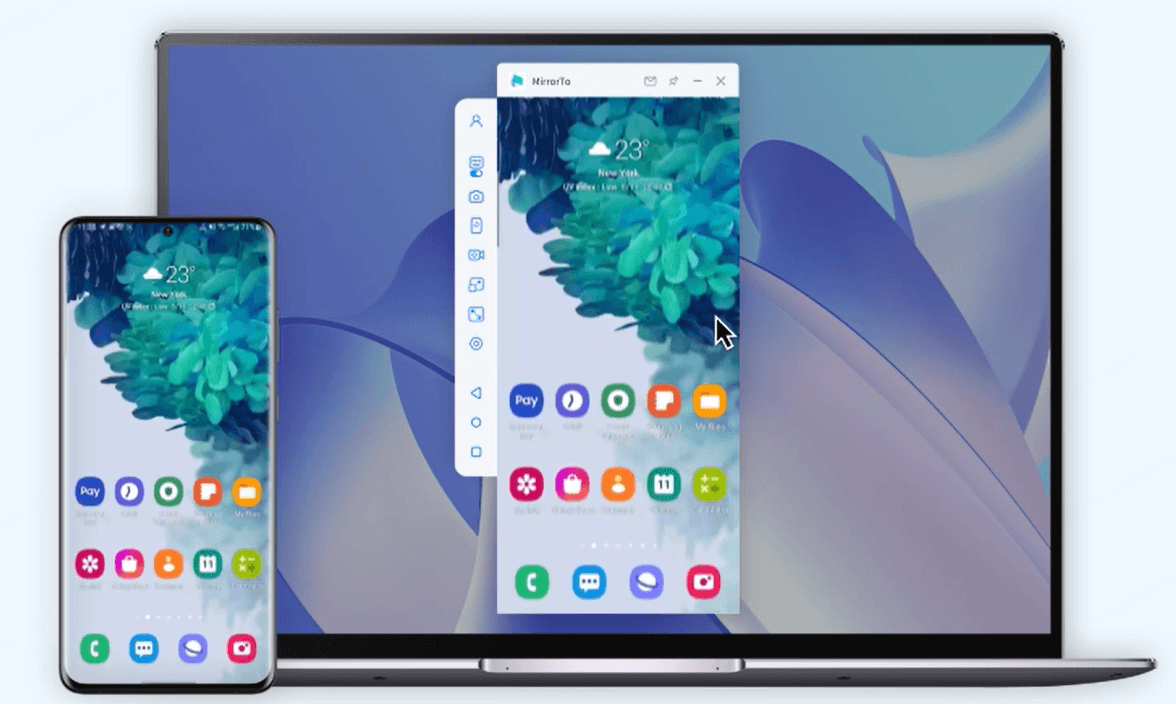
Display your iPhone, iPad, or Android screen on a larger display, such as a computer monitor or projector for relaxation or work.
- HD Screen: Enjoy a bigger and more immersive visual experience with 1080P and 60 FPS on your computer.
- Lag-free Mirroring: Experience smooth, lag-free screen sharing with MirrorTo's reliable performance that keeps your content in sync.
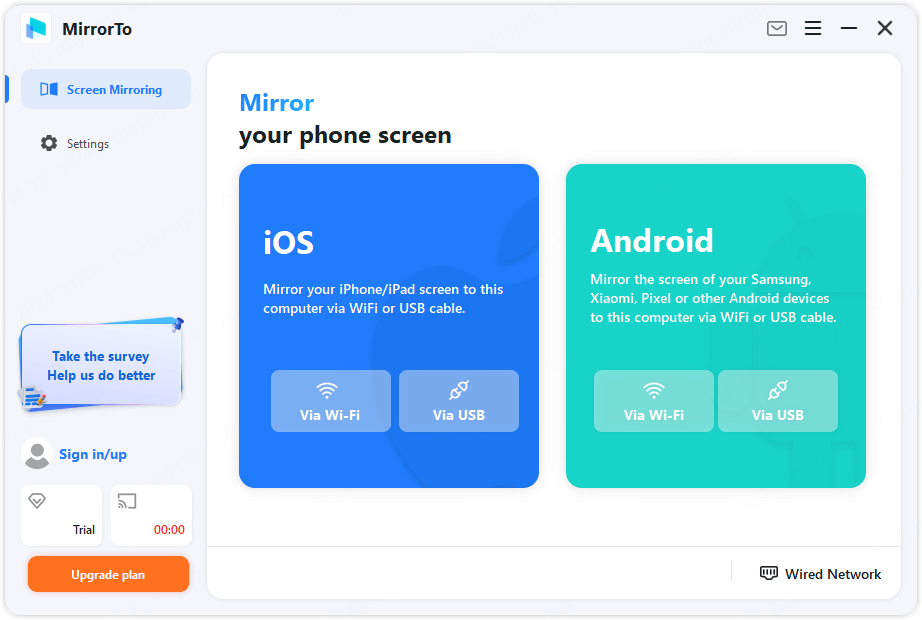
- USB or WiFi Connection: MirrorTo supports both USB and WiFi connection to stream your phone screen with audio.

Control iPhone/Android on Your PC Directly
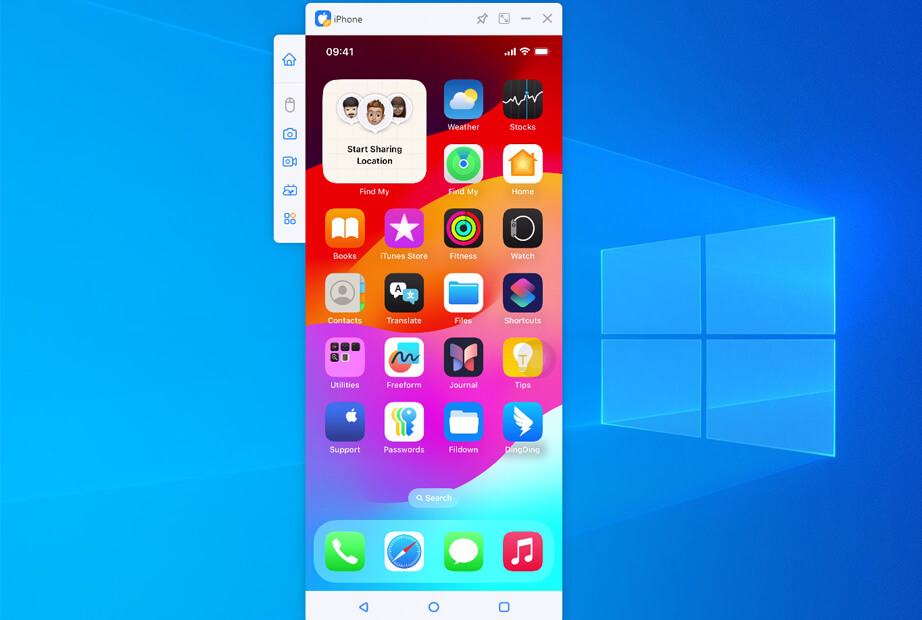
You can control your computer's keyboard and mouse to use your phone easily and efficiently.
- Keyboard Input: Type and send messages to your families and friends, search information in browser, reply to people on social apps, and more.
- Mouse Control: Run all apps on your phone use your mouse to enjoy your phone on a bigger screen.
- Mirror with Audio: Cast phone videos on the computer with audio sync, listen to voice message, music, and watch moives.

Play Mobile Games on PC Without Emulators
Screen cast Android and iPhone games on PC to enjoy it with the mouse and keyboard on the computer.
- Customizable Keyboard: Customize your keyboard controls for seamless gaming experience, including key mappings and shortcuts tailored to your preferences.
- Smooth Performance: Experience lag-free gaming with responsive interactions.
- Full Screen: Maximize visual immersion with full-screen utilization, supporting 1080P and 60 frame rates.
- Game Recording: Capture your gameplay with built-in screen recording features to share your best moments.

Live Stream Phone Screen with Ease
Share iPhone, iPad, Android screen on all live streaming platforms and online conferencing software in real time easily.
- Stable Connection: Use USB connection to decrease the load on your phone for reliable streaming.
- Whiteboard: Enable annotation on mirrored screen to highlight key points.
- Phone as Camera: Use your phone as a virtual camera. Convenience, portability, and cost-effectiveness.

Screen Share iOS & Android on PC in Various Situations
What Makes MirrorTo the Best Screen Mirroring App
With advanced technology, iMyFone MirrorTo can help you mirrro iOS and Android on Windows PC or Mac with ease.

Stable Connection

Fluent Mirroring

High Definition

Easy Operation
Screen Mirroring to PC/Mac in 3 Simple Steps
Voices from Worldwide Users
-
iOS Versions iOS 7 and above, including the latest iOS 26.
-
iOS Devices All models of iPhone, including the newest iPhone 16 series.
All models of iPad Air, iPad mini, iPad Pro and iPad. -
Android Versions Android 6.0 and above, including the latest Android 14.
-
Android Devices All models of Samsung, Google Pixel, Huawei, LG, Sony, Oppo,Vivo, Xiaomi, OnePlus, Motorola, etc.
-
CPU Win: 1GHz (32 bit or 64 bit) or above Mac: 1GHz Intel or above
-
Hard Disk Space 200 MB or more free space
-
RAM Win: 256 MB or more of RAM (1024MB Recommended) Mac: 512 MB or more
-
Computer OS Windows:Win 11/10/8.1/8/7 Mac:macOS 10.15 - 15
FAQs and Hot Topics
FAQs:
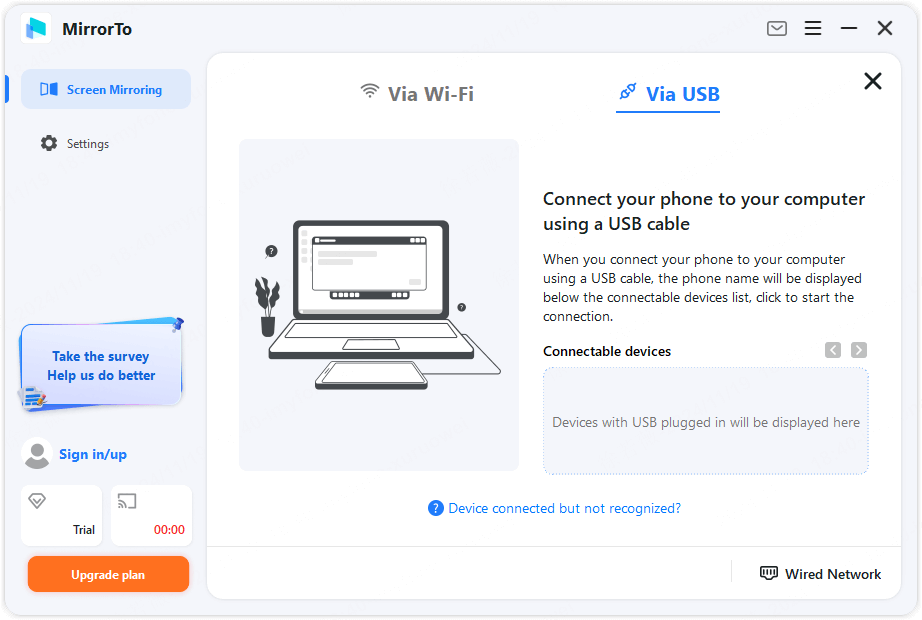
Step 1. First use your cable to connect the computer and the mobile phone, try multiple USB ports on the desktop.
Step 2. Change the USB transport from charging only to file transport, and Huawei’s should be changed to (MTP).
Step 3. After finishing the above, check whether the computer can recognize your mobile phone. If it can, you can start the next step. If can't, you need to change the data cable or USB ports.
Step 1. Replace the USB cable or the USB ports of the computer.
Step 2. Check the connection mode of the phone. If it is USB charging mode, please switch to file transfer mode or MTP or PTP mode.
Step 3. Then follow the app guide to turn on USB debugging and continue.
Note: If this still doesn’t work, you may need to install the correct driver for your Android phone.
Your phone may prompt you to grant permission to use this computer. If this is the case, please click "OK/Allow".
If you have turned on USB debugging and connected the computer with a USB data cable, but the computer still does not respond, this may be because our software conflicts with other mobile assistants, and you need to manually exit other mobile assistants.
Make sure that USB debugging is enabled on your Android device. You can find step-by-step instructions for enabling USB debugging here.
Step 1. If you are using LG and Sony devices, please select "Send Image (PTP) mode" to connect to your phone.
Step 2. Then use the USB data cable to connect the Android device to the computer.
Different mobile phones have slightly different opening methods, but they are basically the same. You can refer to the following steps to try:
Step 1. Click the "Settings" icon.
Step 2. Click About Phone > Software information > Build number.
Step 3. Click the "Build number" 7 times to enable the Developer options.
Step 4. Return to the settings and enter "Developer Options".
Step 5. Scroll down and enable "USB Debugging".
*For system version 6.0 or above, please turn on "ADB debugging is allowed in charging mode only" first.
*If there are "USB Installation" and "USB Debugging (Security Settings)" under "USB Debugging", please enable these two items.
Your phone may prompt you to allow permission to use this computer. If this is the case, please click "OK/Allow".
There are two reasons for this problem:
1. The phone is not turned on to allow installation and operation of unknown sources;
2. Part of the mobile phone installation process requires manual intervention in the installation process. If you do not click install on the phone, the installation cannot be completed (Some Android phones have set permissions and restrictions on the operating system).
Solution:
1. First, you need to enable the installation of unknown sources on your phone.
2. Plug and unplug the phone again, watch the installation prompt that pops up on the phone, and manually install according to the prompt.
Hot Topics :
- How to Run iOS Apps
on PC?
- How to Run Android on Mac?
- How to share iPhone Screen on Any Device?
- How to Control iPhone from PC?
- How to Mirror Android to Mac?
- How to Mirror Your iPhone to PC?
- How to Control iPhone from Mac?
- How do Mirror & Control iPhone Broken Screen?
- How to Mirror Android Broken Screen on PC?
- 14 Best Free Lightweight Android Emulators for PC/Mac
- Mirror Android to Mac Seamlessly
- How to AirPlay to Windows or From Windows?
- How to Control Android from PC?
- How to Mirror Phone to Chromebook?


