It is very much possible that you have come up against an error message on your iPhone telling you that "This accessory may not be supported". It is often a common issue among iPhone, iPad and iPod users and it is not limited to a particular device. It happens a lot to iPhone 5/5s/6/6s/7/8 and iPhone X users.
It could range from your charger being rejected or your headphones not being compatible with your apple device. The message will always pop up on your display each time the accessory is inserted. It could be because you are using the wrong cables or a software update issue.
Reasons for "This Accessory May not Be Supported" Issue
Some iPhone/iPad users are likely to encounter the error message "this accessory may not be supported" while trying to charge their phones or use headphones on them. The reasons for the error message may include any of the following:
a. Damaged charging port or the charging port is blocked by dirt.
b. Charging accessory may be damaged, defective or non-certified.
c. Lightening cable has some corrosion sign.
Another major reason for the error message could be the usage of non-MFI (Made For iPhone) accessories on iPhone devices. With the recent iOS update, many iPhone users who are still making use of non-MFI chargers are now accosted with the error message "this accessory may not be supported" and those who use lightning headphones on iPhone 7 or later. This came with the release of iOS 10.3.1 update which checks any accessory plugged into the iPhone against their list of certified accessories database but it is worthy to note that there problem disappears when you put your iPhone into airplane mode and restart.
All problems like that have their solutions and that is what you are going to learn in this article.
How to Troubleshoot “This Accessory May not Be Supported”?
Method 1: Change Your Cables
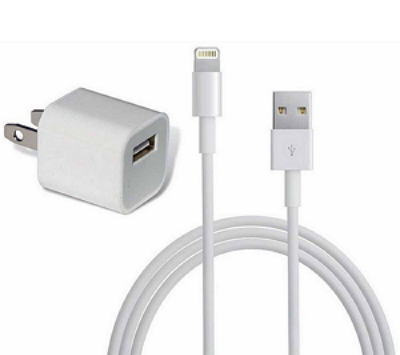
The role of lightning cables in the charging process of iPhones can never be over emphasized. A little tear or wear sign is liable to disrupt the charging process and when the cable had been used for over a long period of time, it is important that the cable is changed. For that purpose, it is much recommended that you use an authenticated apple lightning cable only.
Method 2: Use a Different Power Supply
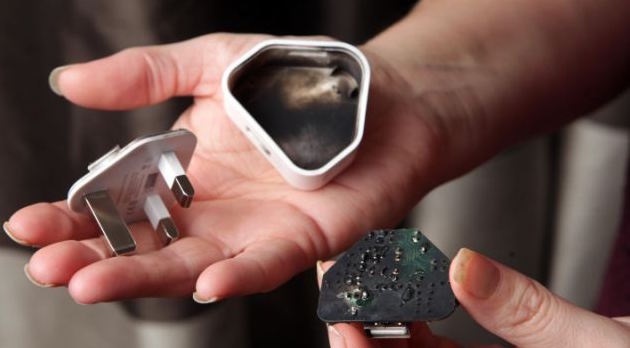
Next on the list is to check your power supply source. Start with checking your power adapter for any physical damage or issues that may disrupt its power supply to the device. Get some other power adapter and try using it to charge your phone. If you discover the problem to be from your own power adapter, it is recommended that you get a new power adapter or try charging from a different power source like a laptop or power bank.
Method 3: Clean the Charging Port
The next step is to check your charging port for foreign particles and clean them out. Over time, open spaces in phones become occupied by dust and dirt which will in many events disturb activities. Now how do you clean a charging port?
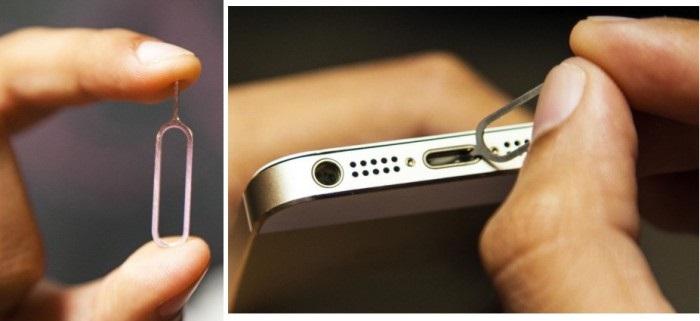
Any of these clips can be used to rid the charging port of dust particles: Paper clip, SIM card tool, a bobby pin or a small needle. First switch the phone off to avoid any risk of damage. Now take a paper clip and insert it into the data port gently. Scrape the sides and the bottom area and after that, blow air at the port to get rid of the extra dust accumulated there.
Whenever the gold pin of the charger comes in contact with moisture, it gets corroded. So to get rid of the corrosion, follow the steps below. Get a toothbrush and scrape off the greenish corrosion on the port. Then clean and wipe off with a small amount of petrol or alcohol. Wipe with clean, dry cloth after that.
Method 4: Turn on Airplane Mode
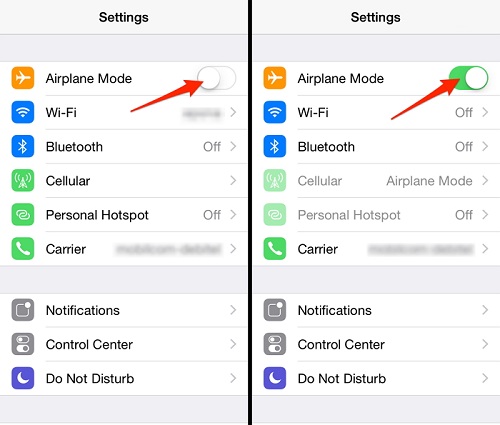
When the problem persists, turn on airplane mode on your device and switch it off. Then restart after about two minutes. This will bypass the accessory check on iPhone 7 and upwards and also iOS 10.3.1 or later.
Method 5: Update the iOS
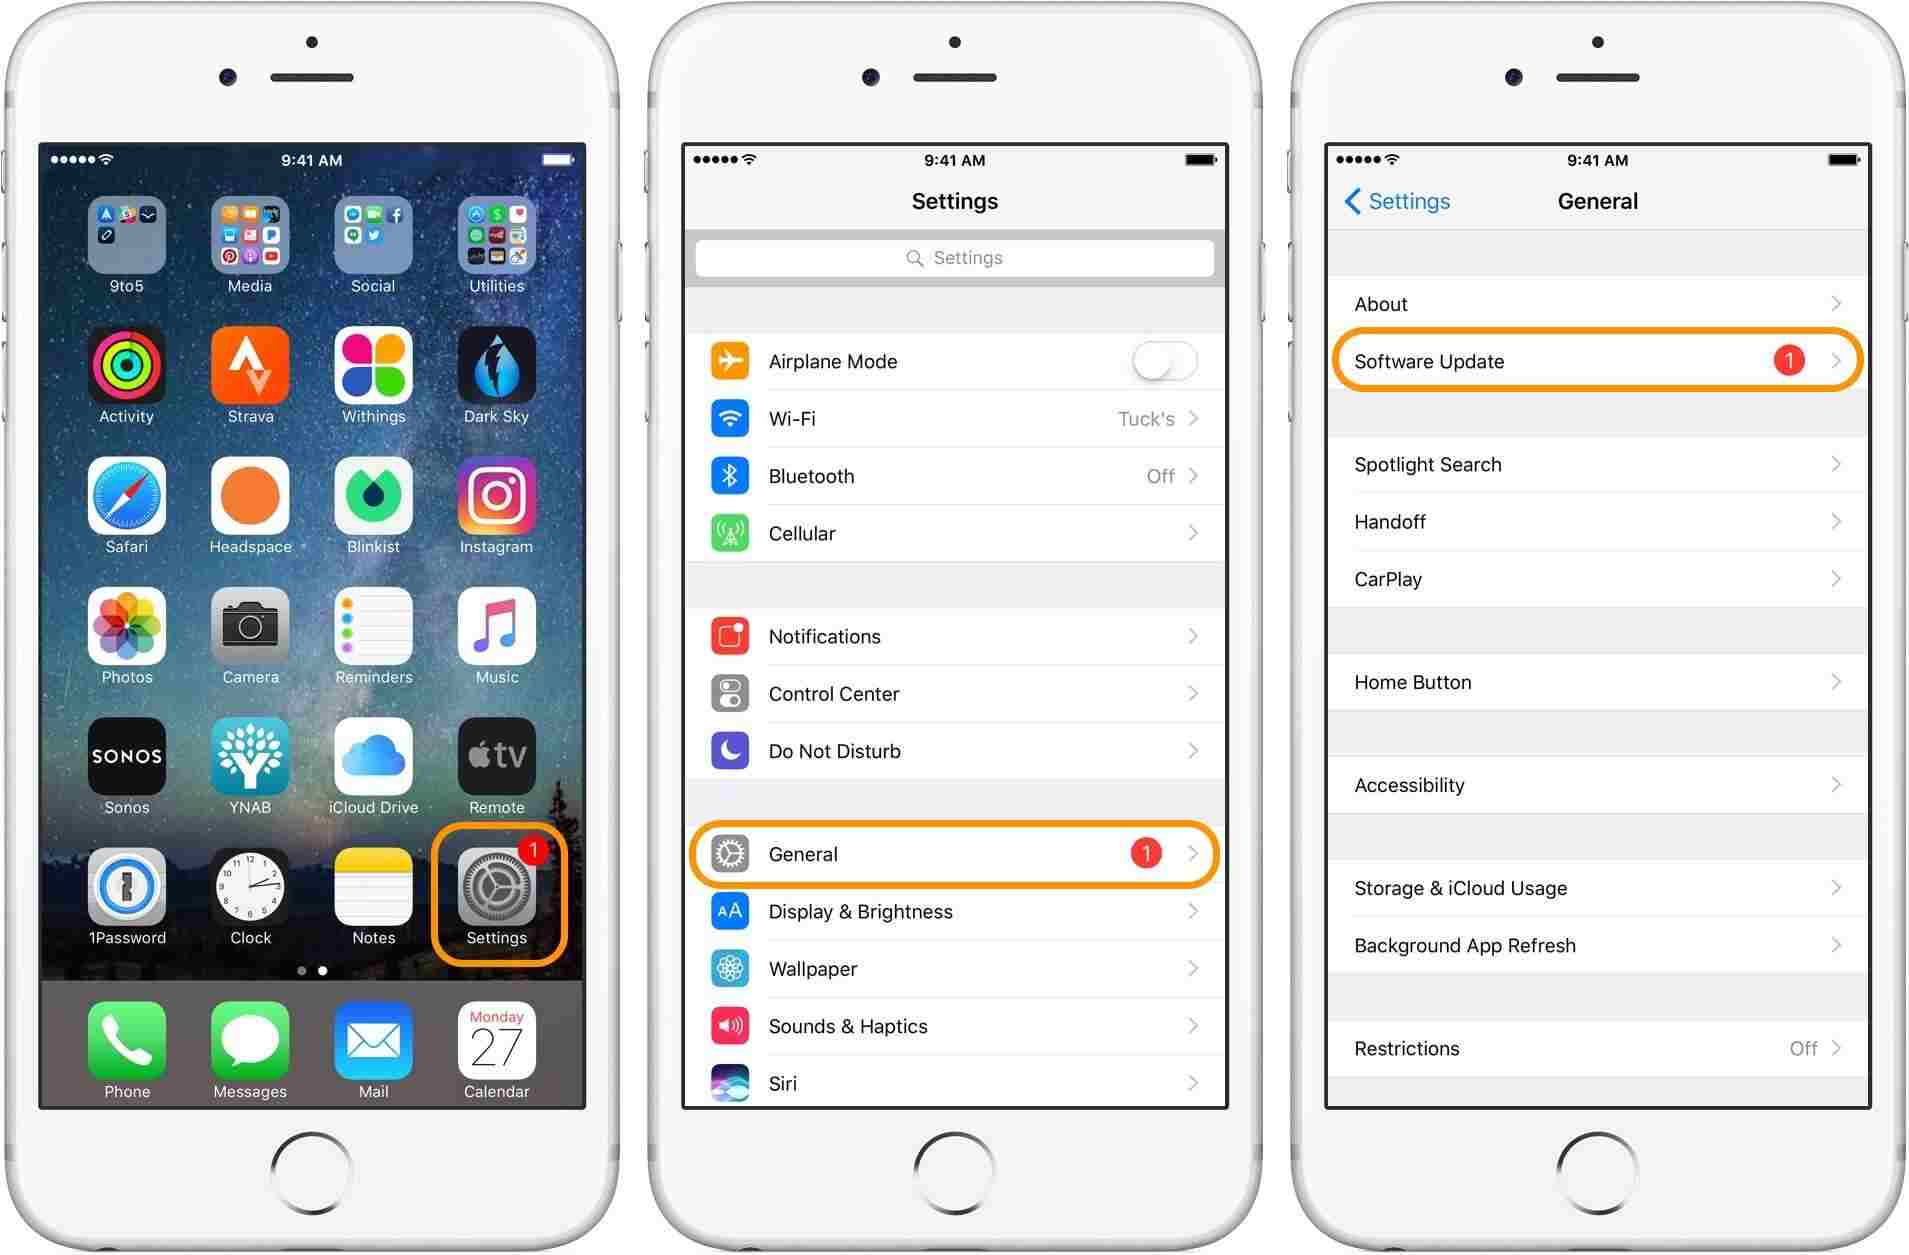
If the problem persists after trying the above method, then it is time to check your software for any pending updates. If there is, then opt in for the update immediately. If there is any bug error, the update will rectify it and it will also add extra features to your phone. Here is how to update your iOS:
Step 1. To update your device wirelessly, first connect your device to a WI-FI connection.
Step 2. Go to settings and click on general options. Then click on Software Update and click on download and install.
Step 3. Select install. Once you are done with the process, your device will ask for a passcode if there is any. Enter it and confirm.
Method 6: Easiest Fix for "This Accessory May not Be Supported"
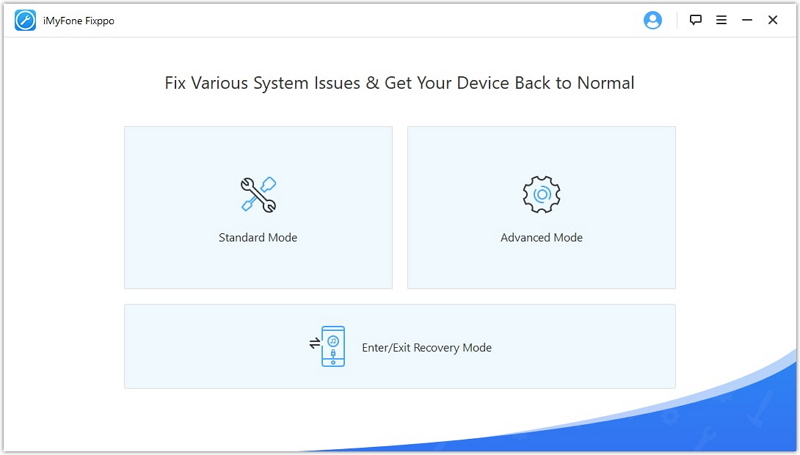
To make your fix easier and stress-free, it is recommended that you make use of iMyFone Fixppo. This software enables you to fix your iPhone, iPad and iPod without erasing your data with three different fix modes that suits your different needs.
Summary
In summary, this is not an issue to fret over. Follow the instructions above and sure enough, you will have your device working with all those accessories in no time. Whenever you are on your way to purchasing a new charger or any other accessory for your iPhone device, It is very much recommended that you go for the ones recommended by apple as ideal for your device to reduce the risk of encountering such problems.


 February 8, 2023