


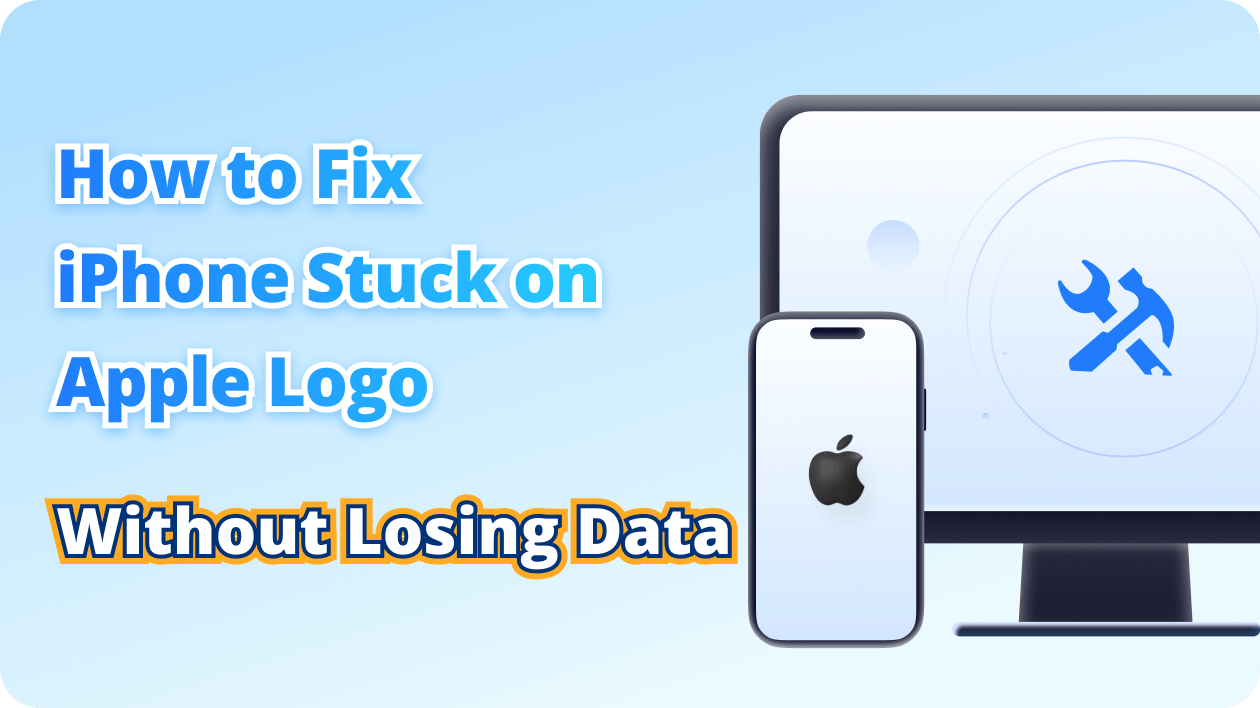
Fixppo - Best Free iOS System Repair & Recovery Software
- Downgrade iOS 27 Beta to 26 or upgrade to iOS 27 Beta, no jailbreak.

- Repair 150+ iOS/iPadOS/tvOS system issues like stuck on Apple logo, boot loop, black screen without losing data.
- Repair 150+ iOS/iPadOS/tvOS system issues like stuck on Apple logo, boot loop without losing data.
- Free enter/exit Recovery Mode on iPhone and iPad with one-click.

- Factory reset iPhone/iPad/Apple TV without passcode/iTunes/Finder.
- Back up and restore iPhone data without iTunes/iCloud.

- Fix various iOS bugs at home for you to smoothly use your device.
- Support all iOS versions and devices including iOS 27 Beta/26 and iPhone 17.
- Fixppo only performs system repair with the user’s permission.
Tell Us What You Think
 Top 1 iOS system repair software with 17,986,829 satisfied customers worldwide.
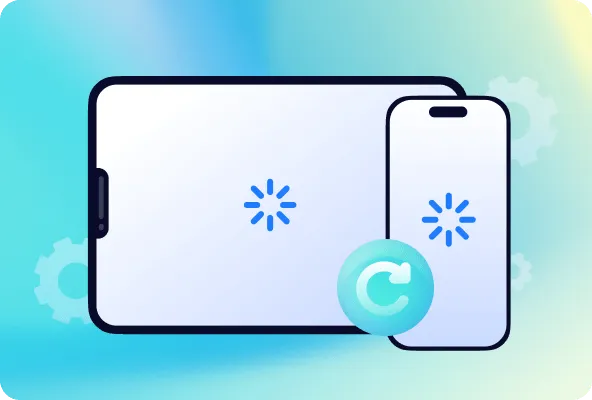
Fix 150+ iOS/iPadOS/tvOS System Issues at Home
iMyFone Fixppo – Repair System is a powerful iOS system recovery tool that can solve 150+ iOS/iPadOS/tvOS issues without losing data. With just a few clicks, you can bring your device back to normal and enjoy a smoother experience.
-
Stuck in Recovery Mode

-
iPhone Flashing Apple Logo

-
iPhone Keeps Restarting

-
iPhone Black Screen

-
iPhone Died While Charging

-
iPhone Frozen Screen

-
iPhone Won't Turn On

-
iPhone Update Failed

-
iPhone is Disabled

-
iPad Won't Turn Off

-
Stuck in Recovery Mode
-
iPhone Flashing Apple Logo
-
iPhone Boot Loop
-
iPhone Black Screen
-
iPhone Died While Charging
-
iPhone Frozen Screen
-
iPhone Won't Turn On
-
iPhone Update Failed
-
iPhone is Disabled
-
iPad Won't Turn Off
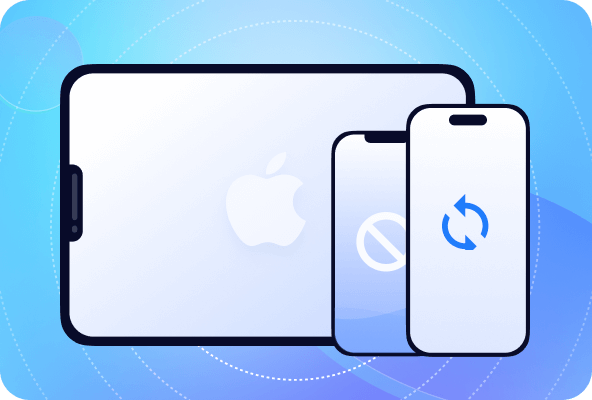
Enter/Exit Recovery Mode on iPhone/iPad Totally Free
iMyFone Fixppo provides a free feature for you to enter/exit recovery mode on iPhone/iPad with 1 click.

Enter Recovery Mode with 1-Click
iPhone/iPad won't go into recovery mode? Looking for a simple way to put iPhone/iPad into recovery mode? iMyFone Fixppo free iOS system repair software can enter recovery mode without buttons, totally free!

Exit Recovery Mode with 1-Click
iPhone/iPad stuck in recovery mode? How to get iPhone/iPad out of recovery mode? If you wonder, this Fixppo iOS system recovery tool can help to exit recovery mode on iPhone/iPad with 1 easy click, totally free!
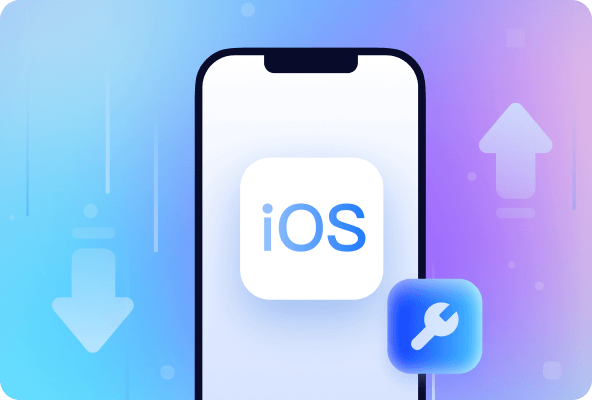
Downgrade or Upgrade iOS/iPadOS 27 Beta No Jailbreak
1-click to downgrade from iOS 27 Beta to iOS 26 or upgrade to iOS 27 Beta, both without iTunes/Finder.

Fixppo provides the easiest way to downgrade from iOS 27 Beta to 26 without losing data, 1-click go back to the previous stable version.
- Support data backup and restore, downgrade iOS 27 Beta without losing data.
- Downgrade iOS 27 Beta without using iTunes/Finder.
- Revert to any signed version you need.
Fixppo can upgrade to iOS/iPadOS 27 Beta even if you don't have a developer account or iTunes, no data loss.
- Update iOS 27 Beta without Wi-Fi.
- Install IPSW files on iPhone without iTunes/Finder.
- Save yourself the hassle of manually upgrading iOS 27 Beta.

Factory Reset iPhone/iPad Without Passcode
iMyFone Fixppo offers to factory reset iPhone/iPad/iPod touch without hassle. Even when you forget the password, Fixppo can help you regain full access to your device and use it as new.

-

Completely erases personal information, protecting your privacy before selling or giving away.
-

Solve many software-related issues, such as random crashes, freezing, and boot loop, thus improving performance.
-

Regain full access to your iPhone and set up a new password.
-

Unlock the iPhone and returns it to its original state, making it feel like a new device.

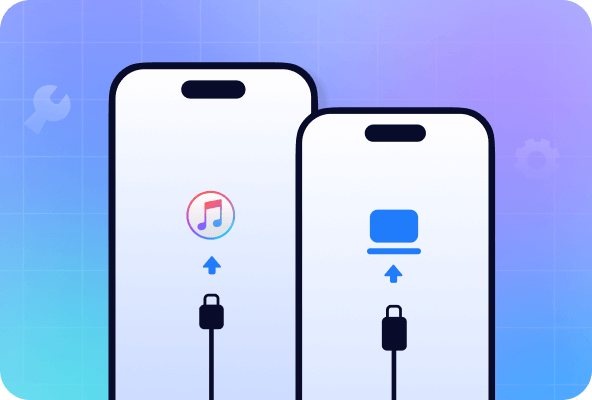
Back Up & Restore Data
Fixppo's backup feature enables you to save all your data before the iOS 27 Beta upgrade or downgrade. After the upgrade or downgrade is complete, you can restore your data to the original or a new device. This gives you the freedom to perform iOS 27 Beta upgrade and downgrade without losing data.
Solve iTunes Errors Effortlessly
Solve iTunes Error
Fixppo iOS system repair software makes it a breeze to fix 200+ iTunes error. Whether for iTunes won't recognize iPhone, iTunes not restore device, error 3014, 1667 or others, Fixppo ensures to fix the iTunes without complicated steps.

3 Steps to Repair Any iOS/iPadOS/tvOS System Problems
3 Steps to Repair Any iOS/iPadOS/tvOS Problems
iMyFone Fixppo iOS system repair tool helps to fix iPhone/iPad/Apple TV problems in 3 easy steps, repairing the device without data loss.
iMyFone Fixppo iOS system repair tool enables you to fix iPhone/iPad/Apple TV problems in 3 easy steps, and the standard mode here ensures to repair the device without data loss.


Run Fixppo on your Win/Mac. Connect your iPhone to computer. Click Start Repair button.
Click the Download button to download and install the iOS firmware.
Successfully fixed iPhone problems and restart your device automatically.
Benefits of iOS System Repair Software
Are you looking for an iOS System Repair Tool? If so, Fixppo with powerful features and a commitment to high success rate might just be the software you've been searching for.
-
 No Data Loss
Standard Mode fixes 150+ iOS/iPadOS/tvOS problems without any data loss.
-
 No Jailbreak
Whichever the feature you choose, this iOS system recovery software won't risk jailbreaking your device.
-
 High Success Rate
The powerful techonology utilized ensures high success rate of up to 99.99%.
-
 100% Secure
Praised by 200+ media and millions of users for its 100% data privacy and security.
-
 Easy to Use
Even without any technical skills, you can fix your iOS/iPadOS/tvOS problems with its easy--to-use interface.
-
 Time & Money Saver
Fixppo can save you a lot of time and money when you can fix your device right at home, instead of going to a repair store.
Why iMyFone Fixppo Outperforms?
- Features
- No Data Loss
- No Jailbreak
- Wide Compatibility
- Fixable Problems
- Success Rate
- Enter/Exit Recovery Mode for Free
- Reset iDevices Without Limitations
- Downgrade/Upgrade OS Freely
- Back Up and Restore Data
- 100% Secure
- iTunes Repair
- 40+
- iMyFone Fixppo
- 150+
As a full toolkit, Fixppo has much more to explore and expect. Download to unveil.
As a full toolkit, Fixppo has much more to explore. Download to unveil.
- Other Repair Tool
- 100+
iMyFone Fixppo Trusted By
One of the best and most powerful iOS system repair software on the market.

Brooklyn
I tried to upgrade my iPhone but it stuck on Apple logo suddenly. I couldn't access my device or any of its features. And I found this Fixppo. This software finally got my iPhone exit the Apple logo screen without data loss. I love how it helps.

Rose Tesh
I was going to use its free feature to get my iPhone into recovery mode and then use itunes to restore my phone. But then I realized that Fixppo can also restore my phone, even without losing data. Eventually my iPhone was restored and rebooted successfully, thanks.

Daniel
My ipad hasn't been turned on for years, but there are still a lot of important things on it. I've tried some methods but I couldn't get it to charge or turn it on. Then I tried Fixppo, and it helped me successfully reboot my iPad. Now I can charge my iPad normally and it works fine.

Catherine
I've never had any problems with my iPhone 12 before. Two days ago it got stuck on black screen and wouldn't turn on. I suspect it's caused by the low system version. Then my friend recommended this software to me, which not only successfully fixed the problem but also upgraded the system, and now everything is fine with my iPhone.
I've never had any problems with my iPhone 12 before. Two days ago it got stuck on black screen and wouldn't turn on. I suspect it's caused by the low system version. I found this tool, which not only successfully fixed the problem but also upgraded the system, and now everything is fine with my iPhone.

Noah
I want to take my device to Apple for a trade-in, so I need to completely erase my data. This software is pretty fast! In less than five minutes, all of my phone's data was cleared and the entire phone was restored to its factory reset state!
Try iMyFone Fixppo Now
#1 Free iOS System Repair Software & iOS 27 Beta Downgrade/Upgrade Tool.
-

100% Secure
Purchase Protected
-

30 Days
Money Back Guarantee
-

99.99%
Up to 99.99% Success Rate
-

Free
Professional Technical Support
-

17,986,829
Satisfied Customers
-

18,019,563
Downloads Worldwide
iMyFone Fixppo Tech Specs
Supported Devices - All Models Included
iPhone: iPhone 17/16/15/14/13/12/11/XR/XS/X/8/7/SE/6/5
iPad: iPad/iPad Mini/iPad Air/iPad Pro
iPod Touch: iPod Touch/iPod Shuffle/iPod Nano/iPod Mini/iPod Classic
Apple TV: Apple TV 4K/HD/3/2/1
Supported Computer OS
Windows: Win 11/10/8/7 (64 & 32 bits)
Mac: macOS 15, macOS 14 (macOS Sonoma), 13 (macOS Ventura), 12 (macOS Monterey), 11.5 (macOS Big Sur), 10.15 (macOS Catalina), 10.14 (macOS Mojave), Mac OS X 10.13 (High Sierra), 10.12 (macOS Sierra), 10.11 (El Capitan)
Supported OS - All Versions Included
iOS
iOS 27 Beta/26/18/17/16/15/14/13/12/11/10/9 and older
iPadOS
iPadOS 26/18/17/16/15/14/13/12/11/10/9 and older
Others
CPU
Win: 1GHz (64 or 32 bit) or above
Mac: 1GHz Intel or
above
RAM
Win: 256 MB or more of RAM (1024MB Recommended)
Mac:
512 MB or more
Hard Disk Space
200 MB or more available space to run
FAQs about Fixppo
1. Is iMyFone Fixppo free to use?
iMyFone Fixppo offers to enter/exit recovery mode with 1 click for free. Any users can use it to go into or get out of recovery mode, which is a must step to fix many system-related problems.
2. What kind of issues can be fixed using iMyFone Fixppo?
As an iOS system repair & recovery tool, Fixppo mainly repairs 150+ iOS/iPadOS/tvOS system-related issues like stuck on Apple logo, boot loop, black screen, won't turn on after update, battery won't hold charge, etc.
3. Can I fix system-related problems with Fixppo without losing data?
YES! For common iOS/iPadOS/tvOS problems, you can try the Standard Mode Repair, which promises to fix your device without causing any data loss. And this is the first choice for most users.
4. What's the difference between Fixppo Repair and iTunes Restore?
iTunes Restore is to restore the iPhone/iPad/iPod to factory settings. It also can be
used to repair system but comes with data loss risk and a low success rate.
Fixppo Repair, however, mainly focuses on fixing all system glitches and errors. There
is no data loss when using its Standard Repair to fix common system problems. And both
of its repair modes, the Standard Repair and Advanced Repair come with a higher success
rate. What makes Fixppo outperforms iTunes is its full compatibility with all
iPhone/iPad/iPod models, exceptional speed, reliability, and extensive features.
5. Is iMyFone Fixppo safe to download?
YES! Fixppo is 100% safe to download as this iOS system repair software is virus-free and ad-free. The first priority of Fixppo is to repair your device with no harm. It is totally safe and secure with no jailbreak or risk.
Featured Topics for iPhone Problems
-
iPhone & iPad Bugs
-
DFU & Recovery Mode Issues
-
iOS & iPadOS Downgrade/Upgrade
-
iPhone & iPad Reset Tips


