Have you also encountered the problem that the picture is corrupted and cannot open? Do you want to know what the reasons caused the broken picture? There you are! In this post, we list 10 common image problems and the solution to fix them. Now, let's move on to get detailed!
Part 1. Common Picture Problem You May Need to Know
- 1. Black Screen Image
- 2. Picture of White Screen
- 3. Erase cache and crash logs
- 4. Stop photo library service
- 5. Manage iMessage chats and MMS photos
- 6. Clear Safari cache and history
- 7. Erase cache and crash logs
- 8. Stop photo library service
- 9. Manage iMessage chats and MMS photos
- 10. Clear Safari cache and history
1 Black Screen Image
A black screen Image is when the LCD screen on your camera shows nothing except a black screen when starting up the camera. It's the most common problem with digital cameras is caused by corrupt installation files, viruses, and malware infections.
It also includes plug-ins and add-ons installed in your browser that interfere with the loading images, exposure, faster shutter speed, and expired film.

2 Picture of White Screen
A picture of a white screen is a situation where you take a picture, and it just shows a white screen. The most common cause of this problem is overexposing. To avoid this problem, you should always double-check your camera's settings before taking a photo.

3 Blurry Vision Pictures
Blurry vision pictures are another common problem, and there are many reasons cause this problem. First, it can happen when your camera isn't clean or something blocks the lens, so don't forget to check the camera lens for smudges or debris! Second, it happens when you can't keep your hands steady while capturing photos, try to use a tripod. Lastly, when capturing a picture, ensure you are at least 3 feet away from it to avoid blurriness
4 Too Much Variation in Contrast
Too much variation, in contrast, makes it difficult for viewers to see the image. It can happen when you're in poor lighting conditions.
For example, when you're taking pictures at an event and want everyone's face to be visible. If you're using flash, the flash intensity can vary widely depending on how far away people are from the camera and what direction they're facing. It means that some people will be over-exposed while others remain too dark—and this variation in light levels becomes visible when trying to process the image later on.
5 Camera Issues Resulting in Striped or Patterned Images
Another common picture problem that we see is striped or patterned images. It can be caused by two main issues: camera issues and lens issues.
If your camera is having trouble focusing on your subject, it can result in stripes or patterns. It means that your camera has trouble focusing on a specific part of the image.
If you have a lens issue, there your lens may have dirt or dust. It will cause blurry spots in some areas of your photo, which can also result in stripes or patterns.
6 The Colors in My Photos Look Wrong
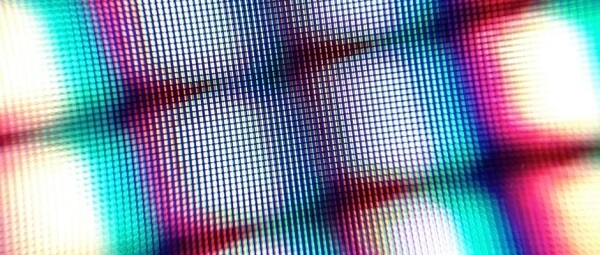
Many people complain that a photo's color doesn't look right when captured. The main reason causes this issue is your camera is not set up correctly. If it's on auto-white balance, try switching it to a custom setting and choosing one that matches your lighting conditions or adjusts your camera's exposure levels before taking the photo.
7 Everyone In My Photos Has Red Eyes
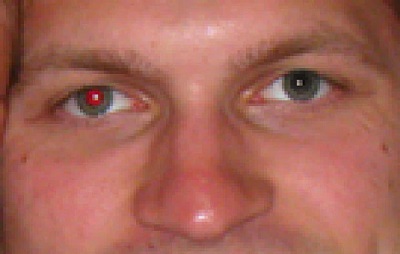
The red eye is one of the most common problems people encounter when taking photos. It is caused by a reflection of light from the retina, flash, or artificial light. Turn off your camera's automatic settings and set it to manual mode so you can control how much light is going into your lens.
8 Photos Are Either Too Dark or Too Bright
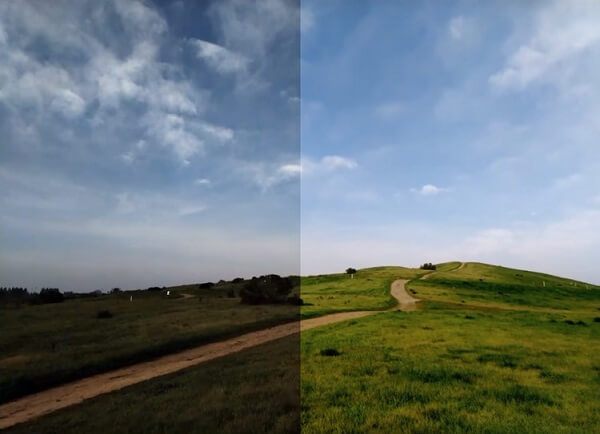
If your photos are either too dark or too bright, the problem is usually related to the lighting in your photo. If they're too bright, it's because you've overexposed the image or the lighting was too much for the camera to handle. It happens when you're outside in direct sunlight.
So when you're shooting outside, make sure the light is coming directly. It will help to prevent shadows on one side of your subject's face.
If your photos are too dark, then something else is going on.
When shooting indoors, try moving your subject away from any windows and other direct light—if possible, have them face a wall or other dark area.
9 Digital Noise in Photos
Digital noise is a common problem in digital photos. It can make your photos look grainy and dirty, and it's often hard to remove once it's been added. But with the help of Imyphone UltraRepair, you can easily get rid of it. Poor lighting is the main cause which causes digital noise. If you're taking a photo with your phone or camera in low light, there's a good chance that you'll end up with digital noise.
It also occurs when the camera sensor is exposed to more light than it can handle. The result is a grainy texture on your digital photos that looks similar to film grain on traditional film cameras.
10 Picture in Flawed Composition
Picture in Flawed Composition means your composition is not balanced. Poor placement of the subject can ruin the whole image. If you have a photo with a lot of clutter or too many objects, it's difficult to see the main subject. To solve this, try cropping out some extra items and focusing more on what you want people to see.
Part 2. One-Stop Solution to Auto Repair Image - iMyFone UltraRepair
iMyFone UltraRepair is a powerful image problem solver online. It's a practical image repair tool that can correct images in seconds, and the advanced algorithms make it more efficient than any other similar product!

With the user-friendly interface, it is ideal for people who are not familiar with installing complicated software programs on their PC!
- Support repair photos from any device.
- All the issues can be solved by this software, blur images, broken images, and even you can repair the red-eyed photos easily.
- Only need 3 simple steps to fix broken image.
- Allows you to repair the images at batch.

How to Use UltraRepair?
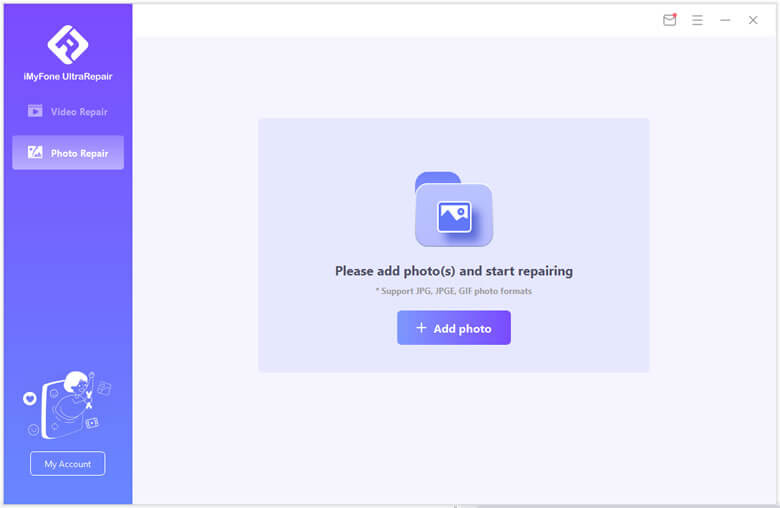
Step 1. Install and open iMyFone UltraRepair and choose Photo Repair on the main screen. The photo Repair option is on the left panel. After that, click on Add Photos, and select the photos you want to repair.
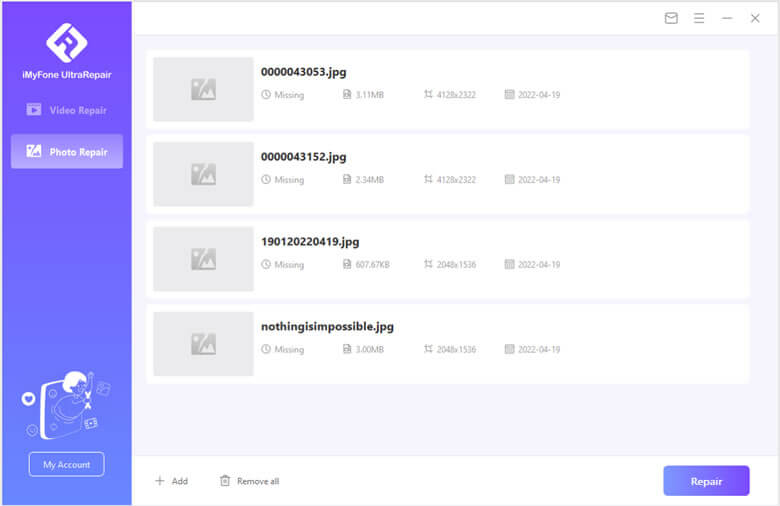
Step 2. After the uploading of pictures, click on the Repair option and wait.
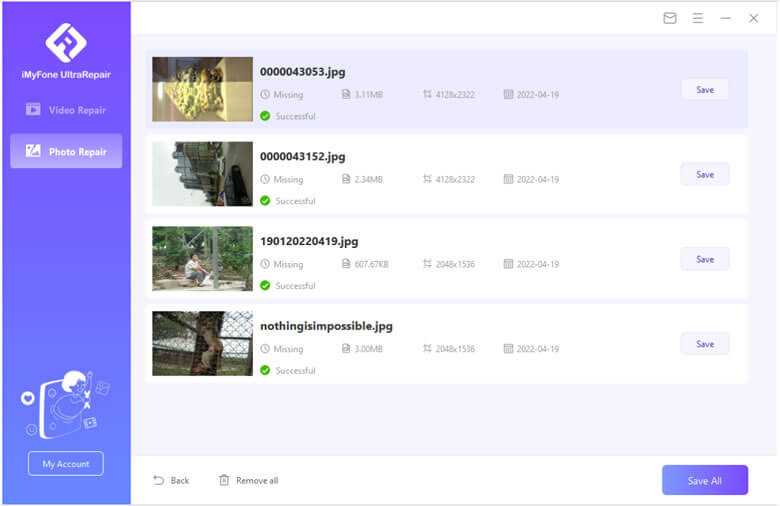
Step 3. Ta-Da, it is done. Now you have to save the repaired photos. Click on Save All option to save the pics.
To Conclude
That's it! We know that Image problems are kind of frustrating. But you don't have to worry now, with the amazing function of iMyFone UltraRepair, you can fix your photos in 3 simple steps. I hope you learned something today by reading this article!
If you have any questions, let me know in the comments and we'll try to answer them.


 December 29, 2022
