
















 Shop
Shop
[2026] Best Free iPhone Photo Recovery Software/APP (iOS 26 supported)
Category: iOS Data Recovery

4 mins read

Question
“I recently deleted photos from "Recently deleted" and I want them back. I sadly do not have a backup and I talked with Apple Support but they couldn't help me either.Are there any apps that could help me or ways?”
Have you accidentally deleted precious photos from a special moment? What's worse, did you also permanently empty them from the "Recently Deleted" album? If you are searching for a reliable way to perform iPhone photo recovery without a backup, you are not alone. Accidental or intentional deletion can feel like a permanent loss, leaving many wondering how to safely recover their files.
Fortunately, data recovery is entirely possible if you act quickly. If you need to find missing photos from your iPhone, this comprehensive guide will explain the underlying data mechanics and provide step-by-step tutorials to recover your images securely. Let's explore the best methods available.

Essential Technical Facts Before Recovering iPhone Photos
On iOS devices, files and metadata are organized within an internal SQLite database architecture. When a photo is deleted, the system does not immediately erase the file from the physical storage; instead, it reclassifies the data block from "Allocated" to "Unallocated." While the underlying file remains intact temporarily, it is hidden from the user interface.
However, once you continue using your iPhone—such as taking new photos, downloading applications, or saving new files—the system writes new data into these "Unallocated" blocks. This leads to complete data overwriting. To maximize your recovery success rate, it is highly recommended to stop using the device immediately or switch it to Airplane Mode to preserve the recoverable storage blocks.
In this article:
- Part 1: How to use iPhone data Recovery Tool? (Video Tutorial)
- Part 2: Best iPhone Photo Recovery Tool (Safe & Quick)

- Option 1: Directly recover photo from iphone without backup
- Option 2: iPhone Photo Recovery from iTunes Backup
- Option 3: Recover Photos Via iCloud Backup
- Part 3: iPhone Picture Recovery Free from Official iTunes/iCloud
Part 1: How to use iPhone data Recovery Tool? (Video Tutorial)
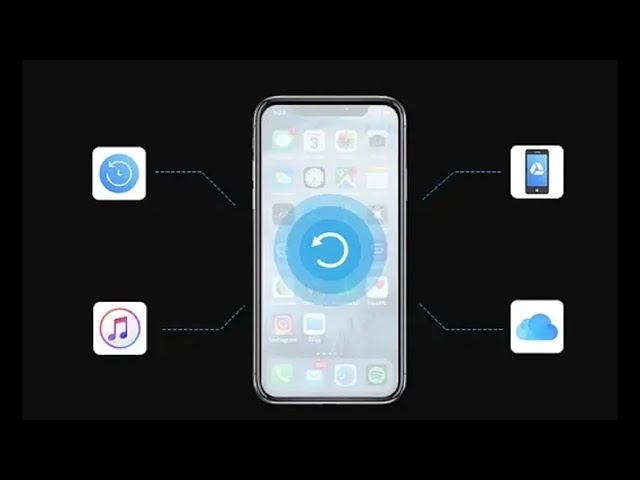
Part 2: Best iPhone Photo Recovery Software (Safe & Quick)
Strictly speaking, there is no completely free iPhone photo recovery software on the market that guarantees professional results. However, reputable programs offer free trial versions allowing users to scan and preview recoverable files before committing to a purchase.
iMyFone D-Back is an industry-leading iOS data recovery solution designed to retrieve lost or permanently deleted files directly from your device. It offers full compatibility with the latest iPhone 17 series, iPhone 16/15/14/13/12/X, and older models, fully supporting iOS 26 down to iOS 9.0. Equipped with 4 advanced recovery modes, it thoroughly scans and reconstructs data across multiple data loss scenarios.
iMyFone D-Back iPhone Data Recovery

Key Features:
- Provides direct storage scanning to recover lost photos even if there is no prior backup available.
- Features selective data retrieval, allowing you to preview and recover only the specific photos you need.
- Allows you to securely view your iTunes backup files and iCloud backup content without full restorations.
- Supports granular data extraction from iCloud without requiring a complete device factory reset.
- 100% safe read-only operation to recover photos without losing existing data.
Option 1: Directly recover from iPhone device (Best iPhone Photo Recovery without Backup)
Step 1.Launch iMyFone D-Back on your computer and select the “Recover from iOS Device” tab. Click Start.
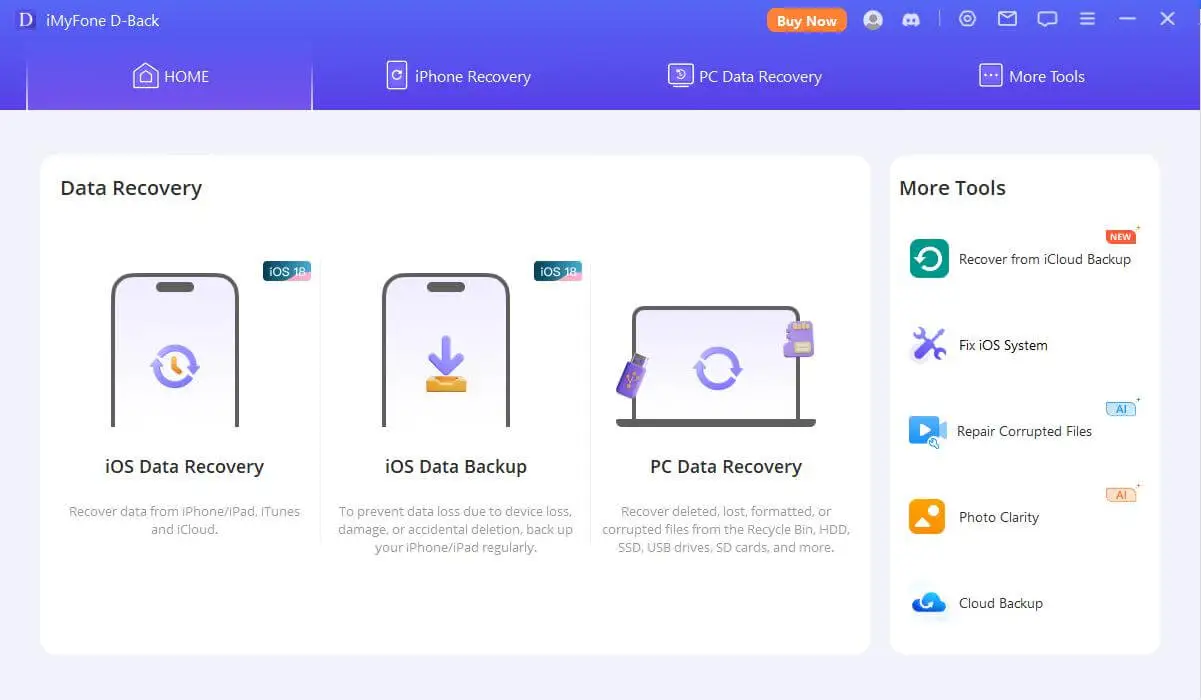
Step 2.Connect your iPhone to the computer using a reliable USB cable. Click “Next” once your device is successfully detected.

Step 3.Select “Photo” under the “Photo & Video” section from the available list of categories and click “Scan”.

Step 4.All recoverable photos will be displayed once the deep scan finishes. You can preview and selectively choose the exact images you need to retrieve. Click “Recover”, then choose a target folder on your computer to store them securely.

Option 2: iPhone Photo Recovery from iTunes Backup
Using iMyFone D-Back, you can also extract and recover lost photos from an iTunes backup efficiently without fully restoring your phone.
Step 1.Open iMyFone D-Back and navigate to the “Recover from iTunes Backup” module. Click Start.

Step 2.The program will automatically detect and display all local iTunes backups. Choose the most relevant backup file based on its timestamp and click “Next”.

Step 3.Select “Photo” under the “Photo & Video” list of options and click “Scan”.

Step 4.All available backup photos will be displayed after scanning. You can preview and selectively extract specific pictures from the iTunes backup file. Click “Recover”, choose or create a destination folder on your computer, and complete the export process within minutes.

Option 3: Recover Photos Via iCloud Backup
This professional iOS recovery tool also allows you to extract target photos from an iCloud backup safely through the simple steps provided below.
Step 1.Launch iMyFone D-Back, choose the “Recover from iCloud” option, and click Start.

Step 2.Sign in to your iCloud account securely using your Apple ID and password.

Step 3.Select the “iCloud Backup” module from the listed categories, then click on “Scan”.

Step 4.All available iCloud backups will be displayed. Choose the most relevant backup file and click “Next”.

Step 5.Your stored photos will be displayed systematically once the parsing process is complete. You can preview and selectively choose the exact images you want to retrieve from the iCloud backup. Click “Recover” to save them to your computer without affecting current device data.

Part 3: iPhone Photo Recovery Free from Official iTunes/iCloud
Apple offers built-in data restoration pathways through official iTunes and iCloud backups. While these are safe, standard methods provided by Apple to help safeguard user data, they involve significant constraints regarding data overwriting and restoration flexibility.
Way 1: Restore iPhone Photos from iTunes Backup for Free
1. Open iTunes (or Finder on macOS Catalina and later) on your computer.
2. Connect your iPhone to the computer using a USB cable. Enter your device passcode if prompted to trust the machine.
3. Your device icon will appear in iTunes upon a successful connection. Select your iPhone.
4. Choose “Restore Backup...” under the Backups panel. If you receive a message stating the software version is outdated, you will need to update your iOS first.
5. Select the most relevant backup file and click Restore. Keep your device connected until the synchronization process concludes.


Important Technical Note
- **Complete Data Overwrite**: Performing a standard iTunes restore will completely replace all existing files and settings on your iPhone with the backup contents. Any new data generated after the backup timestamp will be permanently lost.
- **No Preview or Selection**: The official Apple framework does not allow you to preview or selectively choose specific photos. You cannot verify if the required files are present in the backup until the full device overwrite is complete.
Way 2: Restore iPhone Photos from iCloud Backup for Free
1. Navigate to Settings > General > Transfer or Reset iPhone on your device, then tap “Erase All Content and Settings” to restore it to factory defaults.
2. Follow the on-screen setup prompts until you reach the “Apps & Data” screen. Tap on “Restore from iCloud Backup”.
3. Sign in to your iCloud account using your Apple ID credentials. Ensure your Wi-Fi network connection remains stable throughout the transfer.
4. Evaluate the available cloud backups based on creation date and size, then choose the most relevant one. The full data restoration process will begin immediately.

Important Technical Note
- **Mandatory Factory Reset**: This official method requires you to completely wipe all current settings and files on your iPhone before pulling data from the cloud.
- **Risk of Unintended Syncing**: If your device automatically created a new iCloud backup after the photos were permanently deleted, the older versions of your images might already be overwritten in the cloud. Furthermore, iCloud's free tier is limited to 5GB, meaning many users lack complete historical backups due to storage restrictions.
Technical Comparison of Recovery Methods
To utilize native iTunes or iCloud restoration pathways successfully, a comprehensive backup must have been configured prior to the data loss event. Furthermore, iCloud restores rely heavily on optimal network conditions and are constrained by a restrictive 5GB free tier, which often results in incomplete backups.
Conversely, a professional iOS data recovery utility allows users to scan and salvage data directly from the storage architecture without needing a prior backup. It provides granular selection to avoid full-system overwrites, preventing accidental data loss. Beyond images, the toolkit supports over 18 diverse file types, including contacts, text messages, WhatsApp histories, videos, Safari history, and notes.
Conclusion
Carefully evaluating your current data situation will help you select the most effective photo recovery method. iMyFone D-Back delivers a balanced approach, combining robust deep-scanning capabilities with an intuitive interface. With its free evaluation trial, you can scan your system to preview missing images completely free of charge, enabling selective recovery without risking a full factory reset or backup dependency. Download the trial version today to evaluate your recoverable files before the data blocks are overwritten.

iMyFone D-Back
Professional iOS data recovery software designed to maximize file retrieval success securely.


(Click to rate this post)
Generally rated 5 (256 participated)

Rated successfully!

You have already rated this article, please do not repeat scoring!